How to choose the
Best Travel Camera Kit
For short and long trips, beginners and professionals. We cover it all.
- 01. Introduction
- 02. Mobile
- 03. Point & Shoot
- 04. Mirrorless
- 05. DSLR
- 06. Other Cameras
- 07. Conclusion
This is a long one. Let's take a look at the big picture first (pun intended).
We’ve teamed up with TOM BIHN to give away a selection of top travel gear! Check it out →
How to Pick The Best Camera For Travel Photography
Photography has come a long way over the years. It used to be an art form that was limiting due to expensive gear coupled with a steep learning curve. There were darkrooms and labs involved. Nowadays, with digital cameras being affordable, accessible, and able to fit inside your pocket—everyone is shooting on a daily basis. Whether you just want to grab a couple snaps on your next trip or you want to start exploring things in a more professional light, you’ll want to have a good camera that matches your skill level, budget and interest.
But how do you choose the best camera for travel? Well, you come here of course.
What This Guide is
When it comes to photography, there are so many options nowadays it can cause a bit of paralysis when choosing the best camera for travel photography. Gear isn’t cheap, so you want to make sure you’re choosing the right system before you fork over a couple paychecks and a sliver of your liver.
You’ll learn very quickly that there’s no real right or wrong answer, and there is no one-size-fits-all for photography—as much as you’d like there to be. There are a number of different types of kits that could work incredibly well for you and deciding which is the best travel camera for you will depend on a number of factors.
What This Guide is Not
We’re not going to tell you how to shoot photography. We’ll happily provide you with some information on the different systems and tips on how to optimize them, but if you’re looking for a guide to becoming a professional photographer… You’ll want to look elsewhere.
Everyone has their preferred way of shooting and travel style. We’re not ready to make those decisions for you, but hopefully these tips will help you make an informed decision on which camera kit will be the best for your travel photography.
Considerations
So how do you choose between each of these kits? Well, first you need to be like Kris-Kross and go backwards (with your decision making, not your jeans). Instead of just thinking about what you want to do with your camera, try to take a step back and look at the bigger picture. Yeah, watch out—we’re just getting started on the photography puns.
How Do You Plan to Use Your Images?
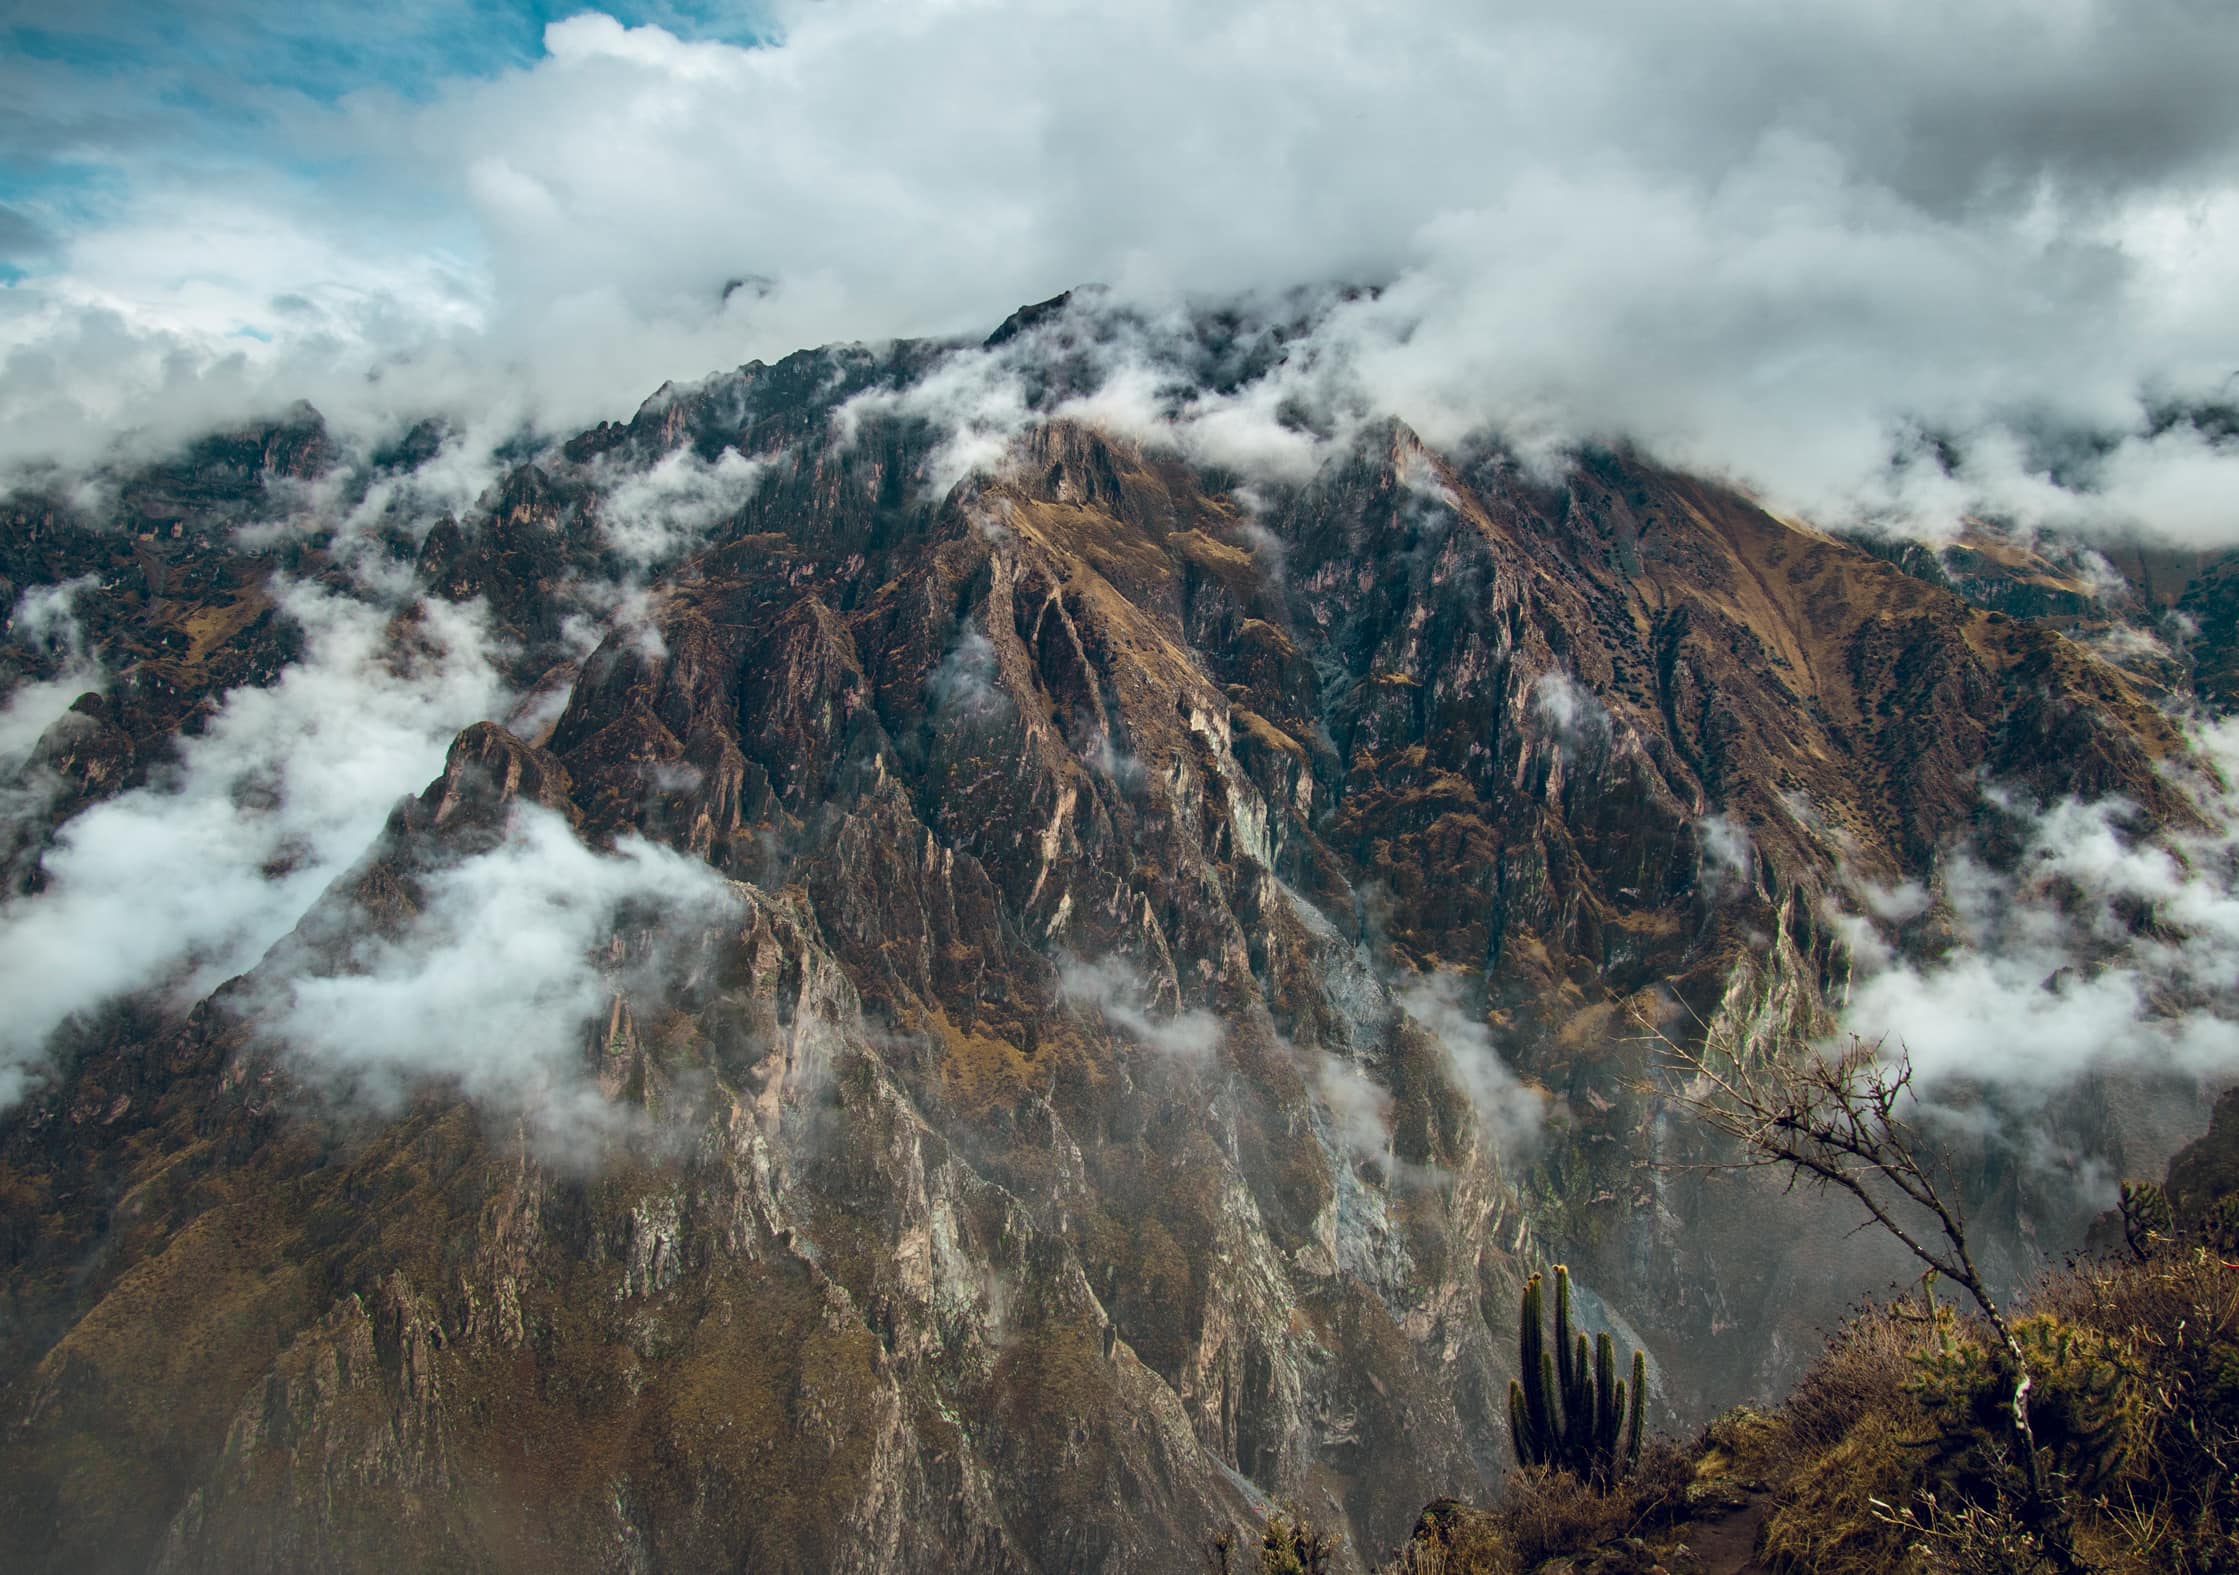
Try thinking about how you plan to use your images, rather than just what you want to take pictures of. If you’re intending to use your images solely for Instagram you won’t necessarily need the quality and resolution a DSLR can give you. Sure, you can get quick and light with a point & shoot, but if you want to capture those massive landscapes in low light you may want a wide lens on a camera that can handle that boost in ISO.
How Do You Plan to Travel?
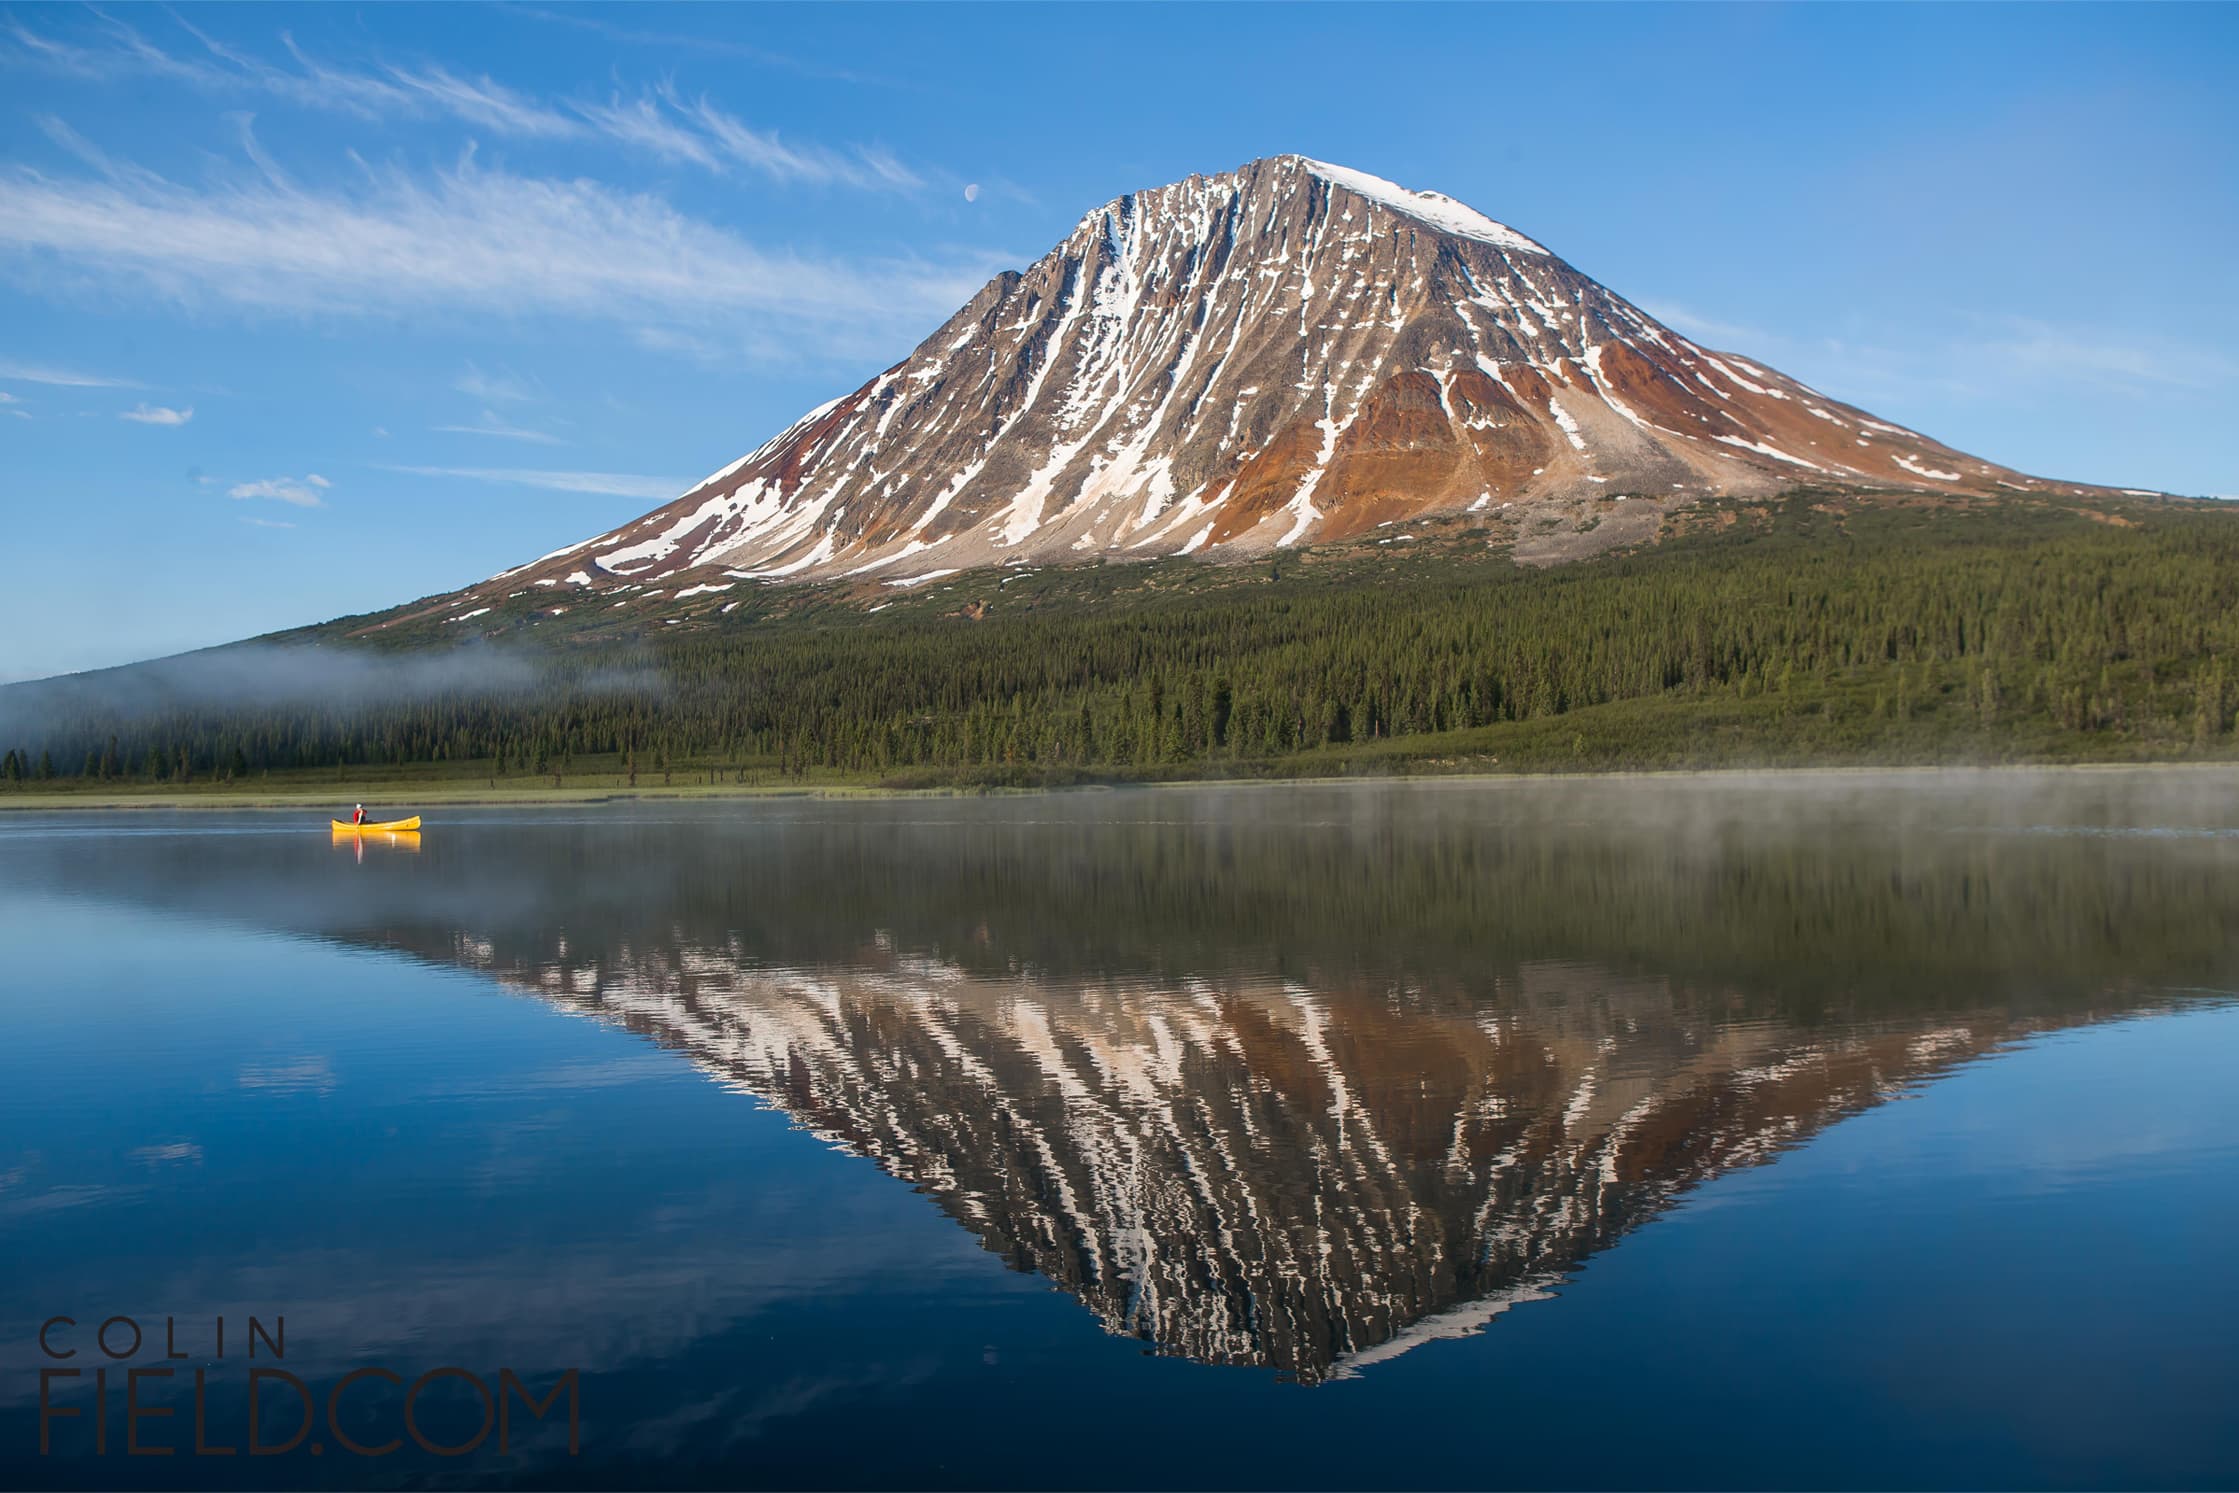
Hiking the Pacific Crest Trail over the course of a couple months? You’ll probably be just dandy with a small, lightweight kit to capture your experiences and create a slideshow for friends and family.
Traveling to go shoot a wedding? You might want to consider upping the ante with a mirrorless or DSLR.
Need a pretty snap for your Instagram feed of your latte? A mobile phone will do.
What’s Your Budget?
When we talk budget, it can be in terms of money and weight. Bag check fees can add up quickly on long international flights, and the weight on your body from carrying around heavy gear can make or break a trip. Carrying lots of weight can even cause you long term pain, infringing on your photography career. Plus, who needs a crick in their neck? We don’t.
We’ll get into all this and more with our 4 main photo kits below – Mobile, point and shoot, mirrorless, & DSLR. We’ve also talked with experts in each of these categories to get their real-world experience and interspersed their knowledge throughout this guide.
You’re the expert on the systems that work for you, but we’ll provide our thoughts on gear from a feasibility sense. We always shoot (see what we did there?) to fit everything in one backpack, so our goal is to bring as little as we can while still getting by.

Glossary
When it comes to photography—and especially photography gear—there are a lot of terms that might sound like gibberish to the average passerby. While the professional photographers of the world don’t bat an eye to this stuff, we wanted to take a minute to do some explaining for the newer, budding photographers who may be reading this. To the professionals out there—just go ahead and skip this section.
Without further ado, here is some common lingo that you will hear thrown around in this guide:
- Aperture: The amount of light your lens lets in + the depth of field in your photo. Lower number (1.8) = shallow depth of field, lets lots of light in.
- Depth of Field: The area that is in focus in your image.
- Digital Noise: Those tiny coloured specks that make your image look uneven and grainy, caused by shooting in low light with a high ISO.
- Focal Length: Always measured in millimeters, the focal length measures how “zoomed in” you are. Low numbers will give you a wide angle, high numbers will be telephoto.
- F-Stop: F-Stop is another term for aperture.
- ISO: A measure of how light sensitive your sensor is. A higher ISO will mean a brighter picture, but potentially more digital noise too.
- Prime Lens: Only one focal length. Lighter and smaller than a zoom lens.
- RAW: The uncompressed image, basically the negative of digital photography.
- Sensor: The area that captures your image – the film of digital photography.
- Shutter Speed: How quickly your camera opens and closes to expose your sensor, or take the photo. The longer it stays open, the more light is let in.
- Zoom Lens: Multiple focal lengths. Heavier and bigger than a prime lens, but more versatility.
Our Contributors That Made This Guide Possible
- Adrienne Tam: Architect and photo enthusiast.
- Corey Tenold: Professional fashion photographer.
- Frances Beatty: Professional wedding photographer.
- Jared Martin: Professional real estate photographer.
- Tam Le: Self-taught photographer.
- Tara Lilly: Professional wedding photographer.
The camera that's probably in your pocket right now. Chances are, it's more capable than you might realize...
We’ve teamed up with TOM BIHN to give away a selection of top travel gear! Check it out →
Why Mobile Photography?
We’re willing to wager that you don’t know a single person who doesn’t own and carry around a mobile phone with them at all times—which makes this the most convenient of all of the camera kits in this guide. Convenience and size are the two biggest reasons to choose a mobile phone camera for your adventures. For some people, it might be the best camera for travel.
Mobile phones are so easy to operate, children can—and often do—take pictures with them. The learning curve is very minimal—far less than what you get with a DSLR or a mirrorless camera. You can just grab it and go, which only adds to the convenience of these little items.
The price point should also be a consideration. If you already have a phone with a camera in it, you have no real need to drop money on a travel camera, outside of adding some accessories to your phone. Smartphones may not be cheap, but it will almost always be cheaper than buying a phone AND a camera.
“A lot of people think that in order to take good photos, they need to invest a lot of money. That’s not true. You just need to have interest and be persistent, and over time your photography will dramatically improve”
—Tam Le, Self-taught Photographer
One final point to mention is that there’s nothing extra to pack with mobile phone photography—because you already have your camera in your pocket! This also means you can skip the fancy and expensive camera bags.
The Nitty-Gritty
When choosing a mobile phone, don’t worry too much about the Android vs iPhone debate. There are great cameras with both and we have people on the team that use both. That being said, if you’re interested in using a smartphone as your primary camera there are a few things you want to look into, regardless of brand.
At a basic level, a mobile phone camera contains a lens, a sensor, and some software. Not every mobile phone camera is built the same, however—the quality of materials used in your phone will make a difference in the quality of your images.
Whether you have the newest smartphone model or an old flip phone in your pocket, you probably have a camera in that phone. These cameras are pretty basic but powerful. The latest iPhone XS has a 12 megapixel (MP) rear camera, and the OnePlus 6T has an impressive 20MP rear camera—making these two options comparable to even some DSLRs in terms of megapixels. Generally speaking, more megapixels = better, but that won’t always be the case. If you’re looking at two different models and one has a 12MP camera while the other has a 16MP camera… If they both have the same size sensor, the 12MP camera is actually going to be your better option.
Sensor size is a very important puzzle piece in picking the best camera for you. Most phone cameras will have a sensor that is ⅓ of an inch, but some have up to an inch. The iPhone XS, for example, is ⅓ of an inch. The bigger the sensor, the higher quality an image you will get. Unfortunately, this information isn’t always the easiest to secure when you’re looking into a new phone.
Aperture is a pretty big deal when it comes to photography. Aperture is the amount of light that is allowed into your sensor, which controls the depth of field of your photo. If you’re looking to take images in low light situations without using your flash, you’ll want to look for a camera that has an aperture of at least F1.8—like the iPhone XS or the OnePlus 6T, which have apertures of F1.8 and F1.7, respectively.
An additional consideration when looking for a mobile phone camera is whether or not it has digital or optical zoom, and how good those two are. If you’re into zooming, you’ll want to look for optical zoom—which many phone cameras do not have. Digital zoom is just zooming in on the pixels, not actually zooming in with the focal length. This can affect the quality of your image.
Most people have probably experienced this—you’ll start zooming in on your iPhone only to see the image quality lower drastically. When fully zoomed in, the image can be pixelated to the point of being virtually unusable. That is because the phone has digital—as opposed to optical—zoom.
A Note on Storage
One final consideration with mobile phone cameras is storage. Now, remember when we said Android and iPhone are the same? Well, we probably should have put a little asterisk there because when it comes to storage, Android phones do often have an advantage. There are a handful of Android phones that offer removable SD card slots, which is great for the traveling photographer. This means you can carry a few SD cards and offload photos as you see fit, plus you could even have another SD card with a bunch of movies or music for those long flights.
The iPhone, on the other hand, does not have removable storage. There is no way you can add extra storage to an iPhone outside of buying a new one with a higher capacity. The same goes for a bunch of Android phones as well—including the popular Google Pixel (both versions 1 and 2).
For those phones without removable storage, you’re going to be sharing all of your storage with other aspects of your phone, including any music, movies, or videos you may have on it. Long story short, your phone will fill up quickly. We’ve all been there, right? You go to take a photo only to get an error on your phone. Now you have to choose between that selfie with your cat or a picture of your nephew. Tough choice.
In a larger sense, we wanted to take a second to give an overarching photography PSA before we get too far into this guide…
Whether you’re traveling or at home, professional or amateur—backing up your images is crucial. We’ve all heard the horror stories of someone having a computer crash and losing all of their precious memories. Avoid being that person by sticking to this rule:
This applies to everything, but most importantly, to your images. Always have at least two copies of your images so you don’t end up being that person. Whether you’re backing your photos up on the cloud, on an extra SD card, a portable hard drive, or a laptop—just do it. Back that s#%! up!
Traveling With a Smartphone Camera
Having a camera in your phone means you’re always going to have it on you, so packing is a cinch. You don’t need to worry about a separate bag to keep your camera safe, and it’s not going to take up any more space. Maybe you can take that book with you after all!
If you’re looking for ways to keep your phone/camera safe while traveling, there are plenty of options for covers and cases. It’s not a bad idea to keep something on your phone to avoid cracking your screen and your camera lens. Having a dual purpose item like a smartphone is fantastic for so many reasons, but it also means that if you break your camera you break your phone—and vice versa.
Another thing to consider is that by using your phone as your camera as well as your navigational and communication system, you’re going to chew through your battery—and it’s not like you can just pop a fresh one in there. It’s not a bad idea to pack a power bank with you. There are plenty of options that are small and portable, although we recommend Anker as they have a solid track record. When it comes to chargers and cables, you’re almost always better off paying a few extra bucks for something that won’t crap out halfway through your trip.
Mobile Photo Gear We Can’t Live Without
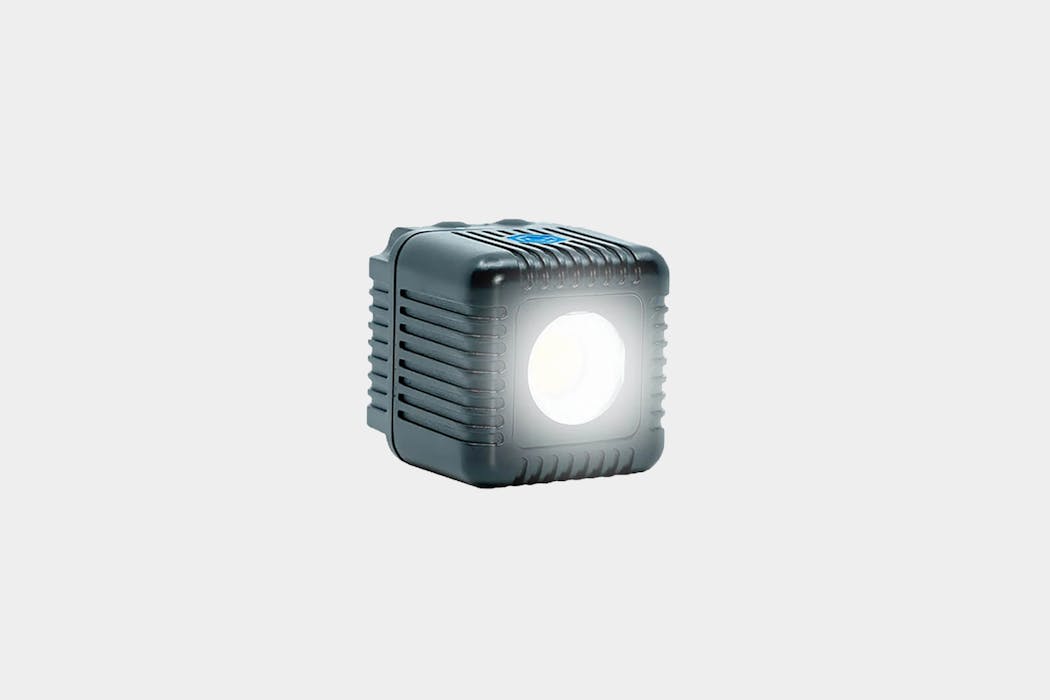
A teeny tiny light source that may blow your mind. An off-camera light source, this can be used in constant mode and also in flash mode. This isn’t just for your mobile phone camera, it can also be used with action cameras like a GoPro or even with a DSLR.
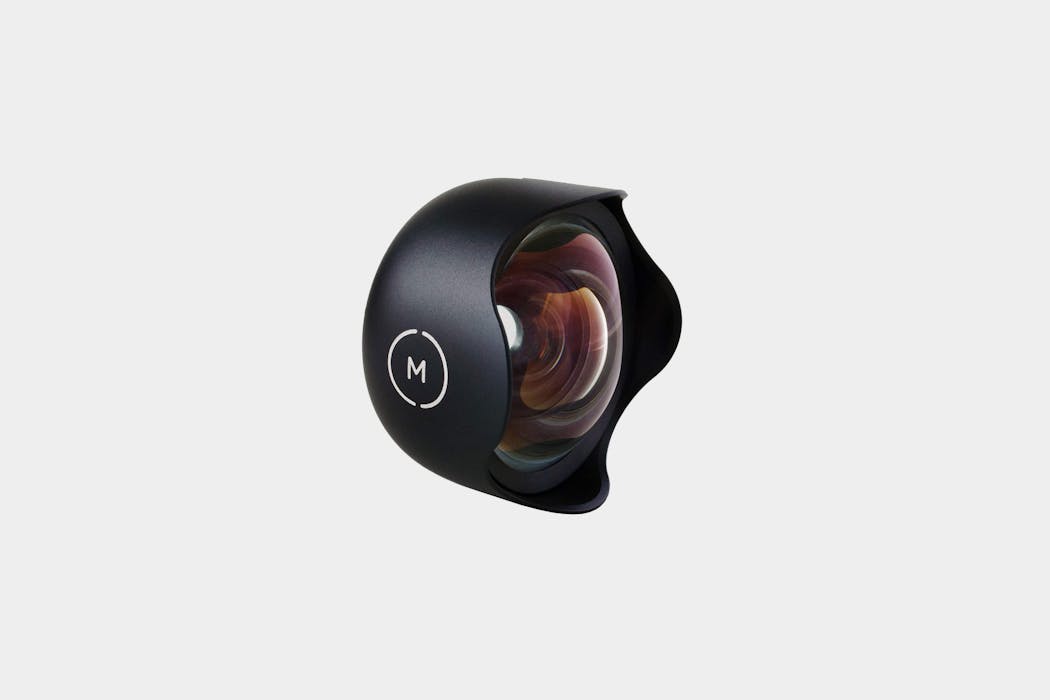
One of the ways you can really take your mobile photography to the next level is by using a lens other than the one that comes with your camera. Unlike a DSLR or a mirrorless camera, you can’t remove the lens from your mobile camera—but you can put a lens on top of the original lens to get a different desired look. Moment has 5 different lenses. Everything from fisheye, to macro to telephoto. Keep in mind that you’ll need the moment case in order to attach your lenses to your camera.
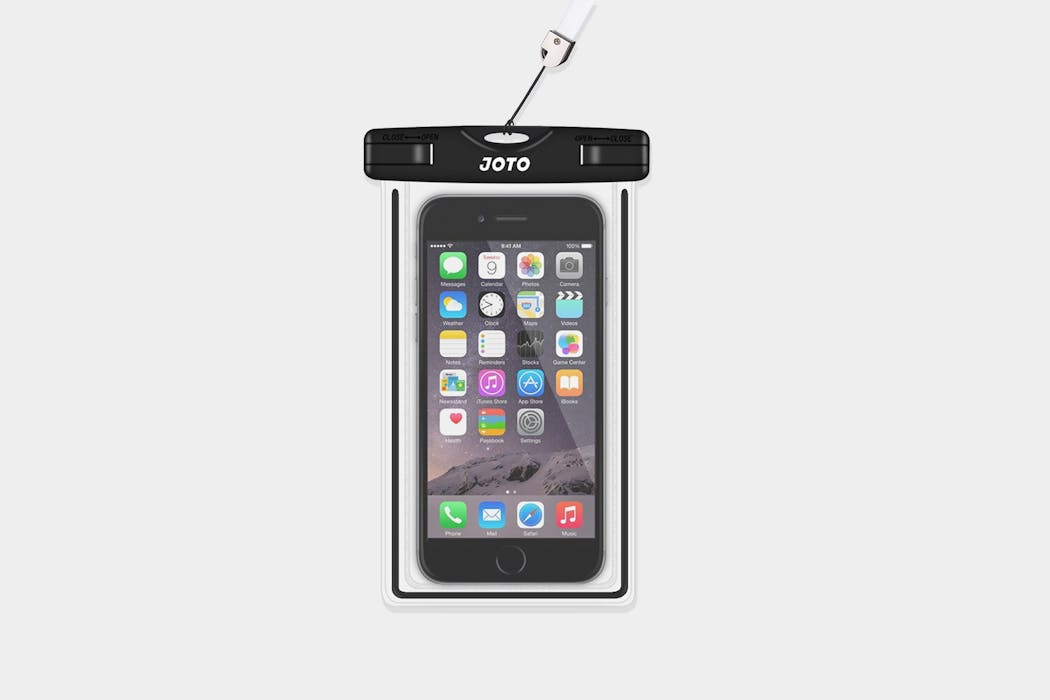
For anyone who likes to upgrade their phone from time to time, it’s not a bad idea to have a universal case. The Joto is waterproof, which we hope doesn’t come in handy but probably will. This case will fit a phone up to 6” diagonally and still have room for some important things like money or credit cards. Versatile and durable—we love it.
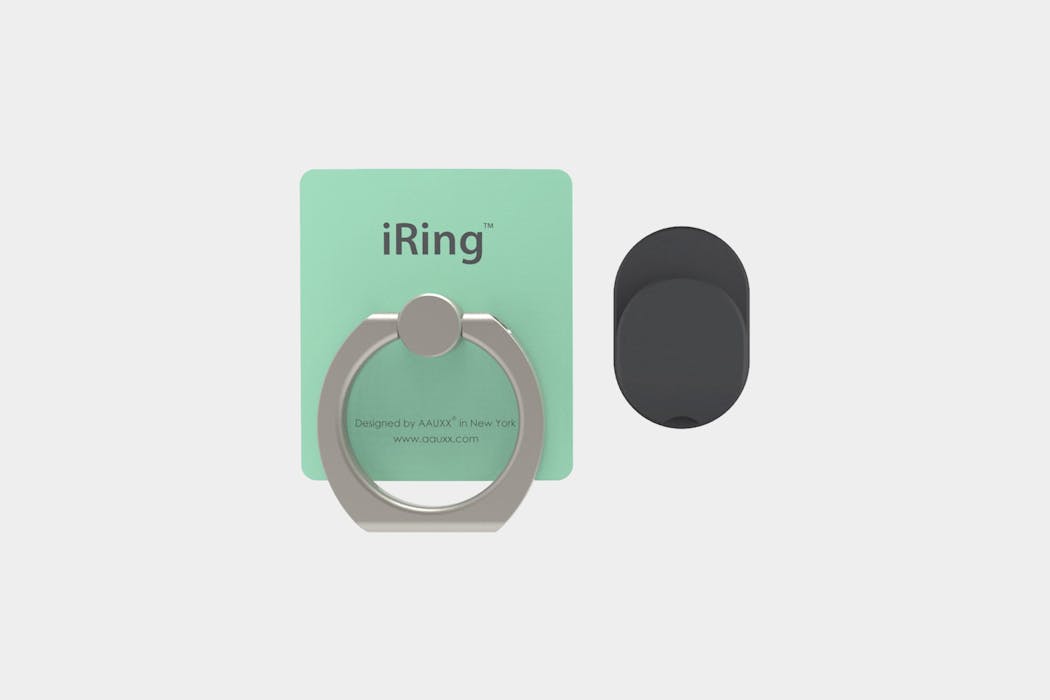
A solution for butterfingers, the iRing attaches to the back of your smartphone and gives you something to hang onto while you take photos or respond to messages. As an added bonus, it will also act as a stand if you want to prop your phone up and watch Netflix on your flight.
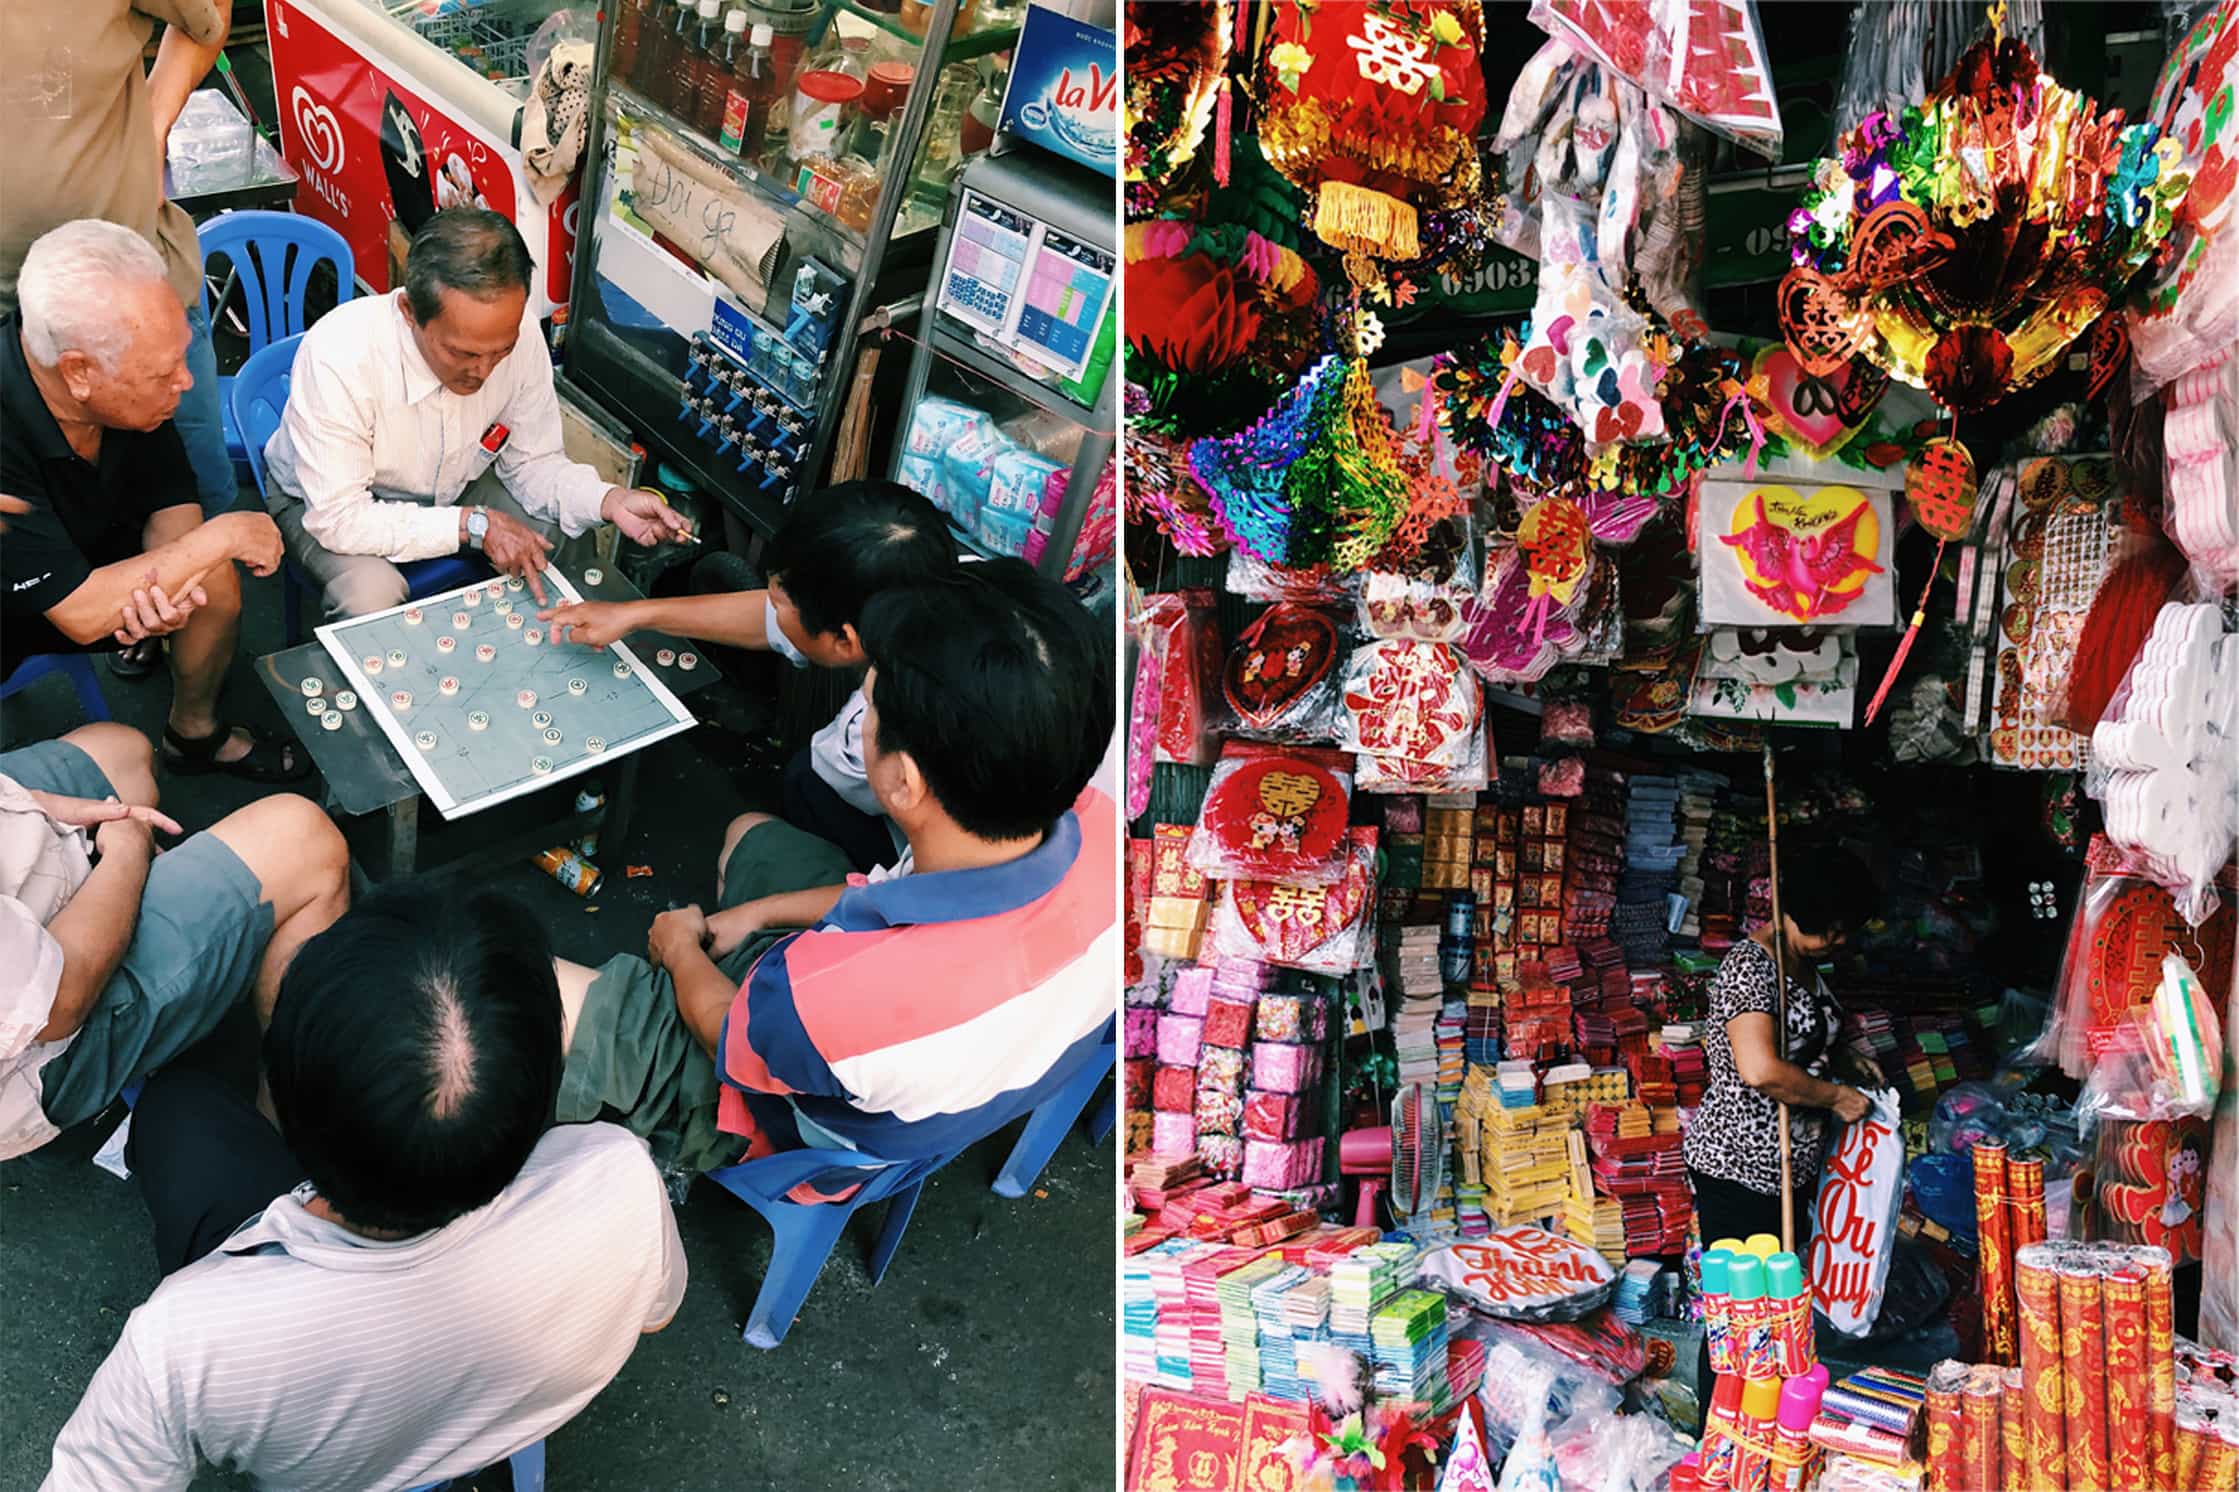
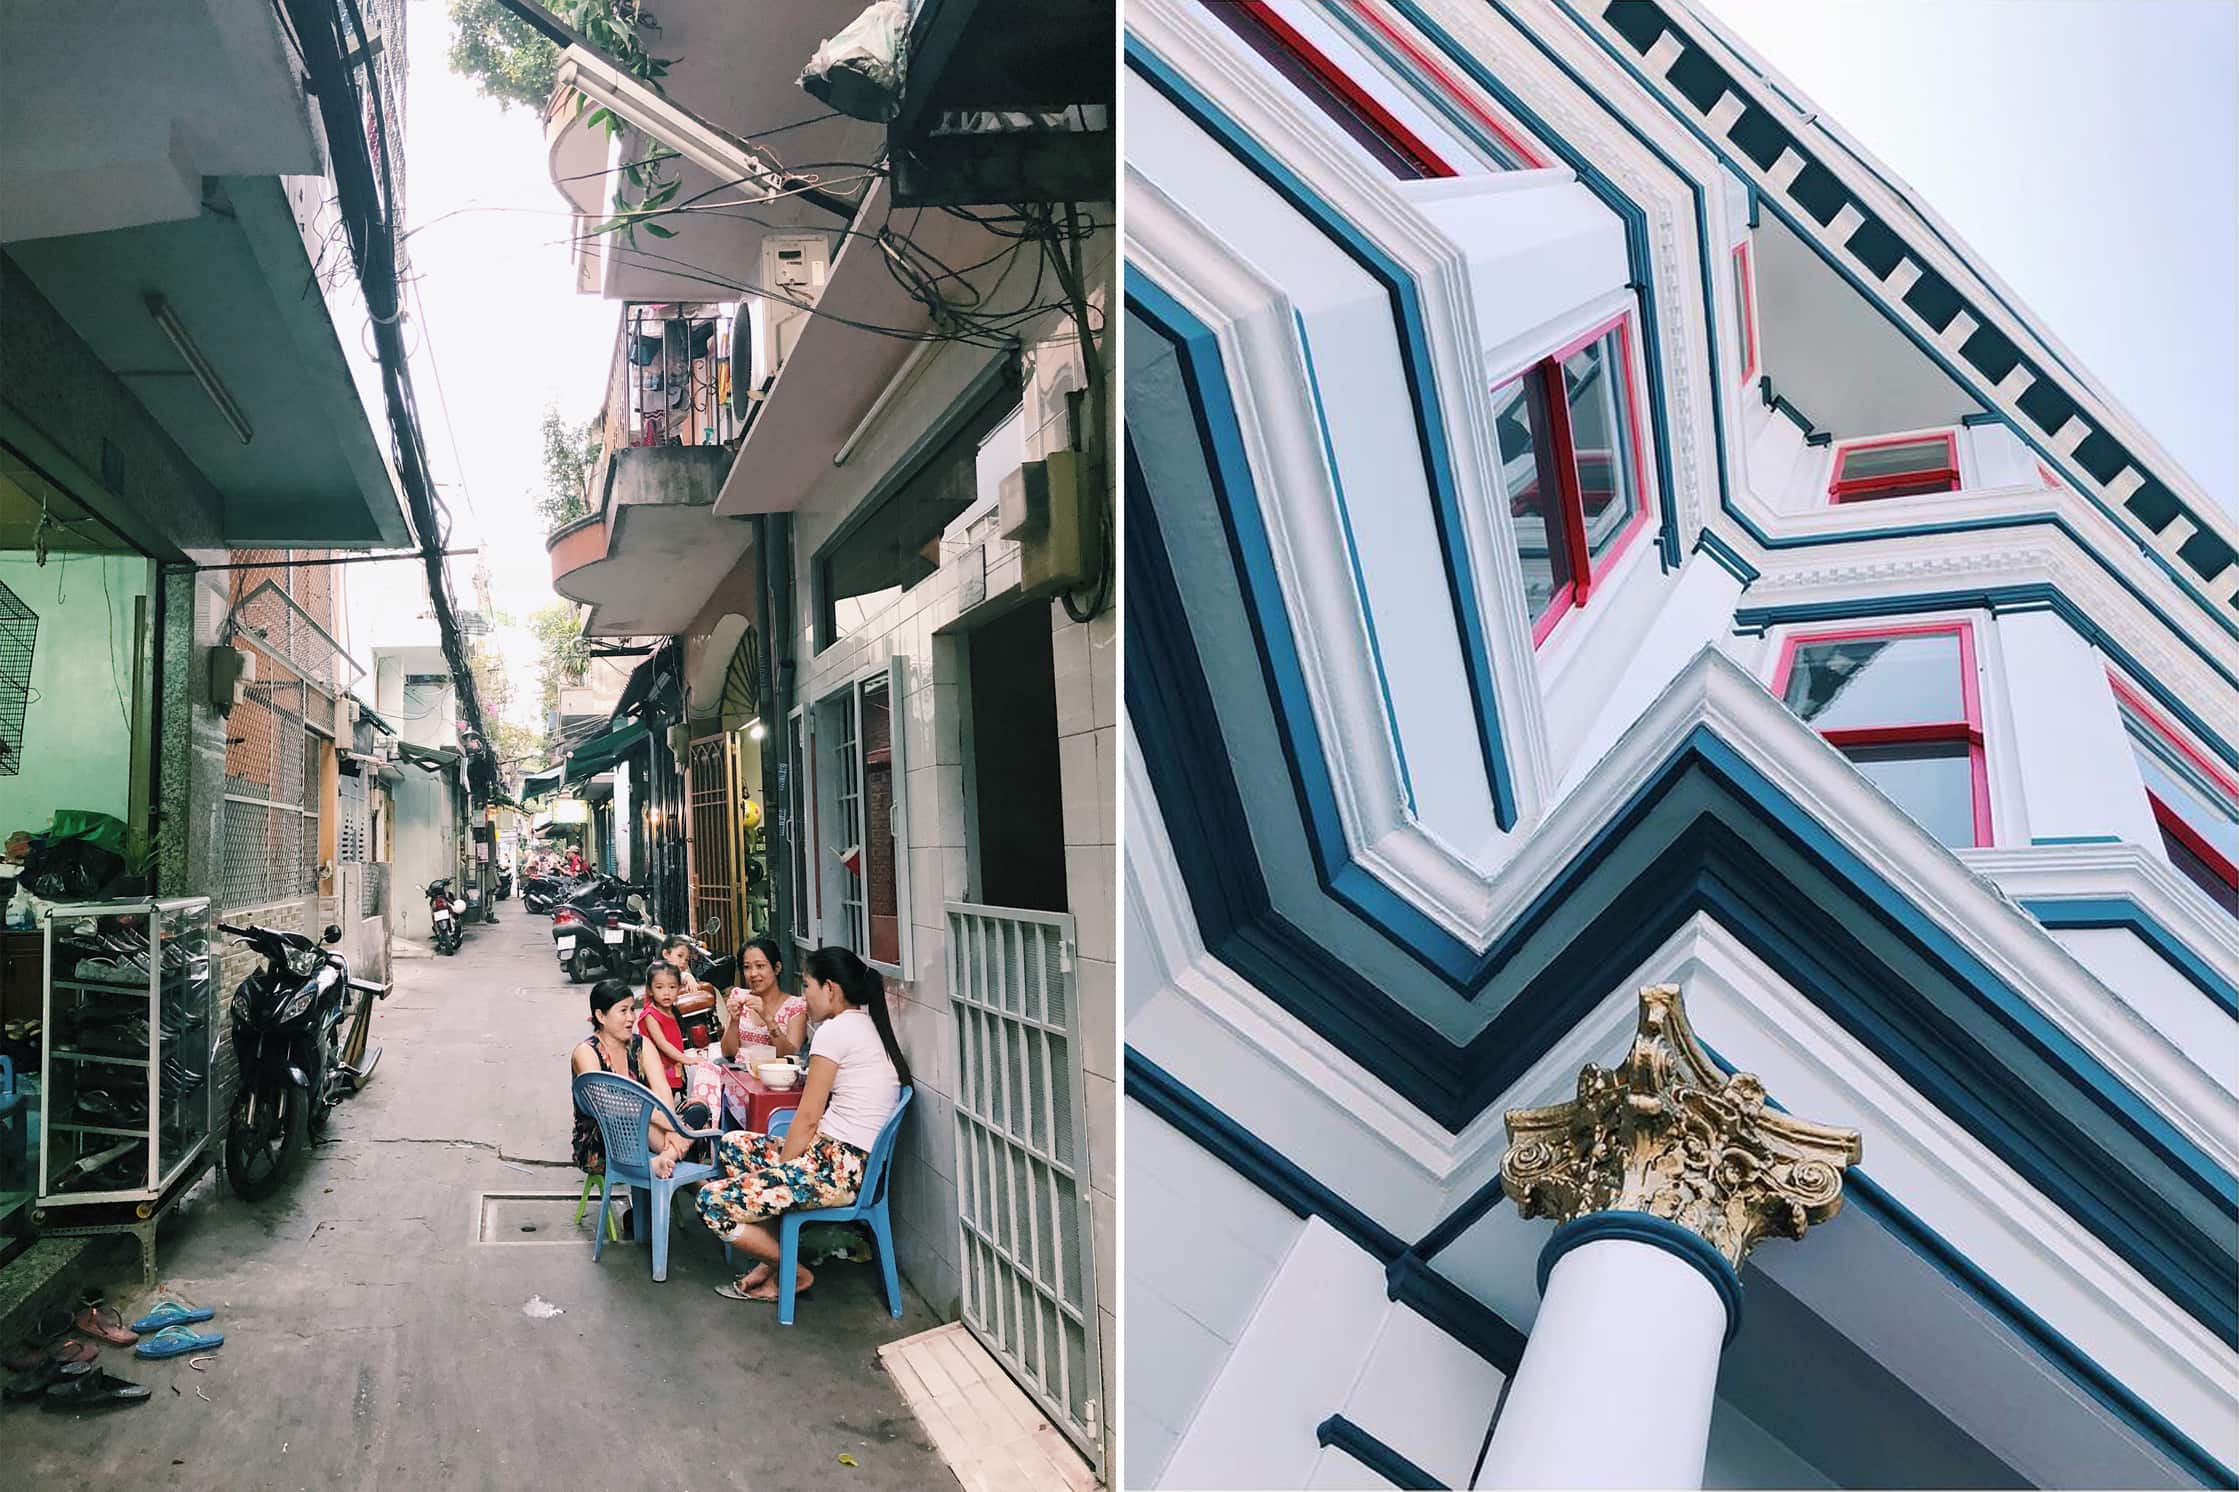
“An additional benefit of this is that in countries like Vietnam or Brazil, it makes it harder for someone to run/drive by and snatch your phone out of your hands while you’re lining up that perfect shot. Unfortunately, that’s the reality of traveling in many countries.”
—Tam Le, Self-taught Photographer
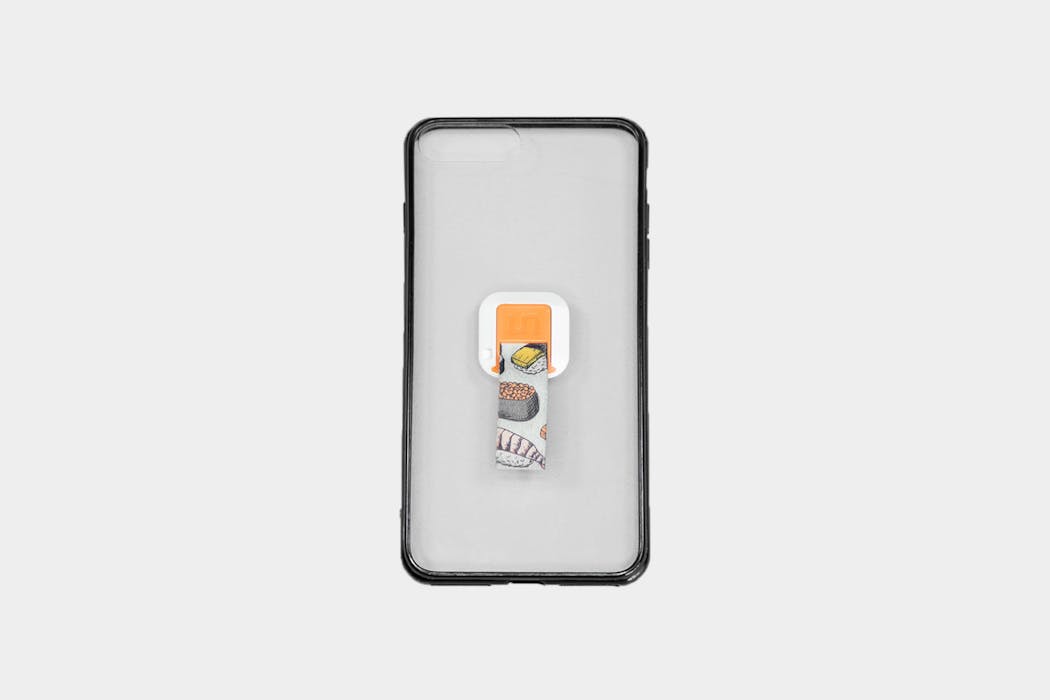
The Ungrip provides a comfortable way to carry your phone, plus, there’s a ton of colors and styles to choose from.
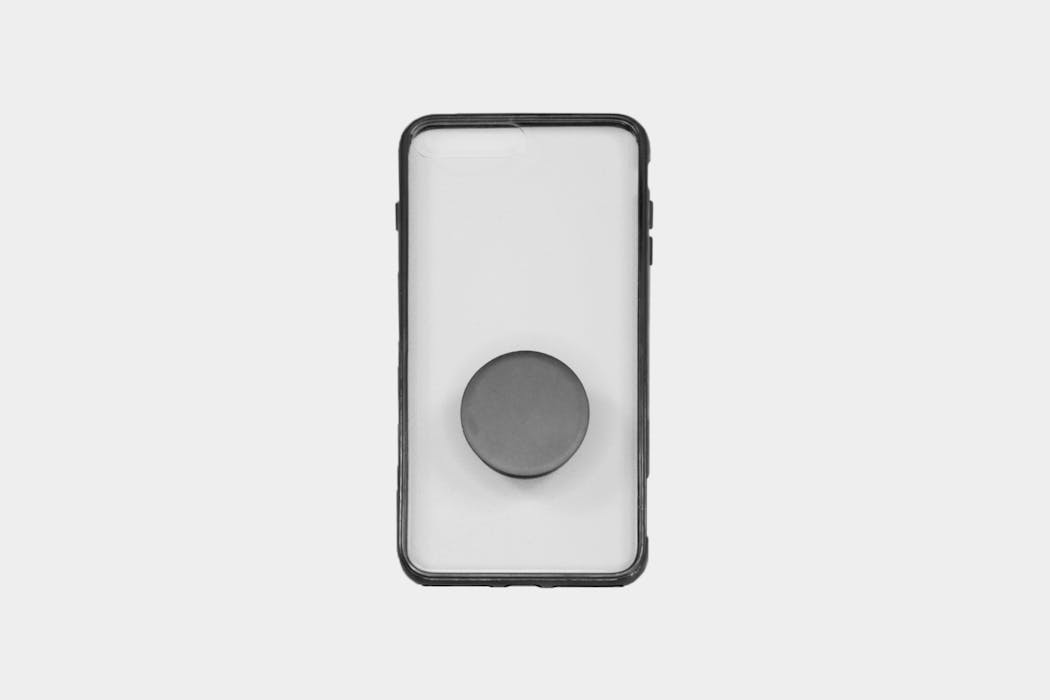
PopSockets provide a nice additional grip to stabilize your phone for photography & video. The durability isn’t outstanding on them, but they get the job done.
Apps We Love
Lightroom Mobile App
Lightroom is the tried, trusted and true software used by professional photographers everywhere to edit their photos. Having it right in your phone means you can edit on the fly, whether it’s images from your mobile camera or your DSLR. Another great benefit of the Lightroom app is the ability to shoot directly within the app. The software is more advanced than the native software that comes with your phone, so you’ll be able to shoot in RAW—giving you the freedom to alter your images more easily.
Dropbox File Management
One of the most important things to consider with your memories is how you’re going to keep them safe. If your phone doesn’t have removable storage, you’re going to want to look into a way to dump your pictures. Syncing to your laptop isn’t exactly the quickest—or easiest—method, so Dropbox is a great alternative. You can access your images from your phone or your computer and it doesn’t matter if you end up switching from iPhone to Android. This might also mean you can skip bringing your laptop with you on your trip. As an added bonus, Dropbox makes it very easy to share photos with others—whether it’s your coworkers, friends, or family.
Disclaimer: Many companies offer their own proprietary cloud storage systems, like Apple iCloud and Google Photos. These will work fine but might be incompatible across various operating systems, which is why we’d rather not recommend one over the other. We like Dropbox because you don’t have to worry about that stuff, but to each their own.
The Skinny
Chase Jarvis, professional photographer and CEO of CreativeLive, once said, “the best camera is the one that you have with you.” You may have the greatest camera on the market, but if it’s not with you, it’s not the best travel camera.
Size and convenience will be your biggest reasons for choosing a smartphone camera as the best camera for travel. Chances are you’re already planning on taking it with you, so now there’s one less thing to have to insure or worry about.
Having such great cameras in our mobile phones now means that you don’t necessarily have to give up quality for the sake of convenience. With the ability to shoot in raw with apps like Lightroom, you don’t even have to sacrifice your editing capabilities after the fact.
You may never match the quality of a DSLR or a mirrorless camera, but with all of the new accessories like lenses and flashes, it could be good enough. You may not be able to pass these off to clients, but you’ll be able to print photo books of your adventures or have an epic Instagram grid.
With next to zero learning curve for this camera, it’s an excellent choice for anyone who doesn’t have the time or energy to devote to learning a new skill but wants to take some pretty pictures while exploring.
Our Favorite Mobile Phones That Have Great Cameras
Point. Shoot. Repeat. A simple option that's great for travel.
We’ve teamed up with TOM BIHN to give away a selection of top travel gear! Check it out →
Why Point and Shoot Photography?
The next step up in terms of both quality and size is the good old-fashioned point-and-shoot—the digital upgrade to those old disposable film cameras you’d bring to the zoo when you were a kid. The point-and-shoot is also sometimes referred to as a “compact camera.” This is our first step outside the smartphone cameras we all know and love, into the world of devices that do one thing and one thing only—take images.
The biggest selling point (hah) of a point-and-shoot camera is the size and weight. In terms of depth, it will generally be larger than your smartphone. But in every other way, it will be smaller. Many of the newer point-and-shoot cameras are slimmer and come close to the waistband of a smartphone. Finding a spot for it in your carry on bag or slipping it into your pocket as you head out the door shouldn’t be an issue.
A good point-and-shoot camera will give you some control over your settings if that’s what you’re looking for in your travel camera. If you’re not interested in spending time learning your camera, no big deal—the point-and-shoot camera is designed to be used by someone straight off the couch.
The price point is also much more approachable than some of the more serious options we’ll cover later in this guide. The point-and-shoot camera is smaller and less complex making it an easier pill to swallow when you throw down cash in search of the best travel camera around.
The Nitty-Gritty
A point-and-shoot camera is still one of the most common cameras in the world. The reason for this is simply ease of use. Just like its name suggests, it’s designed to let you simply point in the direction of what you want to take a picture of and click the shutter. So easy, in fact, that your 102-year-old grandmother can take photos of you at your wedding even though she still can’t seem to check her email.
The simplicity of this camera means you probably don’t even have to look at the screen to see what you’re shooting, but we suggest you do. Chances are you’ll take better photos, but hey—go with what you feel. When you do look at your camera to set up that shot, you’re going to be looking at the LCD screen rather than the viewfinder, as most point-and-shoot cameras don’t even have a viewfinder anymore. Keep in mind that cameras without viewfinders will go through battery much quicker than one that has both (or one with no LCD screen, although that is almost non-existent at this point). If you have a viewfinder you can turn off the LCD screen to conserve a significant amount of battery life.
If your point-and-shoot camera does have a viewfinder, it will basically be a window through the camera body or right above. This means you aren’t looking through the exact same spot as your lens—it will take a bit of getting used to because what you are seeing is not what you are taking a picture of.

Point-and-shoot cameras come with a fixed lens, which means you will not be able to change lenses at any point. Most point-and-shoot cameras will have a zoom lens as their fixed lens, so you should still have some versatility with your camera. A zoom lens will give you a range of focal lengths (check the glossary if you need a refresher!) and will extend out of the camera body a little bit. What makes this different from the digital zoom found in mobile photography is that you are physically zooming in rather than just magnifying the pixels, which will give you better quality pictures.
The inability to upgrade or change out accessories, like your lens, can be a downside to a point-and-shoot camera. If you really want to dive into photography and fully explore what the medium has to offer, a point-and-shoot may not be the right camera for that. While easy to pick up and use, you’ll find yourself quickly hitting the limits of what your little camera can offer. If this sounds like you, we’d recommend moving on to the Mirrorless and DSLR sections of this guide.
On the other hand, if you’re just looking for something to document things while you’re traveling, this camera will do the trick. Not having to worry about changing lenses or packing accessories can be incredibly freeing while you’re on the road. For those looking to get off the grid, this can be a nice alternative to a smartphone camera as you can leave your phone—and the baggage that comes with it—behind. A point-and-shoot will also generally offer higher image quality than a smartphone.
One camera we have our eyes on is the Canon PowerShot SX730 HS. It’s an ultracompact point & shoot that weighs only 300g but still packs in 40x optical zoom and a tilt screen—which makes it an ideal choice for those looking for minimalist travel photography gear. This little camera can go from 24mm-960mm and still fit in your pocket. For someone looking to have a versatile travel camera, this is a great option. It will only shoot in JPEG, so if you’re looking to manipulate your images afterward, it may not be the camera for you. But if you just want awesome photos from a trip and you want to skip the processing time it could be a prime candidate for the best travel camera for you.
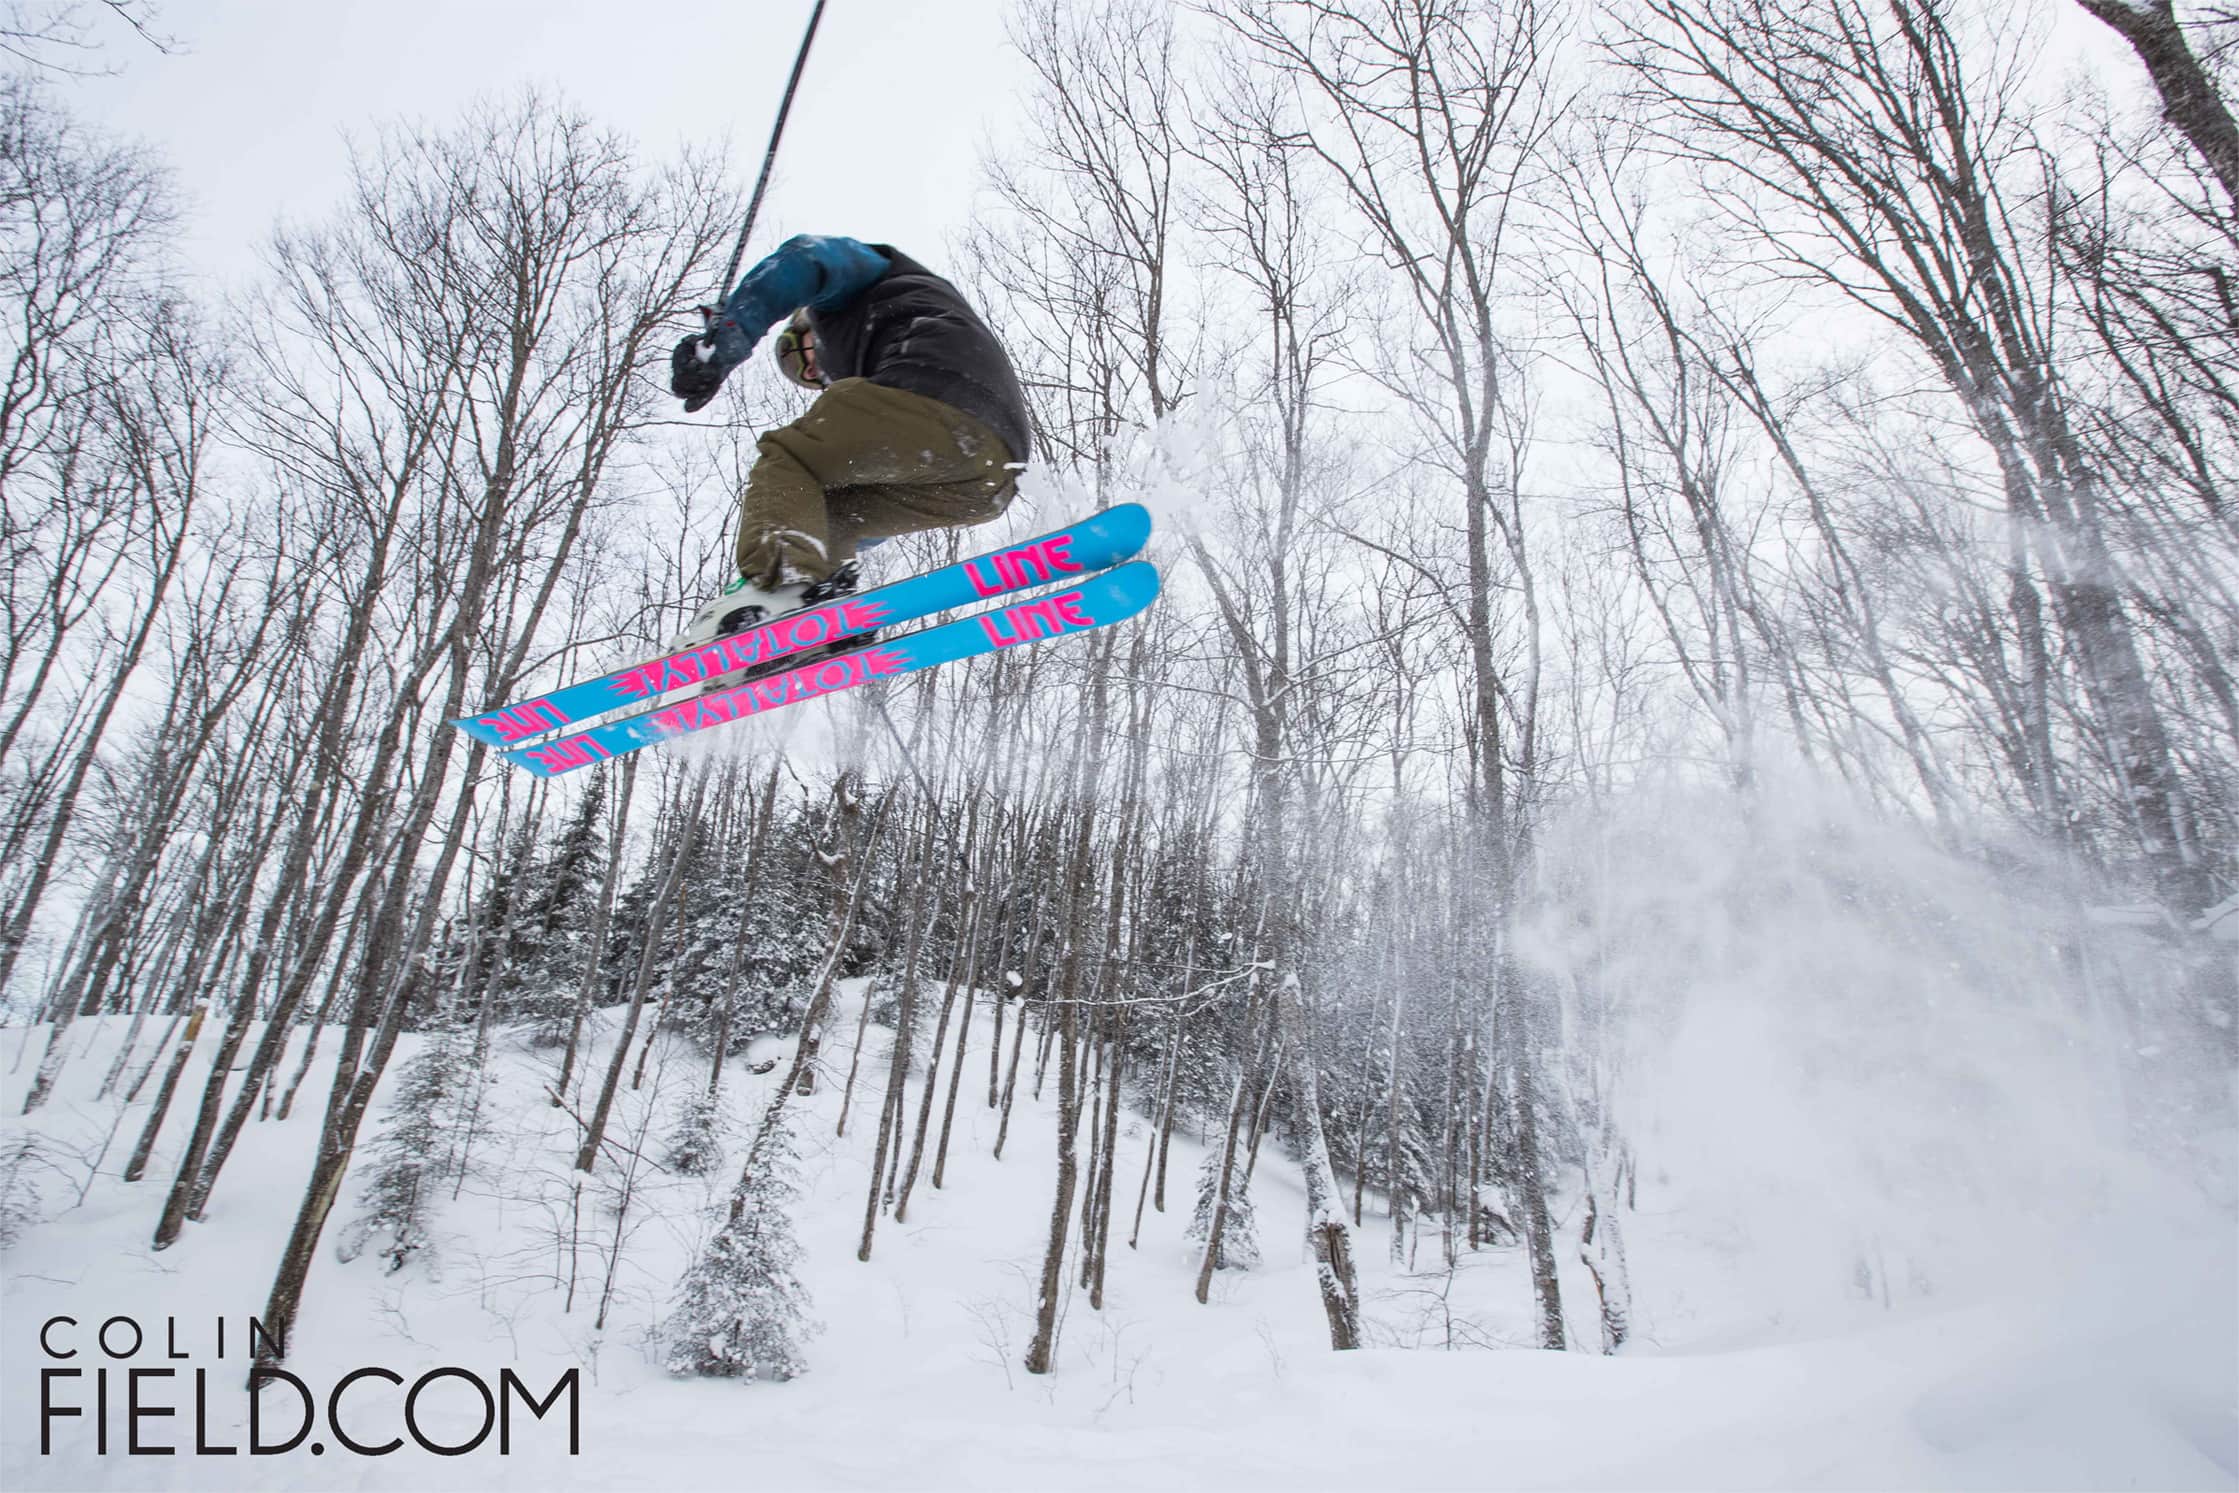
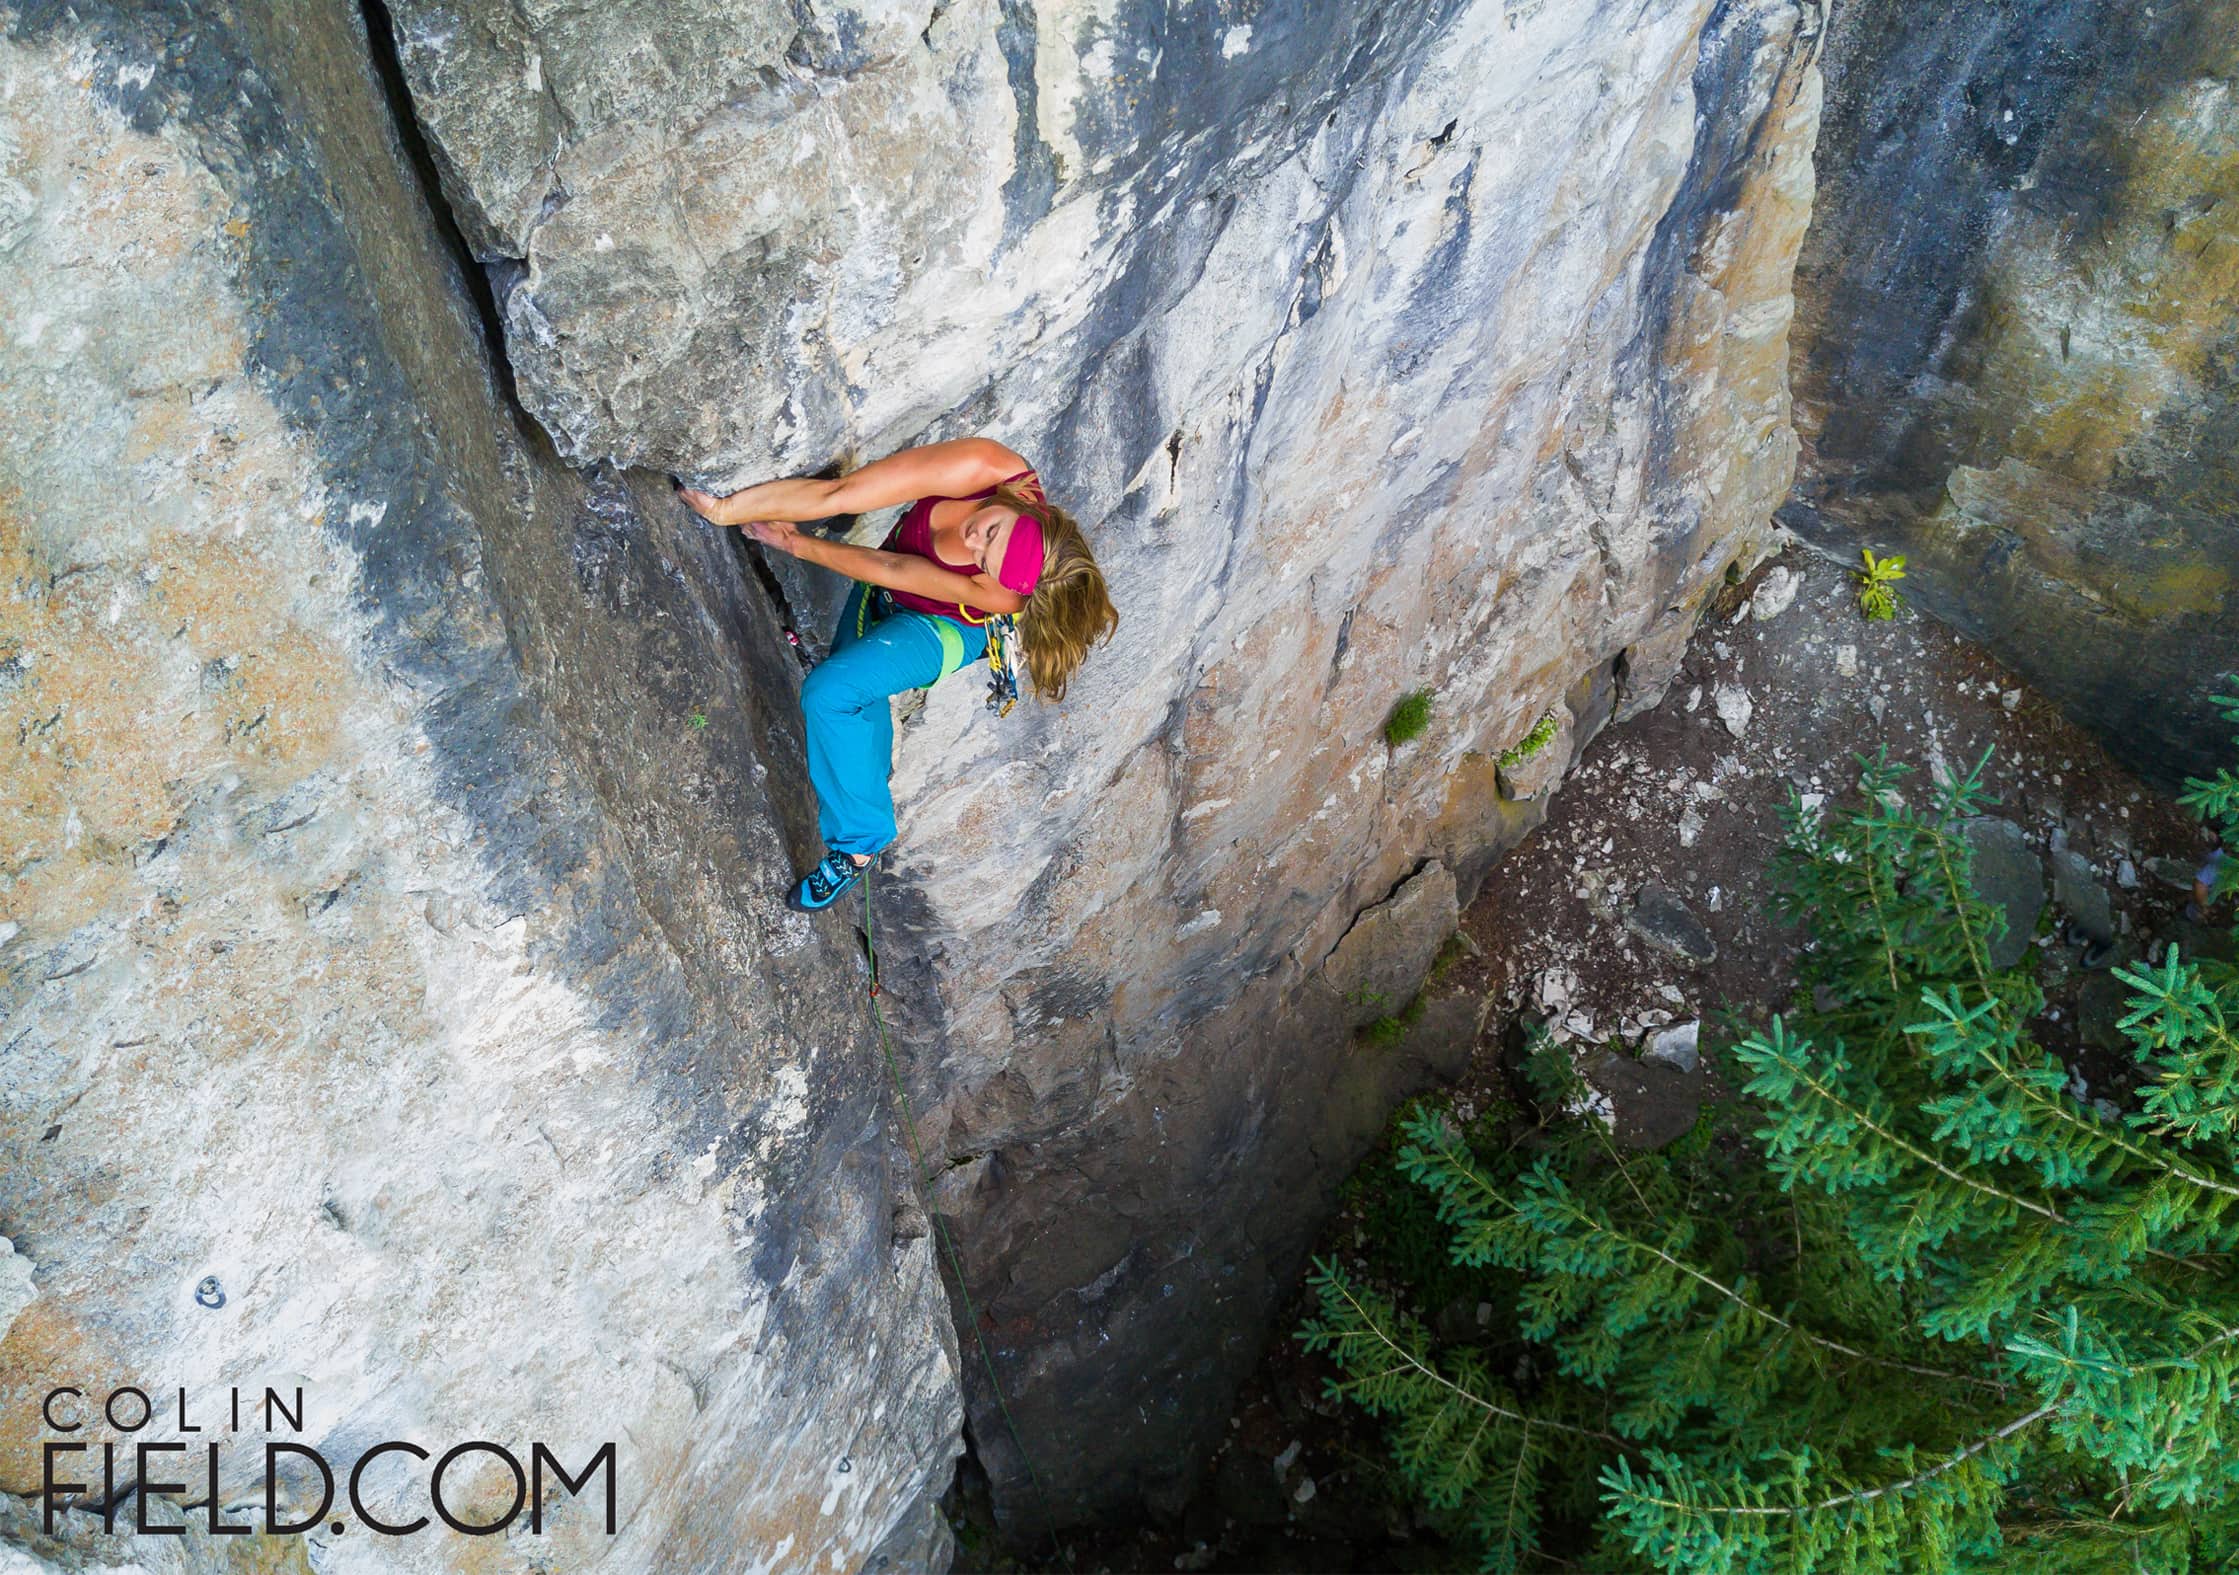
The size of your camera is a major consideration while traveling, and that is where the point-and-shoot really shines—it’s one of the smallest of all the camera kits out there. It won’t take up much space in your bag and can be easily concealed while you’re out and about, as it fits in most pockets.
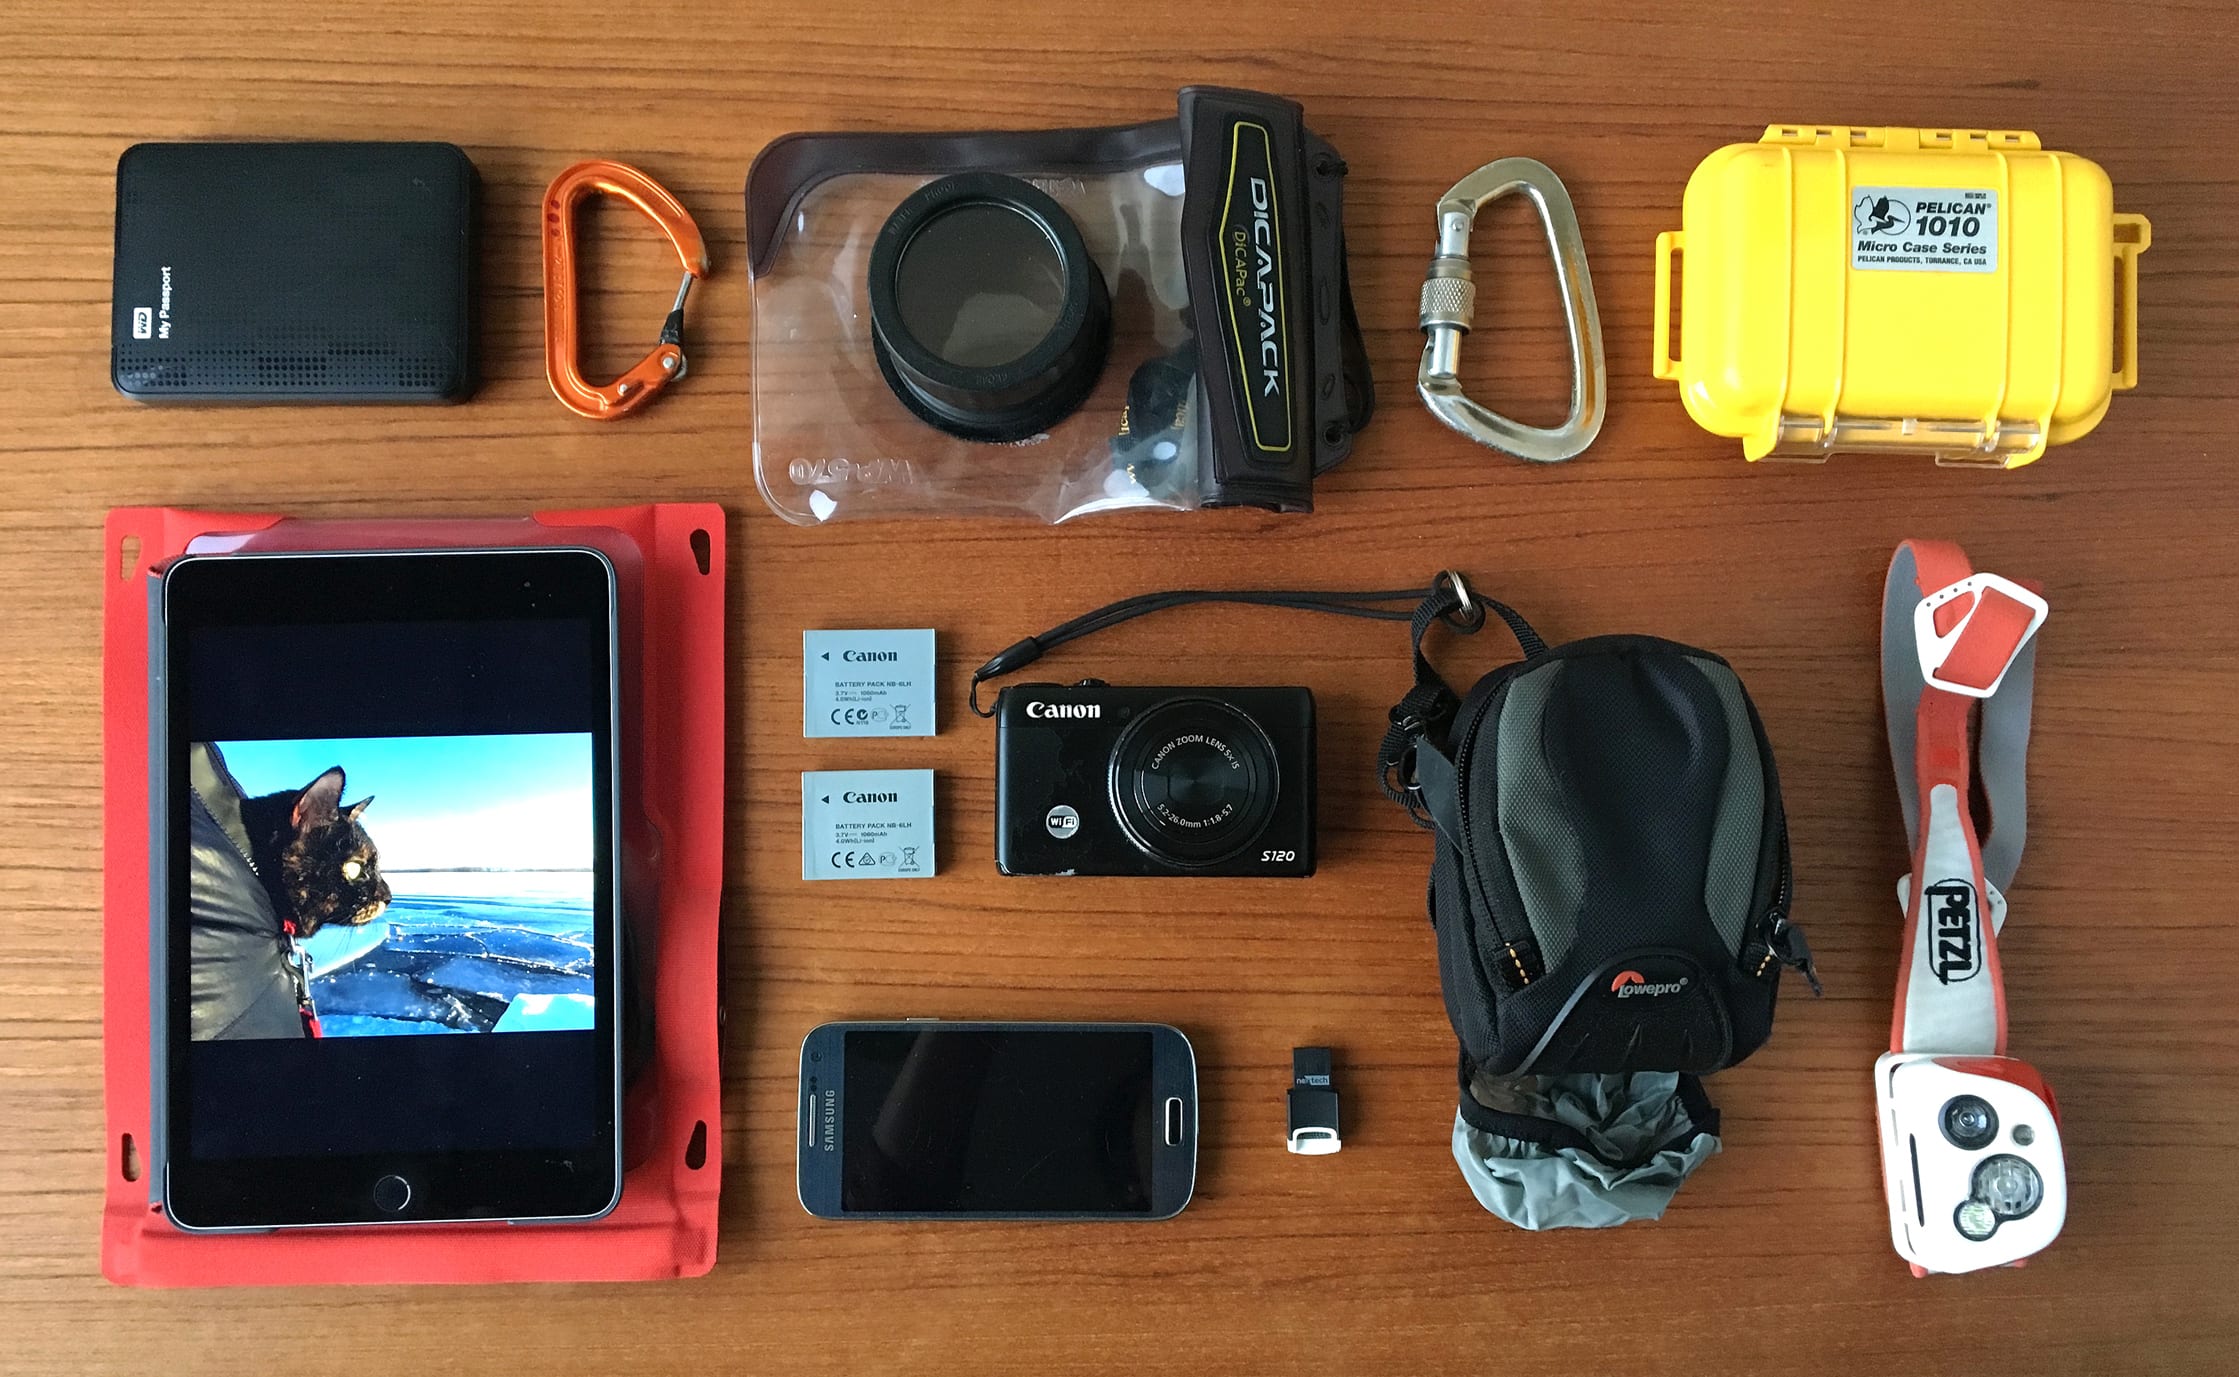
“I’m a rock climber and my point-and-shoot is small enough to lock to my harness in a padded case and go up long routes. Climbing with the DSLR was a bit nerve-racking as I was always restricting my movement to avoid bumping it into the rock. Generally, the S120 is compact enough to carry on me almost all the time (even for daily use in the city when I do site inspections) without feeling bulky.”
—Adrienne Tam, Architect and Photo Enthusiast
The smaller size also means that you’re not expected to purchase a beast of a camera bag to keep it safe. A simple small padded camera carrying case will do the trick, or wrapping it in a beanie or sock in your bag. You’ll want to make sure that there’s something around it to avoid damage, but you don’t have to get too extravagant. That being said, it’s never a bad idea to have a decent camera case with a built-in rain cover.
A downside to the smaller size is that it can be left behind, unnoticed. This could be devastating not just because you’ll be without your camera for important moments, but also because chances are there’s a memory card in that camera that contains some important bits you don’t want to lose track of.
Another downside is that point-and-shoot cameras aren’t known for their low light capabilities. The smaller sensor means that you’ll lose quality when the light starts to get too dim—your camera will kick in a higher ISO or slower shutter speed and your images will come out with digital noise, which is not a good look. Luckily, your camera comes with a built-in flash. This means that you can still take that portrait of your friend blowing out their birthday candles, as the flash will fill in any of the light you may be missing. Adding more light with the flash means your ISO can stay in a range, which will keep your images looking crisp and clean without any digital noise.
There are also other workarounds, like placing your camera on a tripod and increasing the exposure time rather than the ISO. A higher ISO generally means more noise, even though the photo is “brighter” on the LCD screen. Although the technology gets better every single year so give it time and this shouldn’t be an issue.
“Full manual control and enough dials to actually make use of it. I have been able to use it for long exposures in Iceland to capture the northern lights.”
—Adrienne Tam, Architect and Photo Enthusiast
Traveling with a point-and-shoot camera should be as easy as changing a lightbulb. Being so small, there’s not really much to think about other than making sure it’s charged up. We’re pretty confident a point-and-shoot will fit into your carry on bag without any issues. Make sure you take extra batteries and memory cards—you don’t want to find yourself without them in a pinch.
Point and Shoot Gear We Can’t Live Without
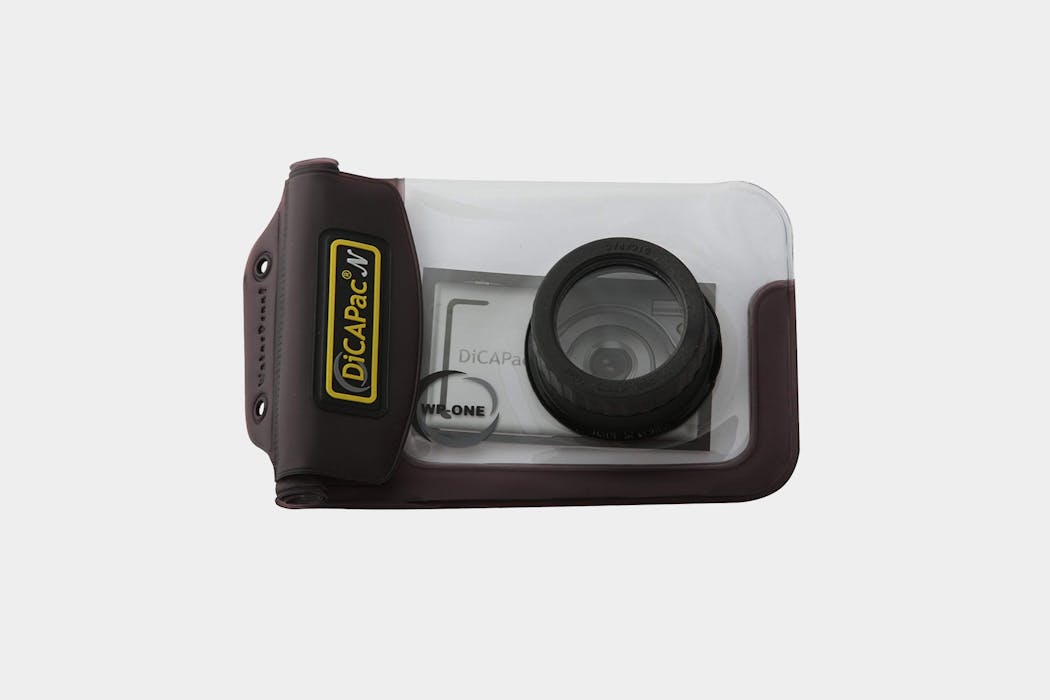
You’ll be able to take your camera literally anywhere with this universal waterproof case. There’s a case designed for each type of camera, so make sure you choose the right one for the camera kit you have. Not only will this keep your camera safe if you get caught in the rain, you can also take it right in the water with you.
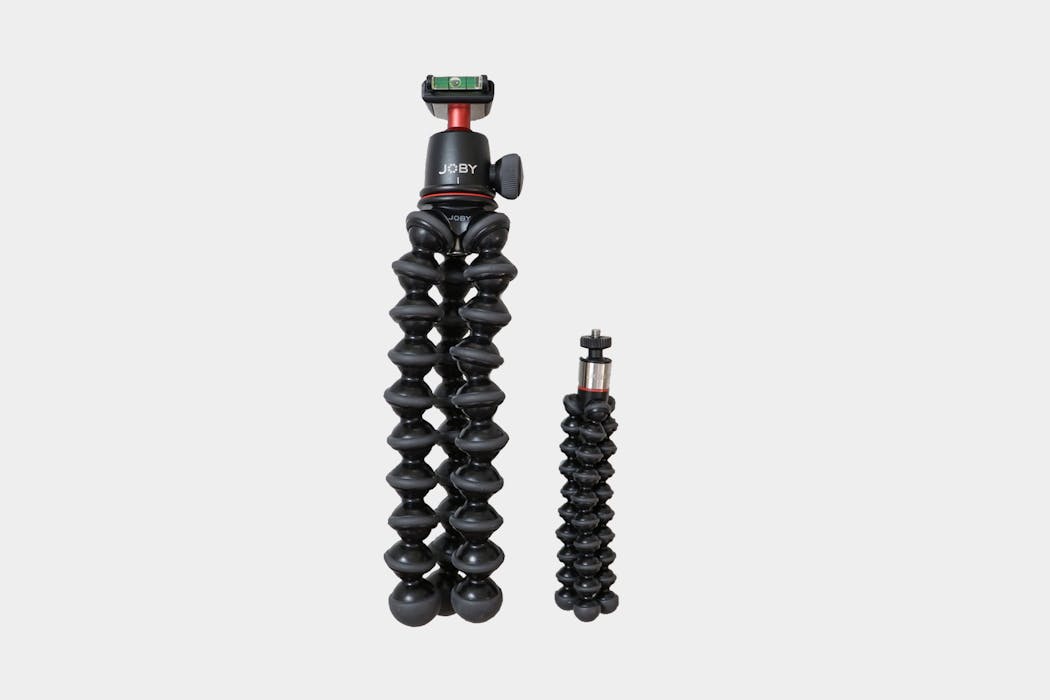
Compact and versatile, this tripod is a great option for traveling. It may look a little funny, but the design has a great purpose. This tripod doesn’t just stand on it’s own legs, it can also be wrapped around various objects to give you more versatility with where you’re shooting from. Want a birds eye view? Wrap it around a tree branch. We recommend size “500” for most point-and-shoot cameras, although there’s a ton of different sizes to choose from based on the size of your camera.
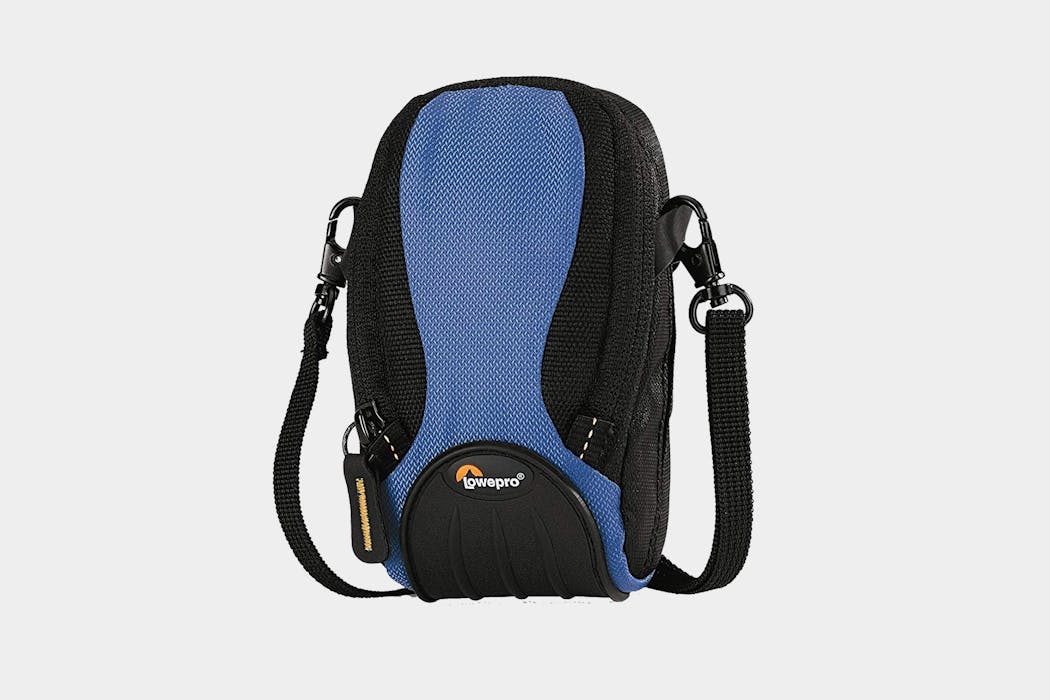
A low profile, rugged camera case. The pockets will hold extra batteries or memory cards, keeping them close and handy for when you need them. There’s also a rain cover tucked in the bottom of the bag so that if you do get caught in the elements, you can keep the important bits dry and safe.
The Skinny
This camera system is the second easiest to use, and one of the smallest. Both of these things make it an excellent candidate for travel. Is it the best camera for travel? We don’t like to deal in absolutes, but it’s definitely in the running.
If you’re seriously interested in photography and can see yourself wanting to upgrade and grow as you learn and experiment with your camera… you’ll be better off with a mirrorless or a DSLR camera. But if taking quick snaps to show your family when you get home from Mexico is your game plan, this camera couldn’t be a better choice.
Our Favorite Point and Shoot Cameras
Who even needs mirrors anymore? These cameras pack a big punch in terms of quality while saving weight and space in your bag.
We’ve teamed up with TOM BIHN to give away a selection of top travel gear! Check it out →
Why Mirrorless Photography?
Mirrorless cameras could be imagined as the middle child between the big, bad DSLR, and the young, innocent point-and-shoot. While they’re a little shy, you can just envision them growing into their skin and giving their older sibling a run for their money. In baseball terms, they’re in AAA, getting ready for their big break in the major leagues.
Okay, we’ll stop with the analogies. Mirrorless cameras are very similar to DSLRs in almost all regards but function a bit differently in terms of the actual mechanics. At the end of the day, DSLRs do tend to trump mirrorless cameras in terms of image quality and craftsmanship—but by a very, very small margin.
The most common reason for choosing a mirrorless camera setup is size & weight. These little gems are still producing quality images, but they’re significantly smaller and lighter than a DSLR. When mirrorless cameras first hit the scene, they were not able to provide the quality of images or focus speed as a DSLR, but they’re pretty darn close now.
Most mirrorless cameras weigh in at around 1.5lbs, and the average size is 3.5”x5”. That will definitely leave more room in your carry on for an extra sundress or your favorite pair of noise-canceling headphones.
Depending on your exposure to digital photography—especially in recent years—you may be thinking “What the heck is a mirrorless camera?!” A mirrorless camera is also commonly referred to as a compact camera system. It’s still a digital camera with interchangeable lenses, but it’s a lot slimmer, smaller and lighter than a DSLR camera. This makes it a perfect candidate for many of your travel photography needs.
But mirrorless cameras aren’t just for traveling—they’ve been adopted by a number of professional photographers as their main camera kit. There’s been a recent push for wedding photographers in particular to make the leap from DSLRs to mirrorless cameras, as the weight is much easier to handle during hour 12 of a wedding day. At the time of posting this, we are currently using a mirrorless camera for most of our YouTube videos (a Sony a6500 with wide lens kit, if you’re curious).
The Nitty-Gritty
Bear with us here, we’re about to get a little technical. To give you some context, we’re going to explain how a mirrorless camera works by comparing it to the DSLR, its close cousin. If you’re interested in learning more about DSLRs in particular, you can check out the next section for a more in-depth look.
A DSLR uses an optical viewfinder and a mirror for you to see what you’re about to take a picture of. So the light comes through the lens, it hits the mirror and gets directed to your viewfinder. When you’re ready to take the photo, the mirror flips down to expose the sensor (or film if you’re using analog) and the light from whatever you’re shooting comes through the lens and hits the sensor, where it morphs into a digital picture. That is why when you click the shutter on a DSLR your viewfinder will go dark.
How does it go from light to image in the sensor? Magic. At least that’s what we’ve been assuming all these years.
The reason a mirrorless camera is able to get away with being so small is that it ditches the mirror inside the camera (clever name for it, huh? No mirror = Mirrorless). It uses a digital viewfinder rather than an optical one, so there’s no need for the mirror. This means that what you’re seeing is simply a digital representation of what is coming through the lens—just like an LCD screen. It also saves quite a bit of space.
How does a digital viewfinder work, exactly? How does it transform that light into some sort of digital feed that you can see? Well, buckle up because we are going to dive into all the specifics on this and totally blow your mind…
Just kidding. We have no idea. It’s magic.
The smaller body may be a plus for traveling and taking care of your body—especially for those of us who carry around a camera for 12+ hours a day—but when it comes to ergonomics, the size can sometimes be an impediment. The smaller body size gives you less surface area to wrap your hand around, which is great for people with small hands, but for some, it can be a little uncomfortable to hold onto for long periods of time. You’ll be using mostly your fingers to grip your camera, rather than your whole hand.

This is a common complaint from people with larger hands who made the switch from DSLR to mirrorless. Besides being uncomfortable, this can also affect the stability of the camera, causing you to lose the ability to shoot with slower shutter speeds without noticing camera shake. One workaround for this issue is adding a battery grip, as it will extend your battery life and give you more area to hold onto your camera. This will nix the whole lighter and smaller quality of a mirrorless camera though, so you’ll have to weigh your options to decide which is best for you.
A mirrorless camera is going to be less expensive than a DSLR in terms of the body and all the lenses and accessories. Having fewer internal components plays a major role in this. The lowered cost of entry makes a mirrorless camera an excellent choice if you’re ready to step up in the photography world from a point-and-shoot or a mobile camera, but don’t quite have the budget for a beast of a DSLR.
Similar to a DSLR, a mirrorless camera allows you to manually manipulate the exposure and depth of field of your images. You can adjust things like ISO, aperture and shutter speed, giving you more creative control of how your images will turn out.
One thing to consider with mirrorless cameras is that you’re forced to rely on the digital viewfinder or the LCD screen to frame your image. There are definitely some perks to using a digital viewfinder/LCD screen, but also some downsides. One perk is that the screen often tilts, so if you’re vertically challenged you can lift the camera over your head and still see—as if you’re a foot taller than you actually are.
One final mention is that a lot of mirrorless cameras use a crop sensor, like the Fuji XT-3. This isn’t a deal-breaker—in fact, if you haven’t used a camera much you may not even notice some of the differences.
What is a crop sensor? It literally means it crops the edges of the frame/photo. A full frame sensor is 35mm, just like the size of 135 film (which is the film you used in your grandpa’s film camera or that disposable you picked up for a birthday party). With a crop sensor, the focal length of your lens will be magnified from what it actually is, so a 35mm acts more like a 50mm, etc. If you’re switching from a full frame DSLR to a mirrorless, this may take a little bit of getting used to but will eventually become second nature.
“Size often comes at a cost—using a smaller sensor size in a camera makes for noisier images, especially when it gets dark out. Cameras at lower price points will lack certain features and performance that certain folks might find essential to their photo taking habits. You often get what you pay for in the camera world; however, skills and resourcefulness are always the most important.”
—Jared Martin, Professional Architectural Photographer
There still aren’t as many options for mirrorless cameras as there are for DSLRs, which may make your decision process a little easier. The ones you’ll probably hear the most about are the SONY A7 Series and the FUJI XT Series. That’s not to say there aren’t more options out there, but these two brands have really paved the way for mirrorless cameras and continue to produce outstanding models. Both of them have well-built cameras that can create incredible images and equally stunning videos, making them strong candidates for the best travel camera.
When looking for a mirrorless camera, you’ll need to consider whether you want a fixed lens or a body that offers interchangeable lenses. Having a fixed lens mirrorless will add some challenges that can both hold you back and also challenge you to get better. It will force you to really move in order to get the image you want—your feet basically become the zoom. That being said, it could also put you in a position where you’re unable to take the photo you want because the focal length you have is just not enough to capture said image.
If you choose to go the other route, interchangeable lenses will allow you to give yourself more options for focal length—just like a DSLR. Don’t be deceived by the size or weight of the little lenses for a mirrorless camera. They still manage to take quality images with a sharpness you’ll be proud to share with your clients or print for your wall.
Here are some lenses to consider for your mirrorless camera. There will be more out there, and it may be a little overwhelming to choose if you’re new to this. If you’re really unsure about which one to go with, try renting from your local camera shop first to see what works best for you. Camera gear isn’t cheap, and it does start to lose its value almost immediately after purchase. Better safe than sorry.
- Fuji 14mm 2.8: This will act more like a 21mm. This wide angle lens is great for landscapes.
- Fuji 23mm F2: This will act like a 35mm lens for your crop sensor. A great story telling lens, it offers a wide perspective without distorting things.
- Fuji 56mm F1.2: This will act like an 85mm lens. A perfect portrait lens.
- Fuji 35mm F1.4: This will act more like a 50mm lens. It’s your all-around lens, usually referred to as the “normal” lens.
Many of the mirrorless cameras have taken a page from the film days in their styling. The Fuji XT-2 and Fuji XT-3 offer a silver & black model that could be mistaken for a 35mm film camera, except it’s not going to stop you from taking pictures after shot #24. Sidenote: how did we ever live with only 24 photos per roll? You would never have been able to get that perfect selfie.
And it doesn’t just look like a film camera, it has a similar feel too. If you have experience with a 35mm camera, you’ll probably ooh and ahh over being able to change your f-stop using the lens ring, rather than a dial on the camera body. This gets both hands involved, rather than relying just on your right hand like a DSLR does. Finally, someone is looking out for the lefties!
Mirrorless Accessories: Beef That Baby Up
Mirrorless cameras have the ability to be souped up with whatever accessories you choose. As they are relatively new, there are not as many options for accessories as there are for DSLRs, but that is likely to change. There are accessory options for both video and still imagery, depending on which you’re most interested in. To make this even more interesting, Sony has adapters for their camera bodies so you can use Canon lenses with your Sony mirrorless camera. This is not a common occurrence with Mirrorless cameras. For most cameras, you will need to purchase lenses from the same brand as your camera body.
Here are some common accessories to consider adding to your kit.
- Battery Grip: As battery life can sometimes be an issue with mirrorless cameras, this is a great addition to your kit. Extend the life of your camera, while sacrificing weight and size. That being said, some people do like the additional weight and size as it can conform to your hand better and add a nice heft.
- Remote Shutter Release: Most mirrorless cameras will have wifi and an app for your smartphone, allowing you to snap a photo from a distance with no chance of jostling things around with your sausage fingers.
- Tripods: Being smaller and lighter than a DSLR, you can get away with a lighter weight tripod.
- Camera Straps: Your camera will come with a strap, but feel free to upgrade this to something you feel more comfortable with. A wrist strap or a sling bag might be the right fit for you.
- Camera Bag: Now that you have your camera, you should have a safe way to carry it around with you.
- Extra Batteries: This is a big one for the battery gulping mirrorless cameras.
- Extra memory cards: This one really applies to every camera kit that requires memory cards. Grab a few extra, you’ll thank us.
- External Flash: So you can continue taking photos when it gets dark, or play with light in more interesting ways.
- Lenspen: For cleaning your lens of dust and smudges.
Traveling With a Mirrorless Camera
You are going to love traveling with a mirrorless camera. It’s lightweight and small but takes pretty pictures. (Well, technically you take the pretty pictures, but it will definitely give you the ability to use your talents.) It’s like a DSLR and a point-and-shoot had a baby and that baby grew up to be badass and sexy as hell (is that weird?). This camera is small enough that it can easily fit in your purse—which means it’s great if you’re looking for minimalist travel photography gear.
Choosing a mirrorless model with interchangeable lenses will give you the most versatility while traveling. Unlike DSLR lenses, mirrorless camera lenses don’t take up much room in your bag, so you’ll be able to pack a few extras. You’ll definitely want to consider what you plan on photographing before you pick your lenses. If you’re mostly interested in landscapes, make sure you pack a wide angle lens like a 14mm, 18mm or a 21mm.
When packing your lenses, you can always tuck them into thick socks or a beanie if you want to maximize on space. And make sure you’re packing a number of extra batteries and memory cards so you don’t run into a situation where you’re without when you want to shoot. Also, you don’t want to forget your charger.
“All of my photography gear and electronics fit into an F-Stop Gear Small Pro ICU. When the ICU is put into a carry-on size roller bag, it only takes up about half the space. That leaves me enough space to carry all of my clothing and personal items to travel for a month at a time.”
—Tara Lilly, Professional Wedding Photographer
Wedding Photographer Tara Lilly’s Mirrorless Camera Kit
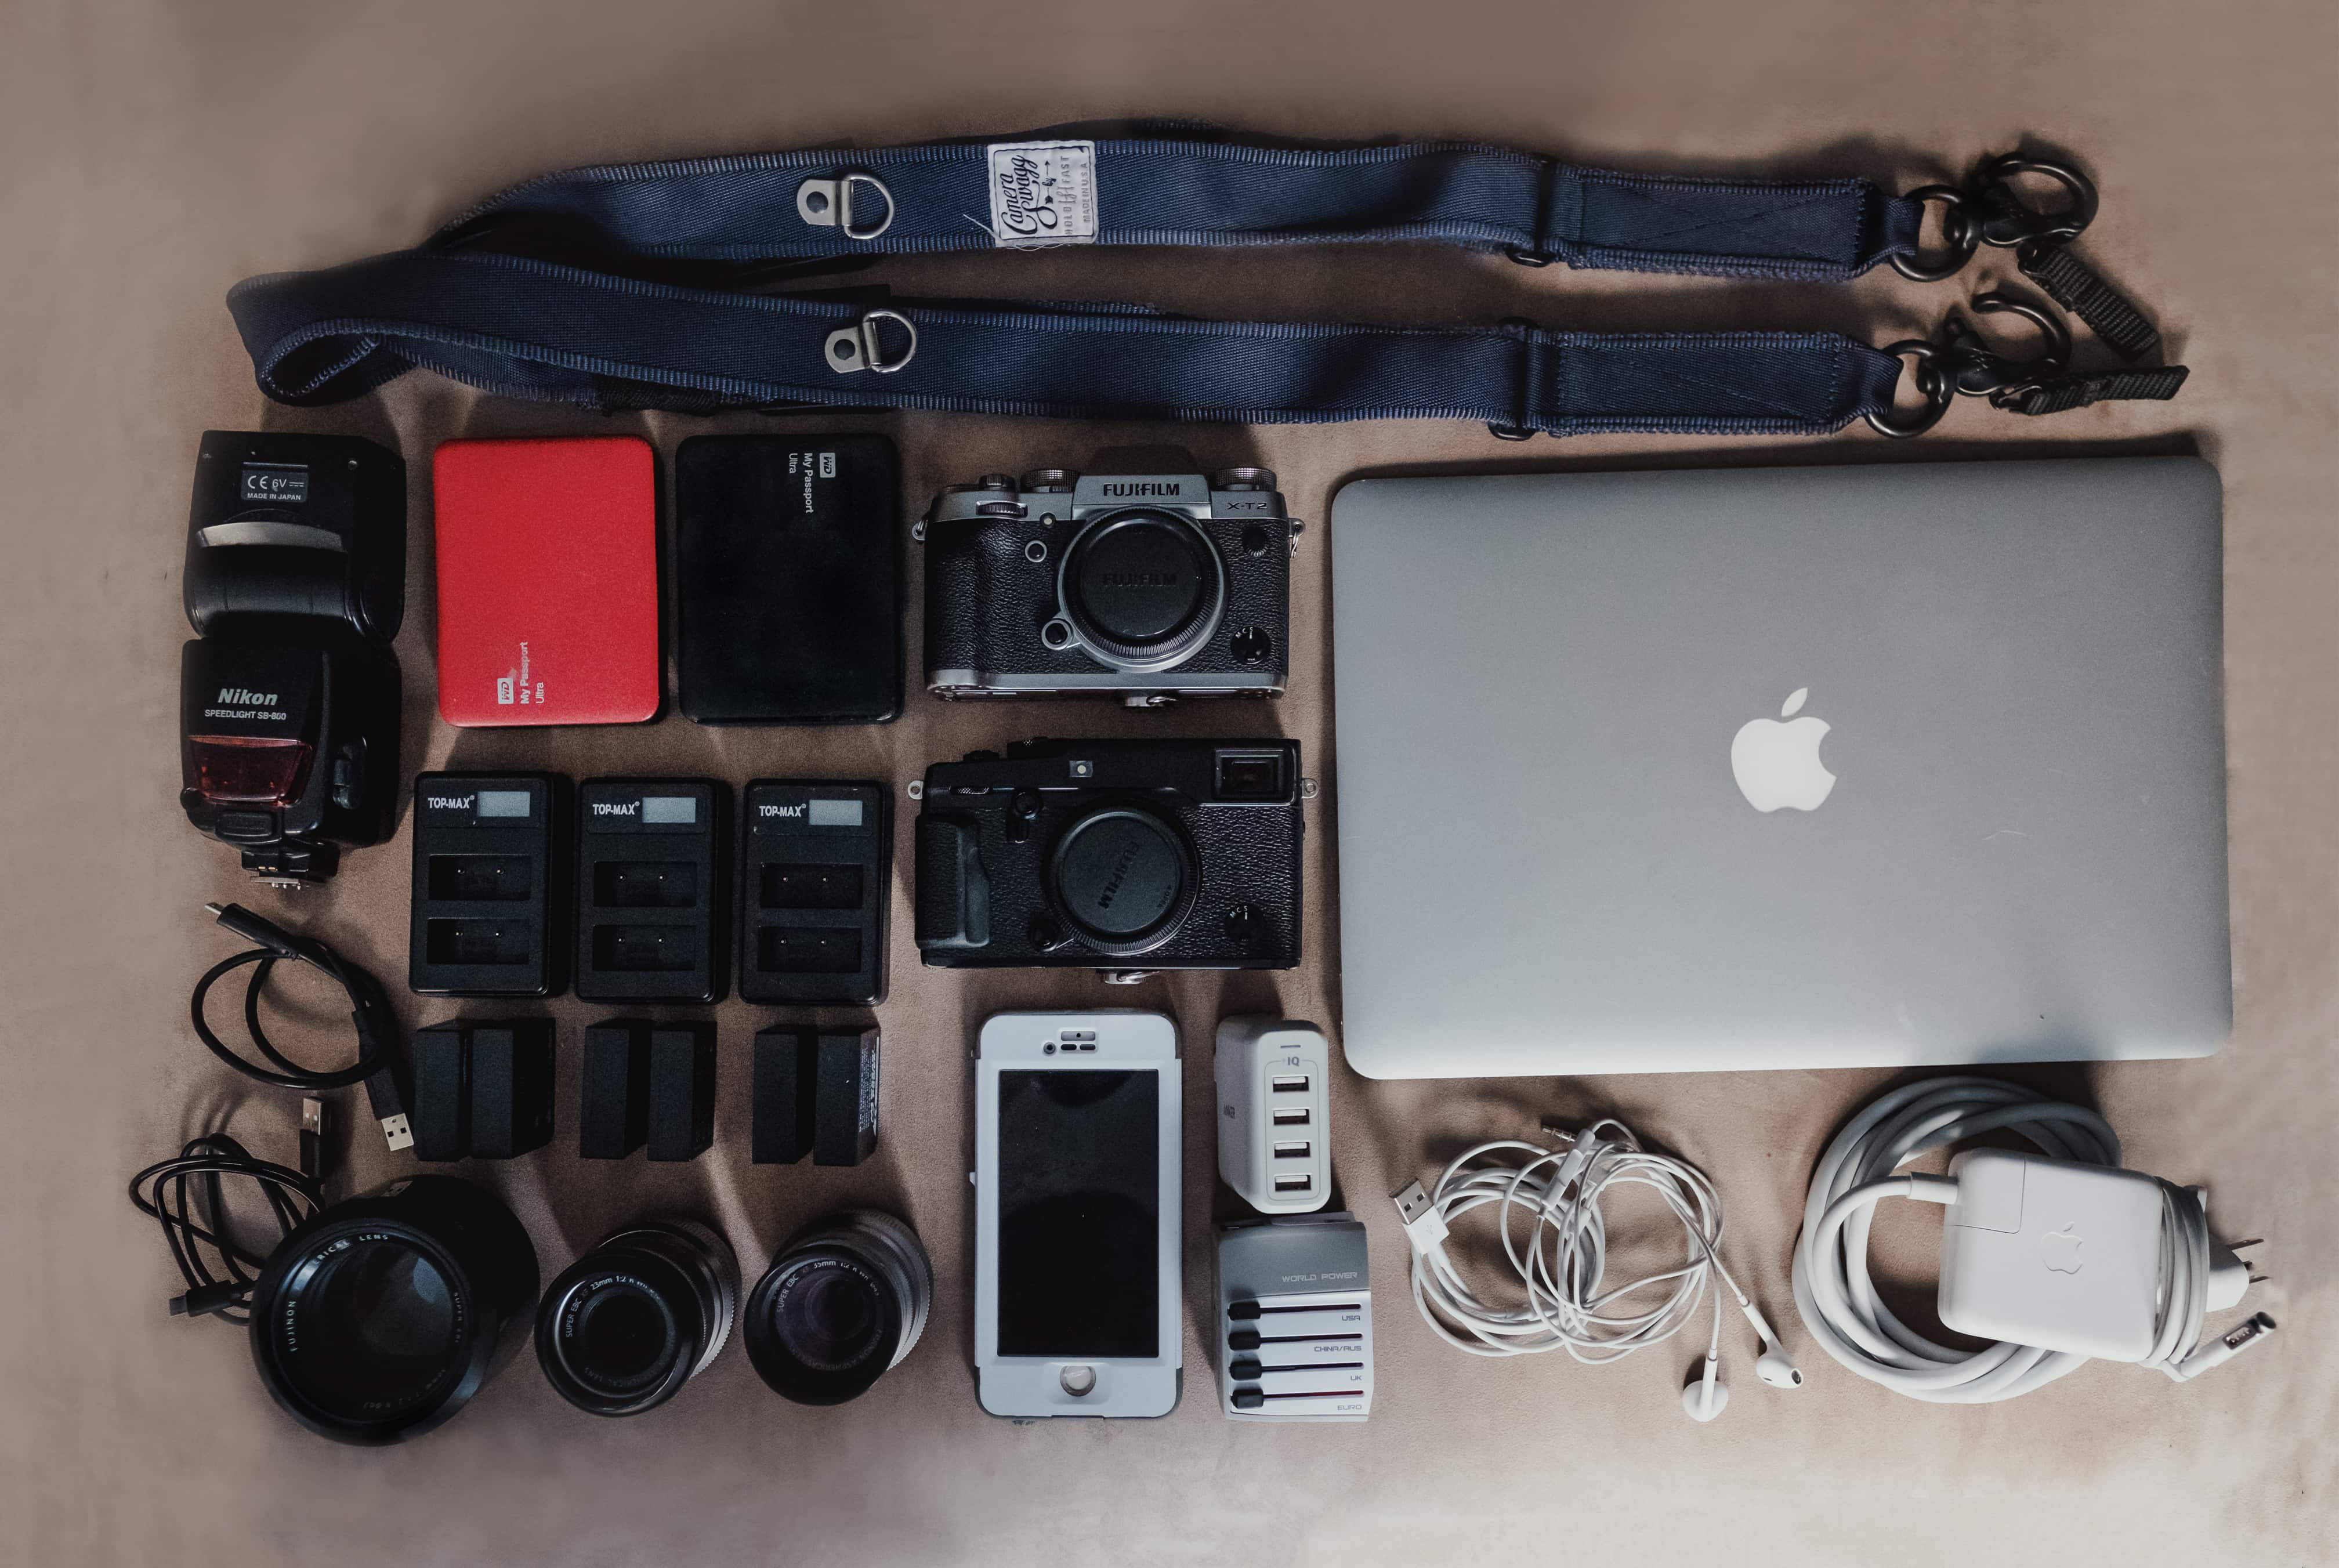
- Hold Fast CameraSwagg Dual Camera Strap
- 2010 MacBook pro with custom SSD upgrade
- Headphones and Lightning Charger
- Universal Outlet Converter
- Anker 4 port usb charger
- iPhone 6
- Fujifilm XT2 Mirrorless Camera
- Fujifilm X-Pro2 Mirrorless Camera
- Western Digital My Passport Drives
- 3 Top-Max Dual chargers for Fujifilm NP-W126S Batteries
- 6 Fujifilm NP-W126S Batteries
- Fujinon 23mm F2 Lens
- Fujinon 35mm F2 Lens
- Fujinon 56mm F1.2 Lens
- Nikon SB800 Speedlight Flash
- Small Pro ICU Camera Cube
Mirrorless Gear We Can’t Live Without
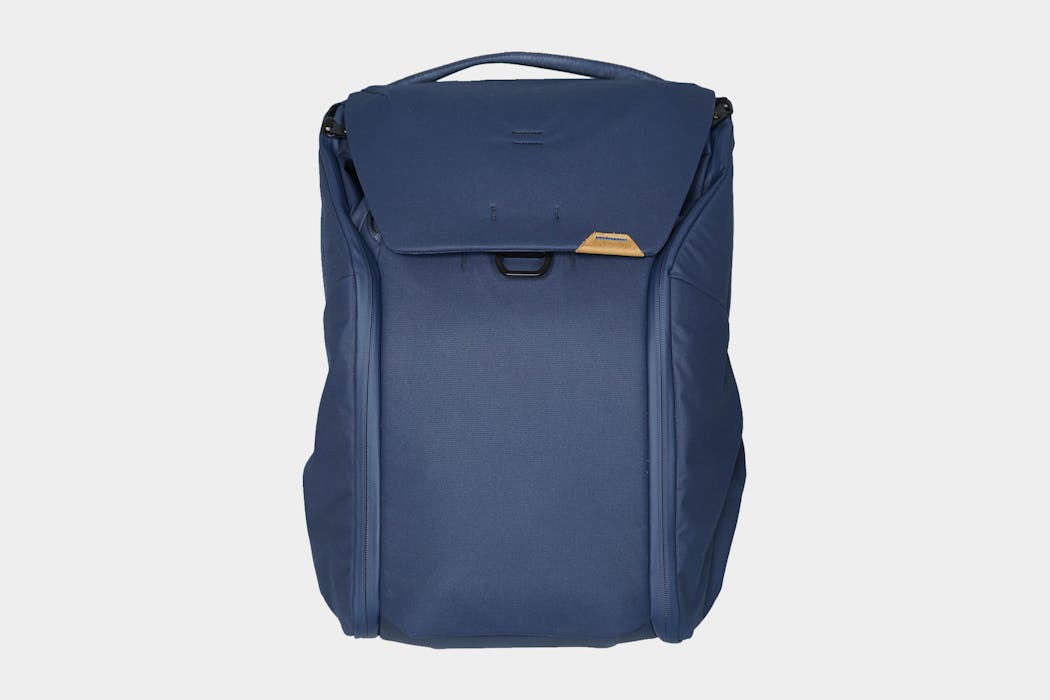
A camera backpack designed with organization and accessibility in mind. A great option for the photographer on the go, this pack has access points on the top and either side, so you can swing it around to get what you need without even taking it off. The interior is well padded and comes with a handful of dividers that you can use to customize the bag to your liking while protecting your gear.
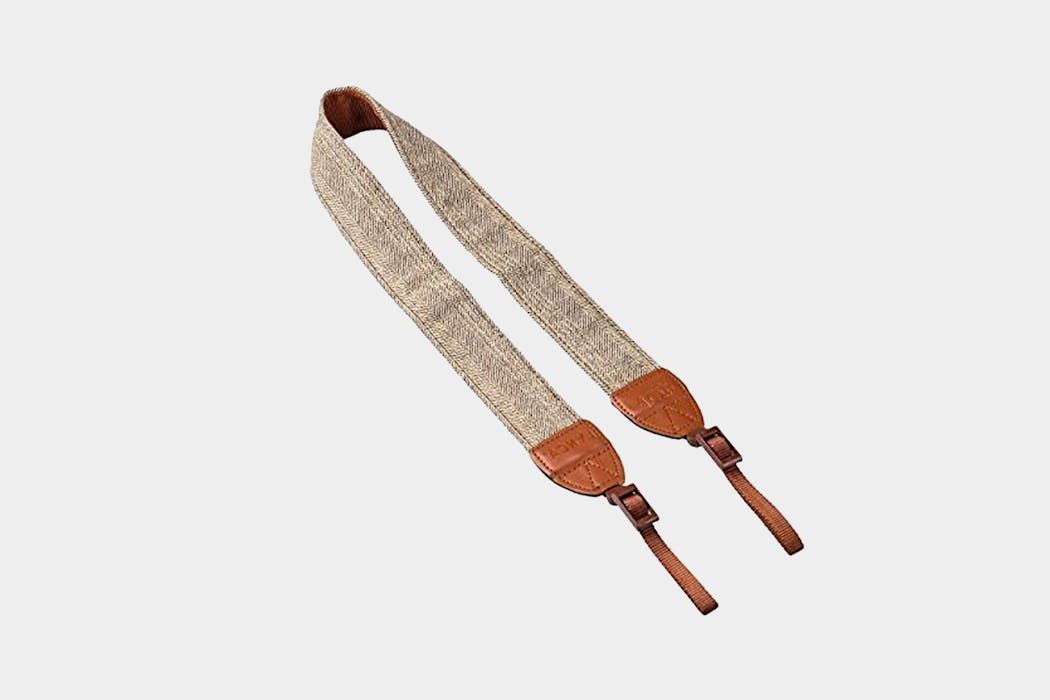
A stylish and pocketbook-friendly strap for your camera. It will give you more padding than the strap that comes with your camera, and you’ll look good while wearing it. The retro-style helps match the look of your mirrorless camera. For around 10 bucks, you really can’t go wrong with this strap.
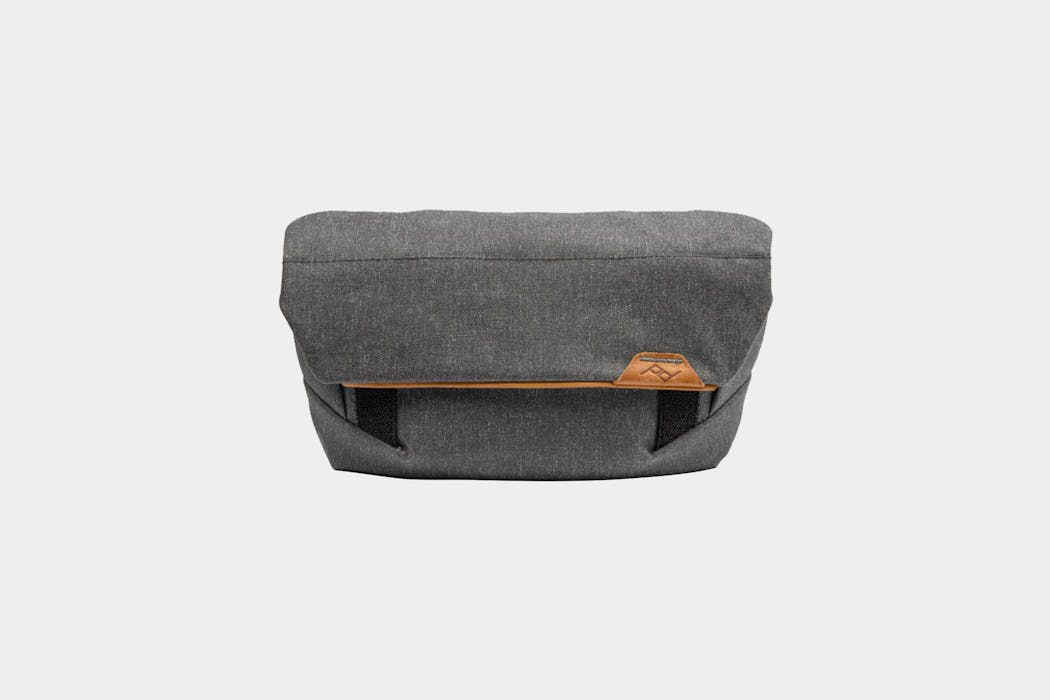
Once you’ve arrived at your destination and you’re out and about, you’ll need a place to keep your extra memory cards and batteries. The Field Pouch offers just that, but it’s also big enough for some mirrorless cameras and your lenses. It can strap to your belt or you can attach it to any of the peak design straps. It’s weatherproof and has a handful of pouches and zippered pockets to keep things organized and safe.
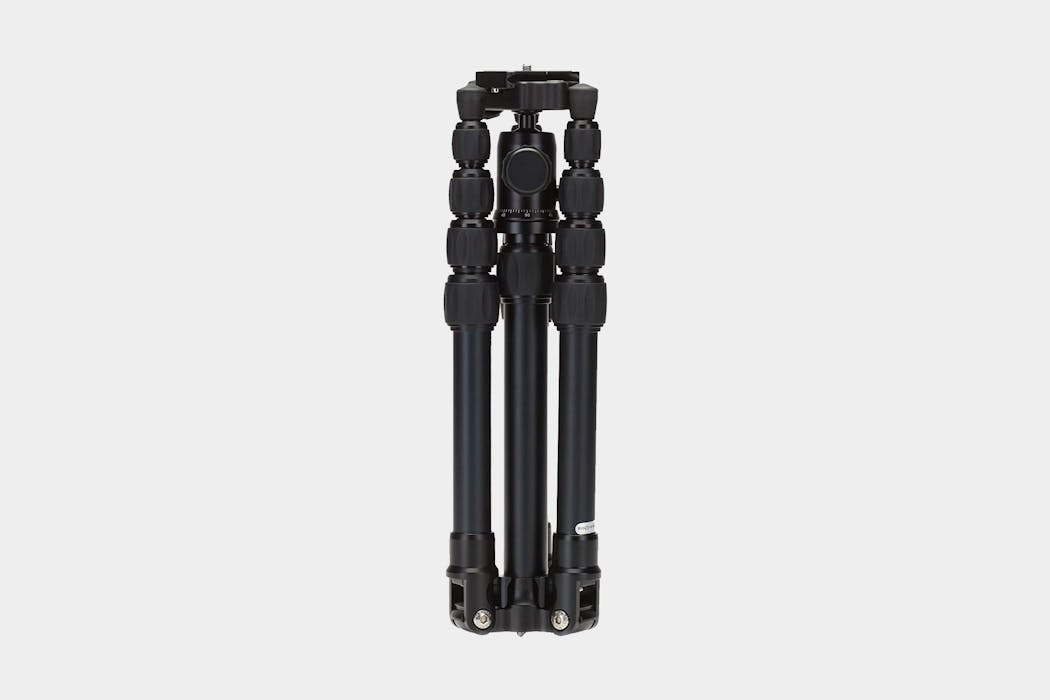
This aluminum alloy tripod is compact and sturdy, which makes it the best travel companion tripod. It comes in a travel case and can fold down to 12.6”, so it can easily pack into a backpack or a suitcase. At only 8.8lbs, this tripod won’t break your back and shouldn’t push you over your weight limit for plane travel.
The Skinny
Mirrorless cameras are new and exciting, especially for travelers. They’re quickly becoming a favorite amongst photographers, and there are lots of reasons why. Having almost all of the benefits of a DSLR without the same hefty price tag, weight, or size means it should be on your radar as a potential best travel camera.
As much as everyone believes lighter and smaller is obviously better, there are some cons to having a smaller camera body. The ergonomics of the smaller camera body can cause problems for some and have even caused photographers to make the switch back to a DSLR. It’s not as comfortable in your hands as you’d expect, especially if you have large hands.

For traveling, the mirrorless is basically a dream come true. This DSLR and point-and-shoot baby will take up more room than a point-and-shoot or a smartphone, but it will also give you versatility and manual capabilities to take your photo game to the next level—which the other cameras just can’t give you. You can add and upgrade your kit as you go, making this a camera you’re not likely to grow out of anytime soon. Just make sure you invest in plenty of batteries, as these little guys do get hungry.
In a lot of ways, mirrorless cameras and DSLRs are neck and neck. For this reason, if you’re interested in taking spectacular images while traveling but can’t stomach the thought of lugging around the weight of a DSLR, it’s time to check out a mirrorless camera.
Our Favorite Mirrorless Cameras
The big guns. The trusty DSLR can do it all... The question is, can you handle it?
We’ve teamed up with TOM BIHN to give away a selection of top travel gear! Check it out →
Why DSLR Cameras for Travel?
The number one, overarching benefit of a DSLR is quality—both in terms of image quality and the build quality of the actual cameras and their components. A DSLR can take incredible photos in any environment you could think of, and with a bit of care and precaution, it can last a lifetime.
DSLRs offer a slightly ridiculous amount of versatility. At a basic level, a DSLR is a camera body with a lens attached—just like a mirrorless camera. This alone offers an incredible amount of versatility, as swapping lenses out can drastically change the nature of the camera and the photos you can take with it. DSLRs can work seamlessly with studio lighting, city streets, or wild landscapes. You can even turn these bad boys into little video-making machines if you grab the right tools.
And just like a mirrorless camera, DSLRs can be customized to best suit your needs with a variety of accessories, such as flashes or battery grips. The difference is that the amount of accessories available to DSLR users is miles ahead of what is currently offered for mirrorless cameras.
Keep in mind if you’re upgrading from a camera such as the Fuji XT-2 to the Fuji XT-3, you’ll need to upgrade your battery grip too, as the camera bodies are different sizes.
Are you starting to get the picture? (Pun intended.)
Of course, we can’t list all these benefits without a disclaimer. While the DSLR may seem like the perfect all-around package, it does come at a cost—both in terms of money, weight, and space. Jumping into the world of DSLR’s will mean buying a camera body, one or two lenses, batteries, memory cards, and maybe a few other doodads. This comes at a hefty price and will take up quite a bit of space and weight in your bag. Enough space that you may, in fact, need to commit one bag to hold all of your camera gear—which makes DLSR cameras a less-than-ideal choice for those who value minimalist travel photography gear.

That being said, the results speak for themselves. Nine out of ten professional photographers are rocking a DSLR setup. Wedding photographer? Yep. Portrait photographer? Check. That landscape photographer that takes the most unbelievable sunrise photos you’ve ever seen (and also makes you question what time they woke up)? They’re rocking a DSLR, guaranteed.
While the weight and size of a DSLR setup may deter some travelers, it is not uncommon to encounter one bag travelers that simply couldn’t leave their DSLR behind. Once you get your hands on one, there’s a good chance you’ll be a convert for life.
“As much as I would love to ditch some of the weight of my DSLR, especially when traveling, I just can’t find anything that I love as much and I can’t compromise on quality for my clients.”
—Frances Beatty, Professional Wedding Photographer
The Nitty-Gritty
DSLR stands for Digital Single-Lens Reflex. It’s an adaptation of the old camera you probably saw your grandfather use at family reunions. A marriage between analog and digital, the DSLR takes the mechanical elements of an SLR camera and adds in a digital sensor to replace the film found in an old analog SLR.
The two major components of a DSLR are the body and the lens. Inside the body, there’s a mirror that takes what the lens is looking at and either directs it to the viewfinder or the sensor, which makes this an optical viewfinder. What you see is what you get, in real-time.
All DSLRs have interchangeable lenses, which means the sky’s the limit for what and how you can shoot. For example, you can shoot portraits on the street one second and swap out your lens to shoot a beautiful landscape the next.
The choices when it comes to both camera bodies and lenses are pretty extensive. One of the reasons DSLRs are still the most popular type of camera to date is that you’re not limited to only one focal length—the camera kit can grow with you. You can easily start with the handy-dandy kit lens that comes with your camera at purchase, or slowly upgrade to some faster and better quality glass. There’s a lens for every purpose and every price point imaginable.
When choosing a lens you’ll want to work backward from what you plan to shoot. Start with the two main categories—zoom and prime—and then look into the actual numbers. If you’re new to photography, you might want to refresh yourself with the terms in our glossary.
Here are some examples of lenses you might want to consider for traveling. We’ve used all Canon lenses as an example. Other brands will have their own suite of comparable lenses.
Zoom Lenses
- 18-55mm f3.5-5.6 (kit lens): Comes with most entry-level DSLRs. It’s lightweight and will give you a good range of focal length. A good starter lens.
- 24-105mm f4 (kit lens): A standard lens that comes with most pro-level DSLRs if they come with a lens. Heavier and faster than the 18-55mm, the glass is better quality and provides a sharper image. A good step up if you’re interested in moving towards Pro.
- 24-70mm f2.8: Great for low light, and commonly used by professional photographers working in portraits or weddings.
- 70-200mm f2.8: A good range from portrait-telephoto. This is a heavy beast, but its low light ability is excellent, and it’s a sharp lens: Used by wedding photographers and videographers alike.
- 200-400mm f4: Telephoto. Mainly used by wildlife photographers.
Prime Lenses
- 24mm f2.8: Wide angle. Landscapes.
- 35mm f1.4: Storytelling. Used by many street photographers and wedding photographers.
- 50mm (f1.2- or 1.8): Standard lens. This focal length is very similar to what we see with our eyes. The aperture available on these lenses also make them a great option for low light.
- 85mm f1.4 IS: Portrait lens.
- 135mm f2: Telephoto for those hard to reach places.
- 400mm f4: Sports and wildlife.
DSLR Accessories: Down the Rabbit Hole
In addition to lenses, the DSLR system can be customized to best suit your needs with a handful of accessories, such as a flash or battery grip. It’s also designed to work equally as well with both studio lighting setups and natural light settings. On top of that, if you decide you want to switch gears from photography to videography, there are countless accessories to add to your DSLR to turn it into a little video-making-machine.
To give you an idea of the possibilities, below is a list of some of the accessories you can attach to your DSLR, in addition to the lens:
- Battery grips
- Remote shutter releases
- Tripods
- Camera straps
- Microphones
- Video lighting
- External flashes
- A multitude of flash Accessories: bounce cards, filters, diffusers, softbox, tripods, triggers, grids, umbrellas…
“In my category of photography, I use flash—I have to have my 600EX flash with me at all times. And since I use flash throughout an entire day, I carry around an external battery pack. I also use a folding flash bracket because I need the flash to be above the lens at all times and I’m frequently switching between landscape and portrait orientation. The only other accessory that I sometimes use is a Gary Fong collapsible flash diffuser to soften my flash a bit.”
—Corey Tenold, Professional Fashion Photographer
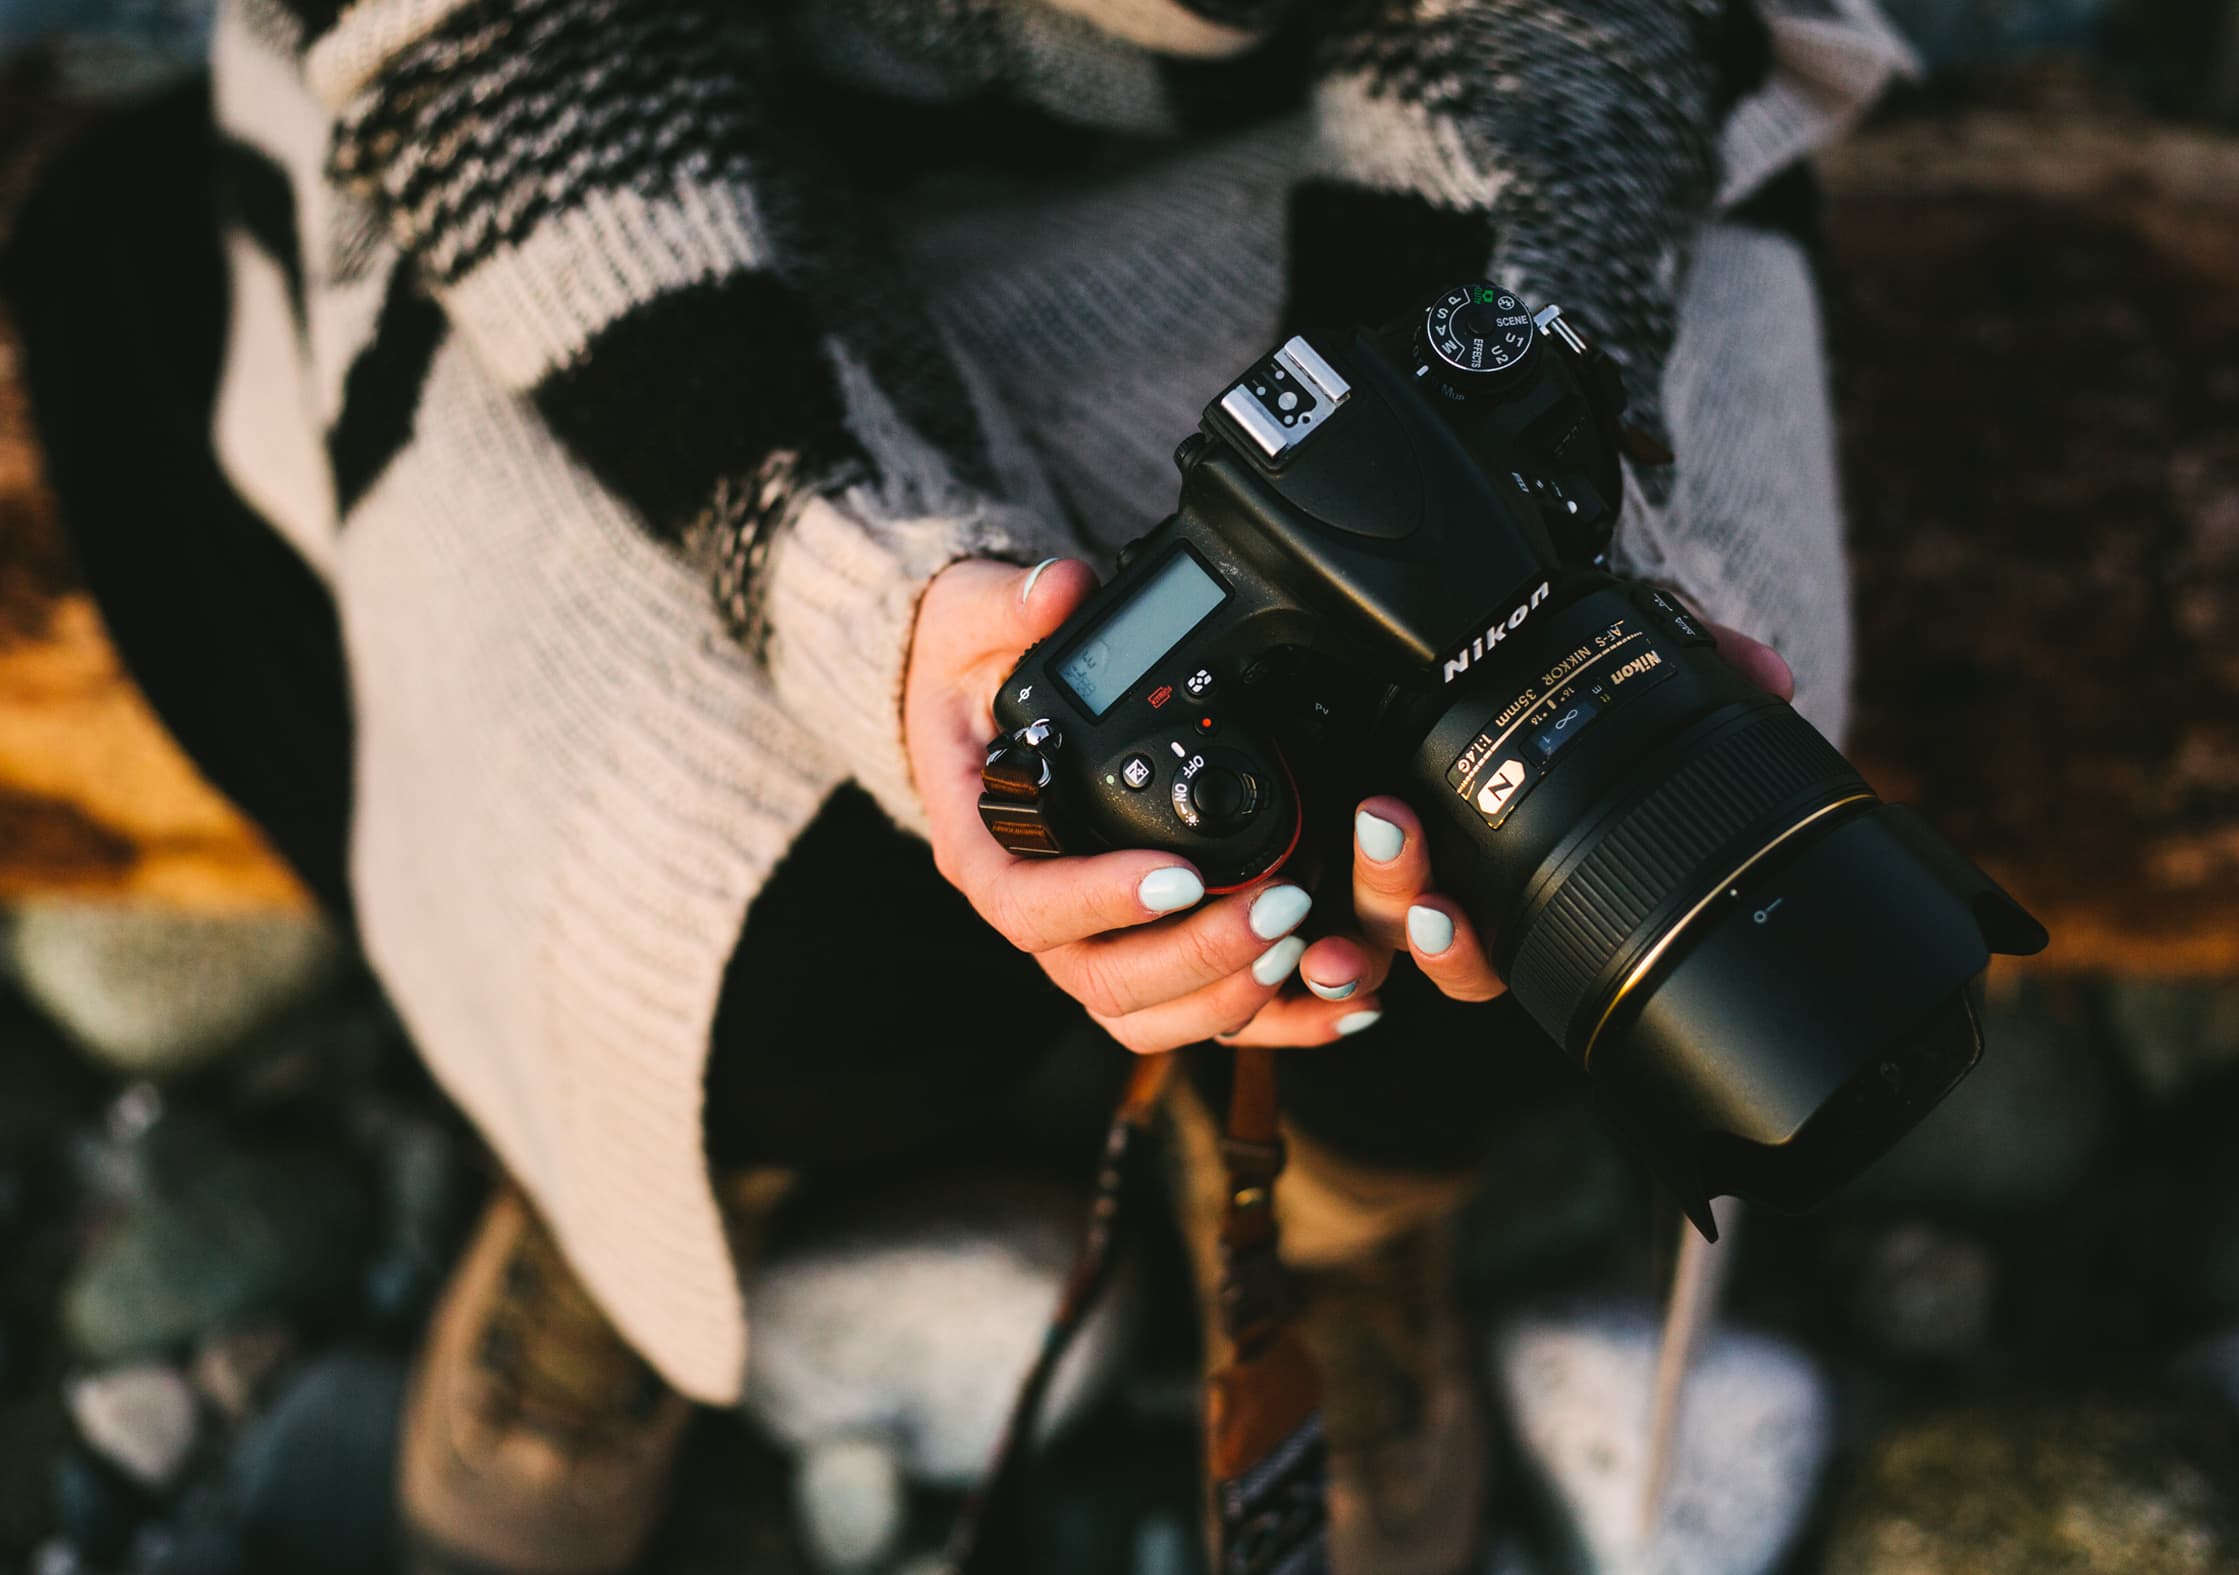
The Canon vs. Nikon Debate
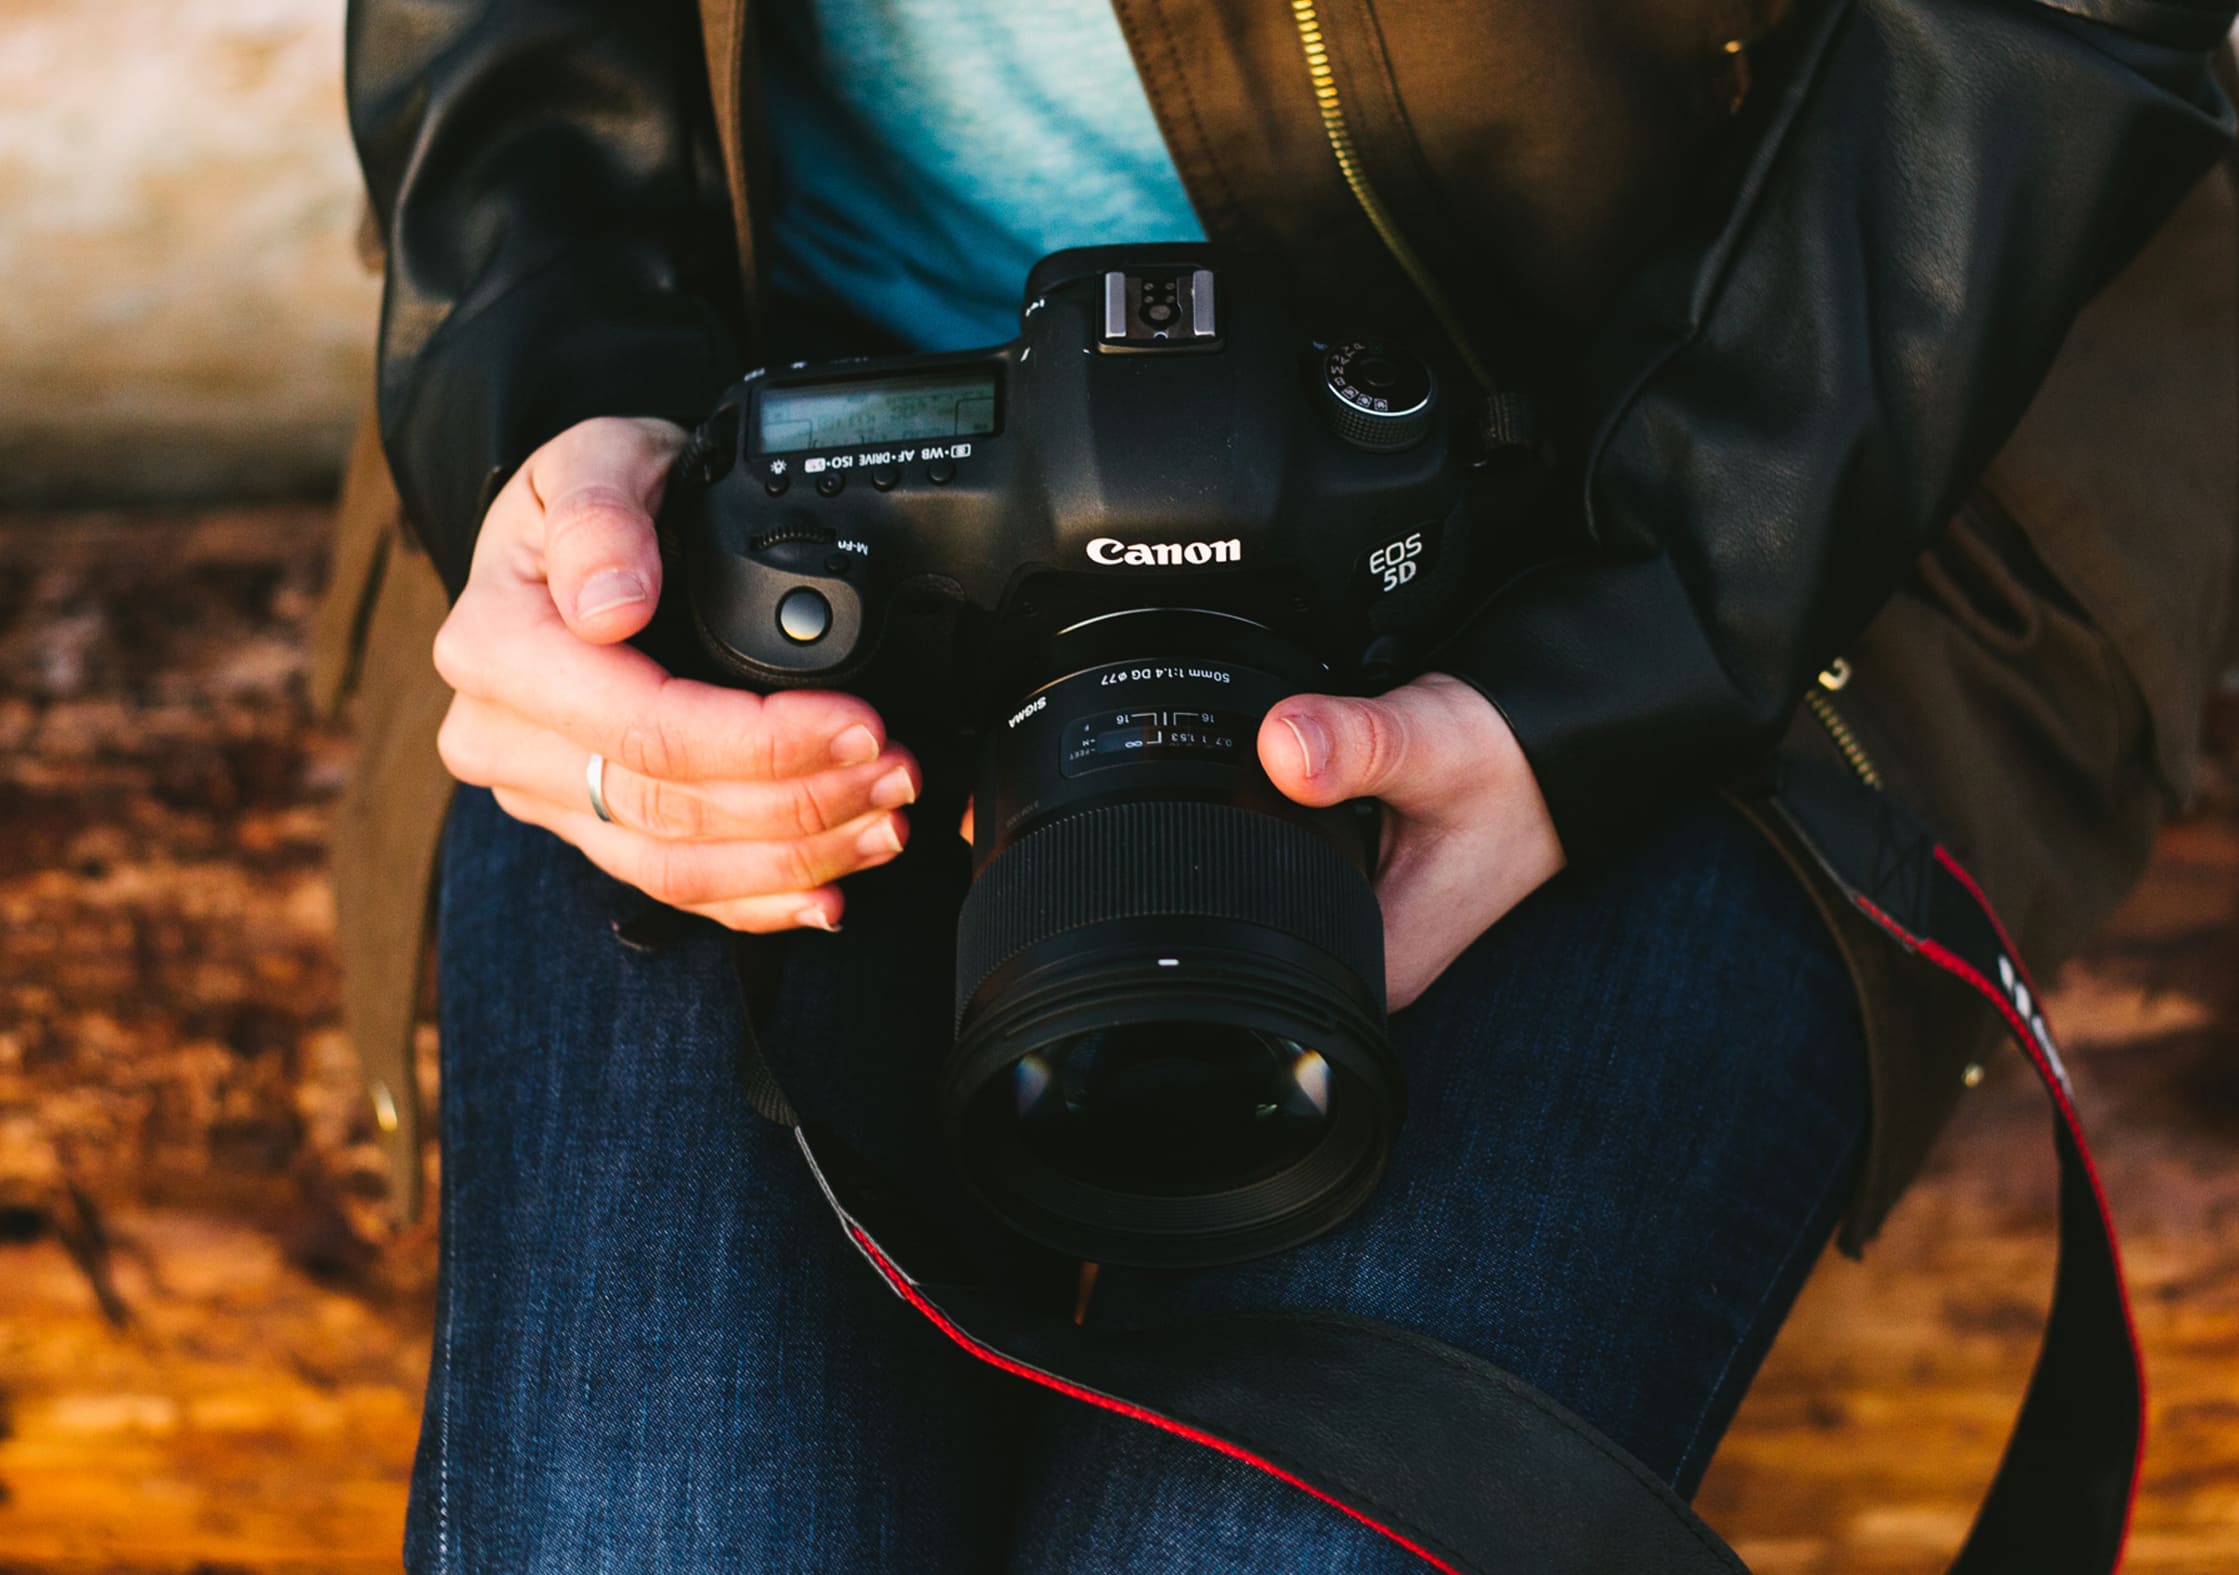
As we mentioned in the beginning, quality is the main benefit of a DSLR. There are, of course, different options for quality at different price points—you get what you pay for, after all. DSLR camera bodies range from entry-level camera bodies to professional level. The Canon 5D Mark IV is a great example of a professional-grade DSLR that’ll cost a pretty penny, but with its 30.4 MP full frame sensor and 4K video, you should be able to take some unbelievable photos that you can enlarge to 20×30” without any issues. A similar camera—and another favorite of ours—is the Nikon D850.
Which brings up the Nikon and Camera debate. Before we get into trouble, we’d like to take a second to address this never-ending feud. For the uninitiated, Canon and Nikon are by far the two biggest DSLR brands out there. They are extremely close in quality—so close that it is virtually impossible to say that one is objectively better than the other—yet there is a strong divide in the photography community between Nikon users and Canon users.
Due to compatibility issues and brand loyalty, Nikon users tend to stay Nikon users and Canon users tend to stay Canon users. This is largely because it is difficult to mix accessories between the two brands and the expenses associated with switching teams. Once you pick one, you’re kind of stuck with it.
The unfortunate result is endless arguments between Canon and Nikon users over which brand is “the best.” Hop on to any photography forum and you’re bound to encounter some sort of Canon or Nikon bashing. It’s a topic that gets never-ending attention from photographers and may have even resulted in a black eye or two over the years.
There will always be the Canon vs. Nikon debate, but we don’t buy into that at Pack Hacker. The truth is they’re both great brands and build cameras that take great quality images. Ultimately, it comes down to personal preference. Both Canon and Nikon handle files differently. Nikon retains more details (or information) in the shadows of your images, whereas Canon will retain more information in your highlights. Neither one is right or wrong, but you will find you have a preference based on how you want your final images to appear. If you’re unsure of which brand suits you best, we’d recommend going into your local camera shop and trying them both out. One will most likely feel more comfortable in your hands.
“A large reason I use the Canon system is because a lot of other colleagues and studios I work with also use Canon, so borrowing gear is easy. Need a battery? No problem. Want to borrow a lens? No problem.”
—Corey Tenold, Professional Fashion Photographer
Automatic and Manual: The Best of Both Worlds
One final benefit of a DSLR is that it has both automatic and manual settings. Like most cameras, the automatic settings are great for certain things, but they don’t allow you to have creative control over what kind of image you’re taking.
Just like mirrorless cameras, DSLRs are designed to give as much freedom as possible by giving you the ability to choose manual modes, auto modes or a cross between the two with modes like aperture or shutter priority. Auto modes are convenient, but they don’t allow you to have creative control over what kind of image you’re taking—which many consider a must.
DSLRs also allow you to shoot in Raw or JPEG, which makes a big difference depending on how you will ultimately be using the image. A raw image will capture far more information and give you more room to edit afterward, whereas JPEG compresses your image right away—meaning you’ll lose some of that editing capability.
With most DSLR’s you can also shoot both RAW and JPEG simultaneously—the best of both worlds. This will eat up some of your memory, but then you have both to play with. If you’re new to photography and haven’t taken on the task of editing your RAW images yet, you might just want to stick with JPEG in the beginning for the sake of convenience. That being said, if you plan on trying out editing at some point the benefit of shooting RAW+JPEG is that you can always go back and edit old images once you’ve mastered your editing tools. You’ll have easy and quick access to the images you have just taken, but also be able to edit them to perfection later on. Bingo!
For most pros, the ability to shoot on dual cards is the real winner. This adds an immediate backup for all of the images they are taking for clients. For this case shooting RAW to both cards is probably the answer, that way if something becomes corrupt or lost, you still have a copy of all of the images to give to clients. You also have the option to shoot RAW on one card and JPEG on the other, or RAW+JPEG to both! It’s up to you to decide what works best for your workflow and how much space you’re willing to take up on your SD card(s).
Traveling With a DSLR
While DSLRs range in size & weight depending on which body or lens you have attached, they are generally the largest and heaviest of all the cameras in this guide. They pack the biggest punch in terms of image quality, but they can be cumbersome when traveling for long periods of time.
If you’re a big fan of traveling light, a DSLR may not be the beast for you. But as we mentioned before, many people find the superior quality outweighs just about everything else.
When considering a DSLR for travel, one thing to note is that body and lens sizes can vary quite a bit. This also means that the weight of your camera will differ greatly depending on what you choose.
When it comes to camera body sizes, there’s a huge variance in size & weight:
- Canon Rebel t7i: 5.16” x 3.93” // 532g
- Nikon D3400: 4.88” x 3.86” // 460g
- Canon 5D Mark IV: 5.93” x 4.58” // 800g
- Nikon D850: 5.75” x 4.88” // 1000g
- Canon 1D Mark IV: 6.14” x 6.17” // 1230g
Keep in mind, that’s just for the body sizes. When you take different lenses into account there’s a ton of variability in kit size. Generally speaking, the biggest lens you’ll see will be telephoto lenses, which are mainly used by either sports or wildlife photographers. A Nikon AF-S 600mm 4.0, for example, comes in at a whopping 6.54” x 17” and 3810g—also known as “ginormous” in layman’s terms. On the flipside, smaller lenses, while lacking the ability to pick out rocks on the surface of the moon, can be drastically smaller. Take the Canon EF 50mm 1.8 as an example—it’s only 2.7” x 1.6” and 162g. A lens like that is certainly used for different types of photography, but if you don’t plan on doing a lot of birding on your trip to Iceland you might want to leave the telephoto at home.
If you’re curious about sizes or looking to make use of every inch in your one bag travel pack, you can compare different body sizes and weights at Camera Compare. A website that we find ourselves getting lost on with some regularity.
“Think about matching your setup with your needs and travel style. A DSLR and a quiver of lenses is awesome, but not if it doesn’t make it out of your backpack.”
—Adrienne Tam, Architect and Photo Enthusiast
You’ll really have to think about what you’re planning on shooting and how you’d like to do so before you choose the lens you’re going to take with you. If you like versatility but don’t want to take more than one lens, you should definitely look into some zoom lenses.
Something like the Canon 24-105mm is a great option and will give you a good range of wide to telephoto. If you prefer the challenge of moving your body to get the right composition—rather than just zooming in—we’re massive fans of the Nifty Fifty by Canon. It’s a 50mm 1.8 lens that’s small, light and super purse happy. For a mere $150, you’ve got yourself a great little lens. It’s a classic for most beginners because of the price point, the shallow depth of field and the perspective, but it’s not just for newbies. This thing can pack a punch.
“I often travel with my nifty fifty as my only lens. It’s so light and I grew up shooting with a 50mm 1.8 so it feels like going home. The images are sharp and I love the perspective.”
—Frances Beatty, Professional Wedding Photographer
If you’re sporting a Nikon camera, consider the D lenses. They’re more compact than the professional range of lenses and they’re light as a feather. They may not be as tack sharp as some of the heavier and more expensive lenses, but they’ll get the job done. They’re a staple for many professional photographers as well as hobbyists.
DSLR Gear We Can’t Live Without
Holdfast Money Maker
A leather holster type camera strap, this allows you to carry two cameras at once—a favorite for wedding photographers. The even distribution of weight takes some of the pressure off of your neck and back, which is helpful on a 12 or 14 hour shoot. The hardware is tough and intended to take a DSLR with a professional lens, plus there is a redundancy tether that will be sure to keep your gear safe.
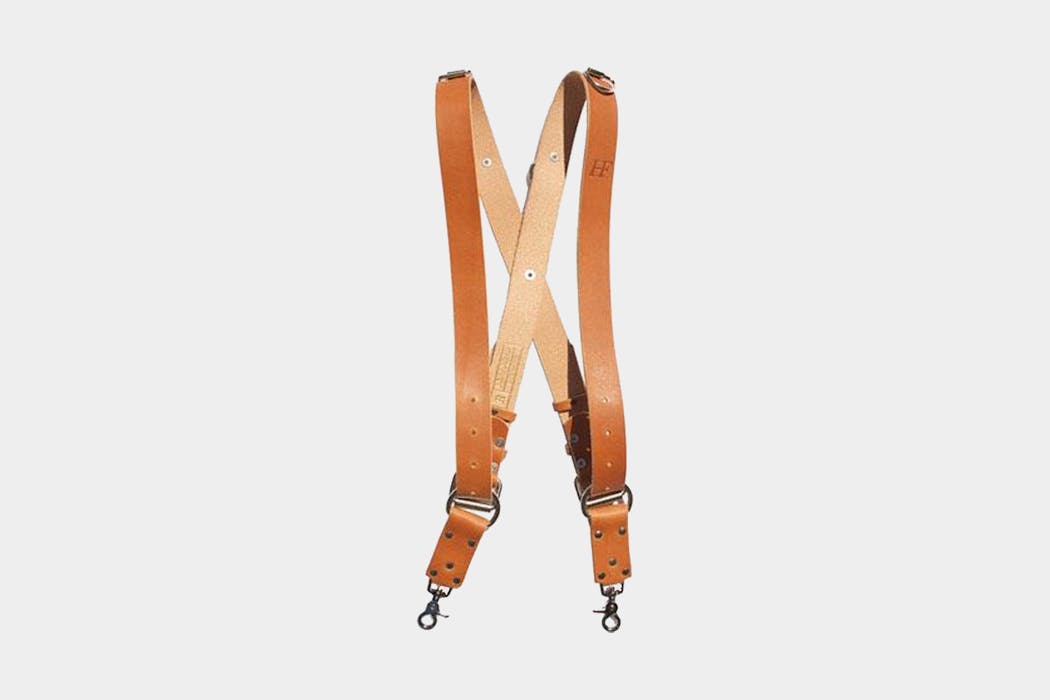
The leather looks sharp whether you’re dressed down for a less formal shoot or wearing a suit/dress at a wedding, looking like a total badass. There are also a number of options for colors, and they even make a vegan option!
“I get a lot of compliments while working. Lots of people liken me to Lara Croft, which I won’t complain about.”
—Frances Beatty, Professional Wedding Photographer
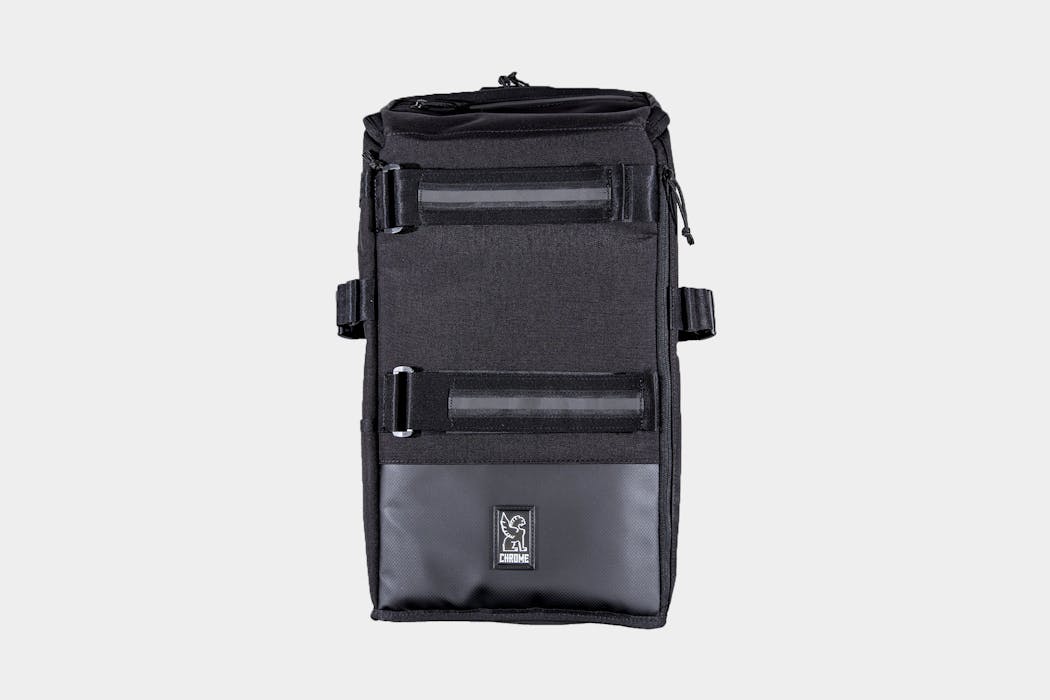
This medium-sized backpack is a great option for anyone carrying around a good deal of lenses and gear with them. It’s got some great features for any urbanite photographer on the go, and we think it has a nice overall construction with some solid craftsmanship.
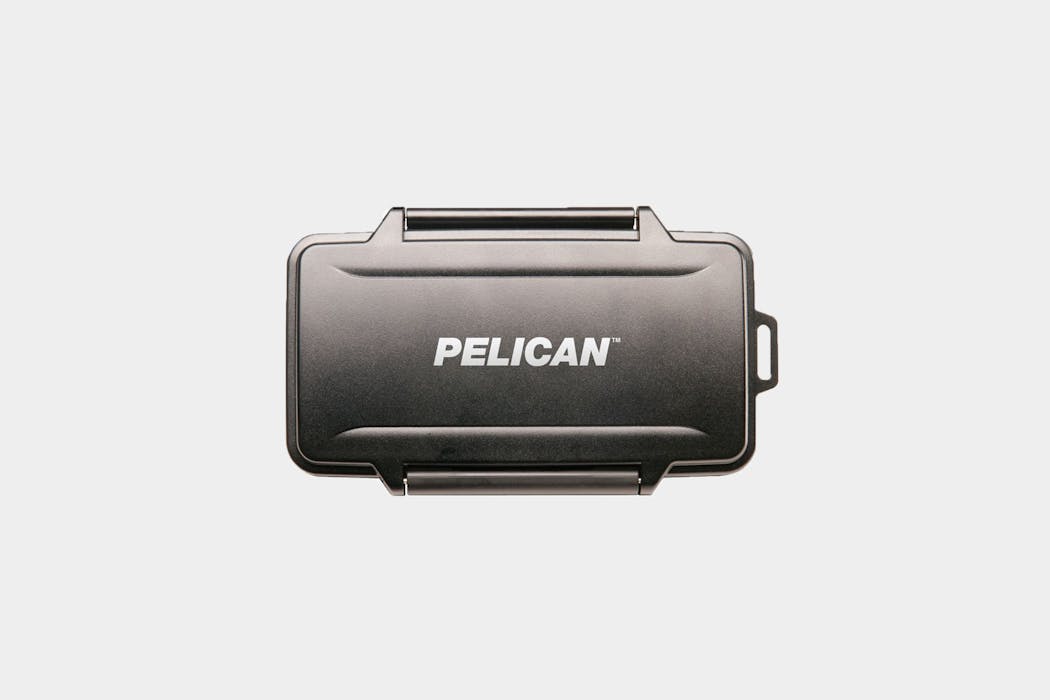
A hard case is useful for keeping your memory cards safe from the elements and organized in one place. We like the Pelican because it’s waterproof and holds quite a number of cards. There are two different types of cases depending on which type of memory card you use, so make sure to get the right one.
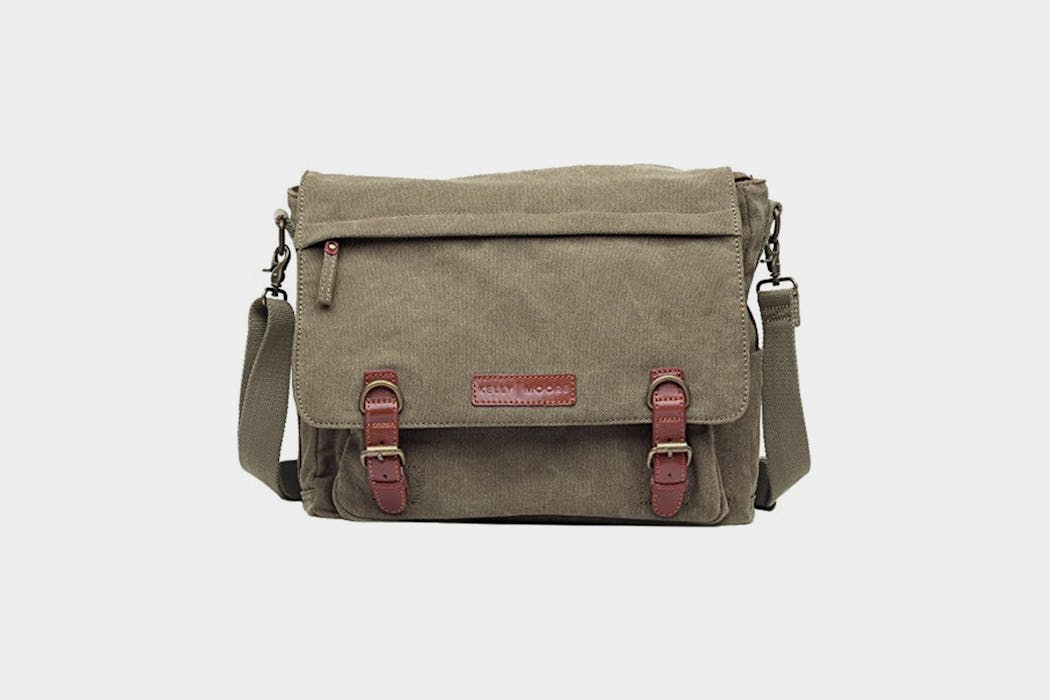
Kelly Moore makes camera purses and bags that don’t look like your average camera bag. That makes this a favorite for traveling, as you’re a little less conspicuous. The Kate canvas bag comes with a removable camera cube, which makes things easy to organize. Depending on how you configure the cube, you can fit a number of items in there—we’ve been using this with a DSLR Pro body/lens and two additional lenses. The tough canvas doesn’t show signs of wear and tear very easily, which is also a big plus.
External Flash
If you’re a professional photographer or just interested in exploring what flash can do for your images, the Canon Speedlites or the Nikon Speedlites are great options. It’s easy to use but packs a punch.
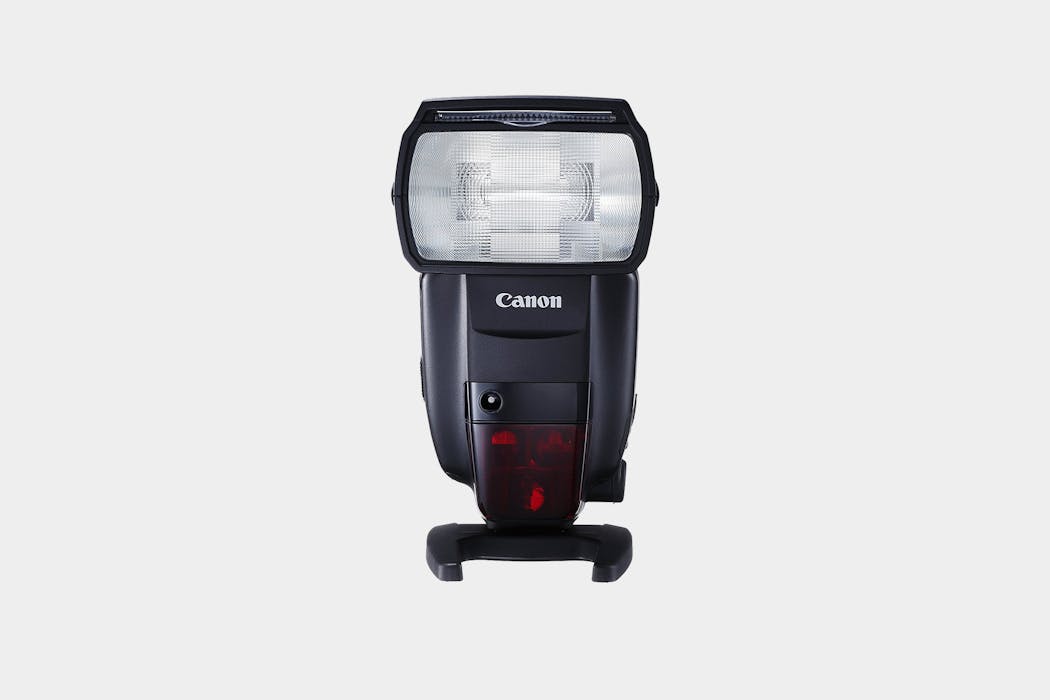
You can use this flash in ETTL mode, which is a little like automatic mode—it will take your settings into account and fill in the light that you need. Or you can go old school with full manual mode! It has a swivel head to allow you to manipulate where the flash bounces, and there are a few options to power this bad boy. It also takes AA batteries, which is very convenient if you need to replace them while traveling.
“I have to have my Speedlites flash with me at all times.”
—Corey Tenold Professional Fashion Photographer
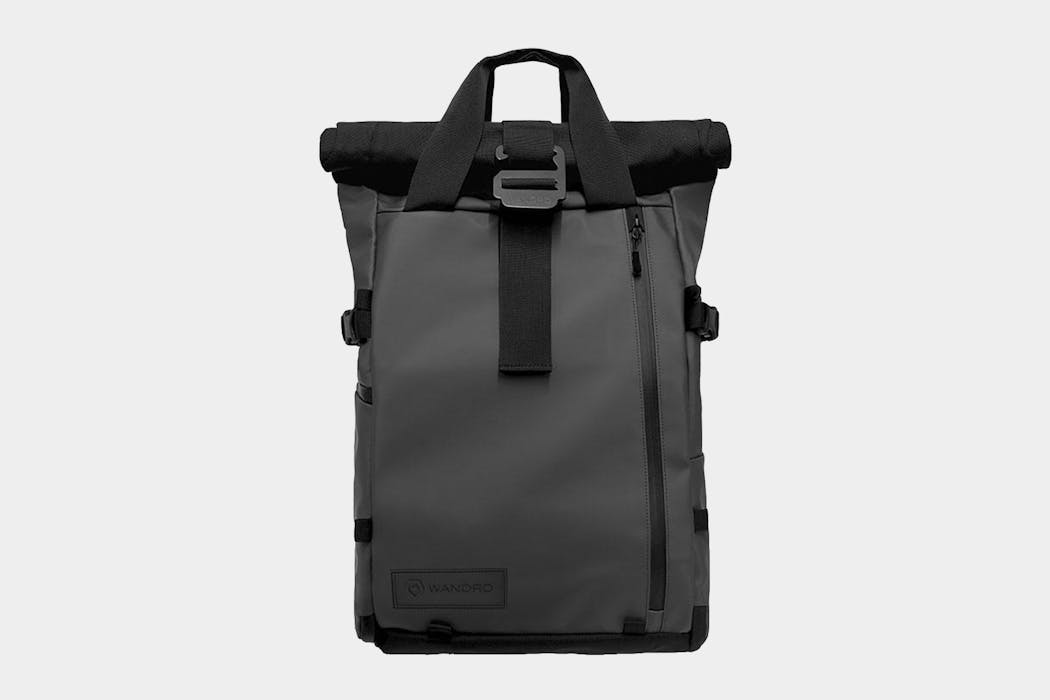
A camera backpack made by photographers for photographers. This backpack can be your one-stop shop bag for long trips. The camera cube keeps your gear safe, and the rolltop leaves enough room for your personal belongings. There are multiple access points for easy access to your gear or laptop.
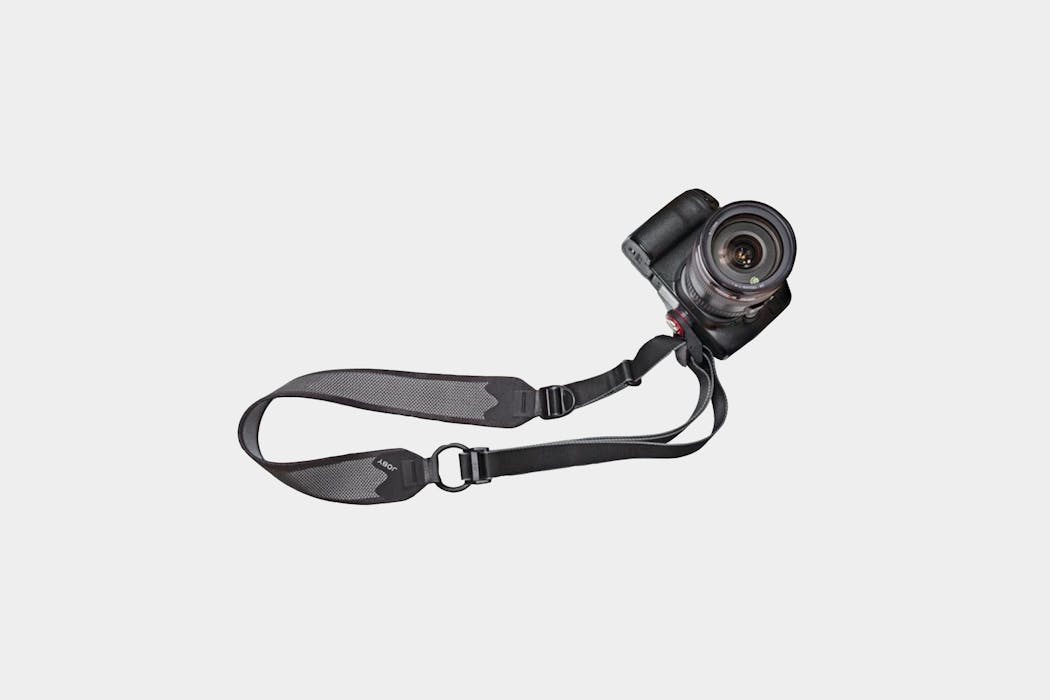
A crossbody strap for your camera. This strap is lightweight, designed with comfort in mind and will sit tightly against your hips when you’re moving around. It’s a great option for travelers.
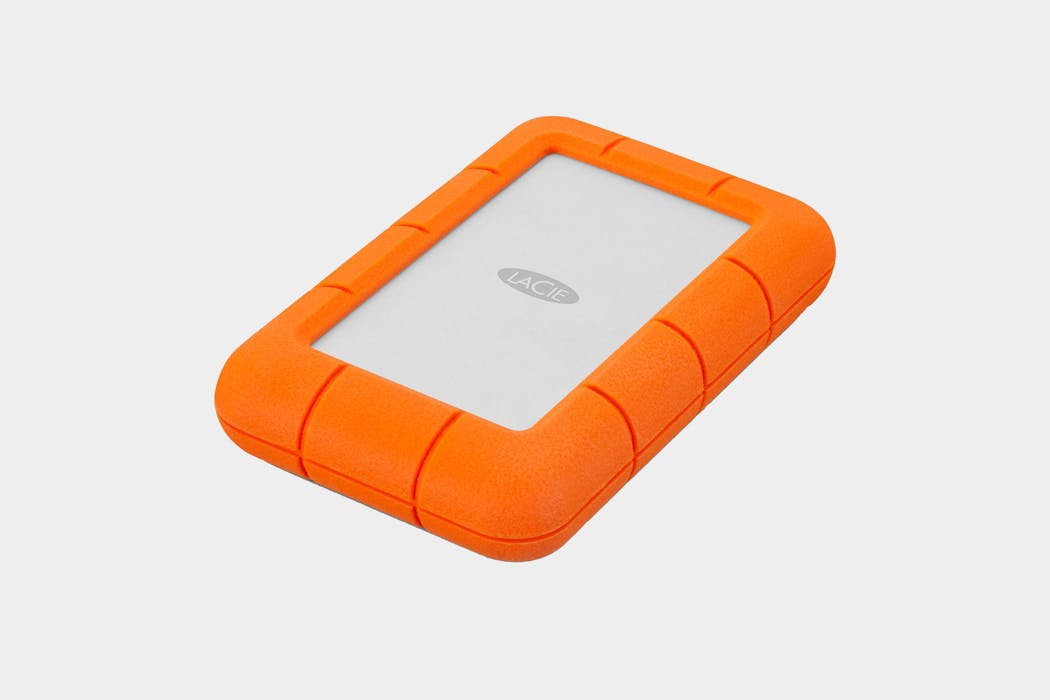
The LaCie rugged hard drive is compact, fast, and designed to take a few hard hits. It’s crush, drop and rain resistant, which we hope won’t come in handy. The last thing you want while you’re traveling is to drop and destroy your backup—and this is why some professionals will even keep 2 hard drives on them while they’re on the go.
“I typically carry 2 hard drives with me. I have a portable that I typically leave at the hotel/apartment. And then I carry around a 1TB Samsung SSD portable for transferring/editing while I’m out and about. At the end of the day, I move my files from my SSD to my HD, and then clear the SSD for the next day.”
—Corey Tenold, Professional Fashion Photographer
DSLR Apps We Love
VSCO App
Within the photography community, VSCO is best known for their lightroom presets that mimic old film stocks, but they also have an app. You can shoot directly in the app or add photos to it and edit them using presets created by VSCO. There are plenty to choose from, including some that match their lightroom presets and old film stocks like Kodak Portra or Fuji Pro. You can also manipulate other settings within the app and share it with the VSCO community. The VSCO app will give your photos that little extra spit and polish that can help them stand out against the masses.
“During dinner at weddings, I will use my camera’s wifi and send images directly to my phone to edit using either VSCO or the lightroom app. Then I’ll print it directly from my instax printer and have a print to give my clients in real-time. I love that I can leave my clients a couple of small prints in a thank you card on the day of their wedding.”
—Frances Beatty, Professional Wedding Photographer
JPEGmini App
One thing you start to notice when you start getting into photography, whether as a hobby or as a career, is that there is never enough space. What seemed like an absurd amount of space at one point, quickly fills up with all of the amazing photos you’re taking. Memory isn’t super expensive, but it isn’t cheap either and it can add up quickly. No one loves being in that position where you have to decide if you’re going to keep those images of your nephew’s birthday, or delete them to make more room for your pictures from your latest trip to the Hamptons. Well! Luckily there’s an app for that (sorta). JPEG Mini is an app that compresses your Jpeg files without any loss. Tried, tested and true – you can compress a 32mb file down to under 10mb and still print it as a 30×40” print. You won’t even notice the difference. Better yet, it’s a drag and drop program, so it requires very little from you or you can install the plugin for lightroom and use it when you export your images. At this point it’s an industry standard, but it also comes in handy for personal use especially while traveling.
The Skinny
The DSLR world can be intimidating to newcomers, but the benefits largely outweigh the learning curve—which is not quite as steep as some may assume. Anyone interested in creating ultra high-quality pictures simply must consider a DSLR when looking to make their big camera purchase. It’s a no-brainer.
For both professionals and amateurs alike, the DSLR can cover a wide range of use-cases. Family vacation pics, full-fledged studio portraits, macro close-ups, jaw-dropping landscapes, and stunning city vistas…the DSLR can do it all. The possibilities—and the amount of gear/accessory combinations—are virtually endless.
When it comes to travel, the DSLR is a tricky item. Many minimalist travelers will still put up with the weight and size of a DSLR setup because they simply can’t give up the image quality. With the variety of lens and body sizes—plus a little research—you can almost certainly create a setup that accomplishes all of your photography needs while keeping in line with your weight and size budget.
That being said, many travelers—especially those in the ultra-light realm—either can’t stomach the additional weight, size, and price of a DSLR or they simply don’t need it. If high-quality images aren’t a priority, there are plenty of other low-weight options out there that will still give you great results.
Ultimately, it comes down to personal preference and a question of what your needs are. Do you travel with the goal of taking amazing pictures? Then you need to consider a DSLR. Do you travel to have amazing experiences and you’d like to document them every now and then? Other options will suffice, but a DSLR will give you some awesome photos—if you’re willing to sacrifice the space you will be pleasantly surprised with the quality you receive.
Are you only interested in taking food shots for Instagram? Well, you may not need a DSLR—although if you want to take the best food shots around… you guessed it, check out a DSLR.
Our Favorite DSLRs
Whether you want to hit the skies or see your physical photos in real time, our list of supplemental cameras will add some spice to your life.
We’ve teamed up with TOM BIHN to give away a selection of top travel gear! Check it out →
What About the Other Travel Cameras Out There?
While we have covered some of the most popular camera kits out there, we’re still just scratching the surface of what is ultimately available. Cameras have been around for a long time and there are many varieties available that are outside of the realm of what you might find in the average camera bag.
That being said, a truly comprehensive camera guide that includes every camera from throughout history would take years and years to develop. That sounds like way too much work for us, so we’ve decided to give you a quick overview of the more applicable “supplemental” cameras you might find out there.
When it comes to traveling and taking photos for professional or personal use, we’d recommend sticking to what’s listed in the overview guide above. But for those that are looking for something a little extra—either for their own pleasure or to capture photos in a truly unique way—check out our supplemental cameras below.
Film and Video
Film cameras have been around since the 1800’s. There’s still no digital camera out there that can compete with the quality of image you can get with a film camera. Accessibility is usually the biggest deterrent for people when it comes to picking up a film camera. Because you can’t preview the exposure or the image, you really need to know what you’re doing in order to avoid throwing away a whole roll of images. Film cameras are usually fairly cheap to pick up, but paying for the film and then developing it can sometimes turn people off. Most pharmacies still develop film, but for the serious photographer this won’t quite cut it—they’ll want access to a dark room to do it themselves.
While film cameras can be intimidating to newcomers, there is a certain appeal and nostalgia to film that many photographers like to indulge in from time to time. There’s a bit of risk involved, compared to digital cameras—you know that you’ve only got a few chances to get the shot. And at the same time, there’s some mystery as well—you don’t know what you’re actually going to get until you get into the darkroom.
While developing film on your own can be a process, it is also an experience that every true photographer should have at some point in their lives. The process is still the same as it was back then, and looking back, most of the iconic photos we know and love were discovered in the darkroom—not after the shutter clicked. Someone, at some point, had that image revealed to them in a tiny room under a red lamp, just like the one you’re developing your photos in now. That is pretty cool, if you ask us.
There are so many different types of film cameras out there. If you’re interested in dipping your toes into the film world, try a Fuji Instax camera. Everything is automatic in the camera and you get your images instantaneously.
Drones
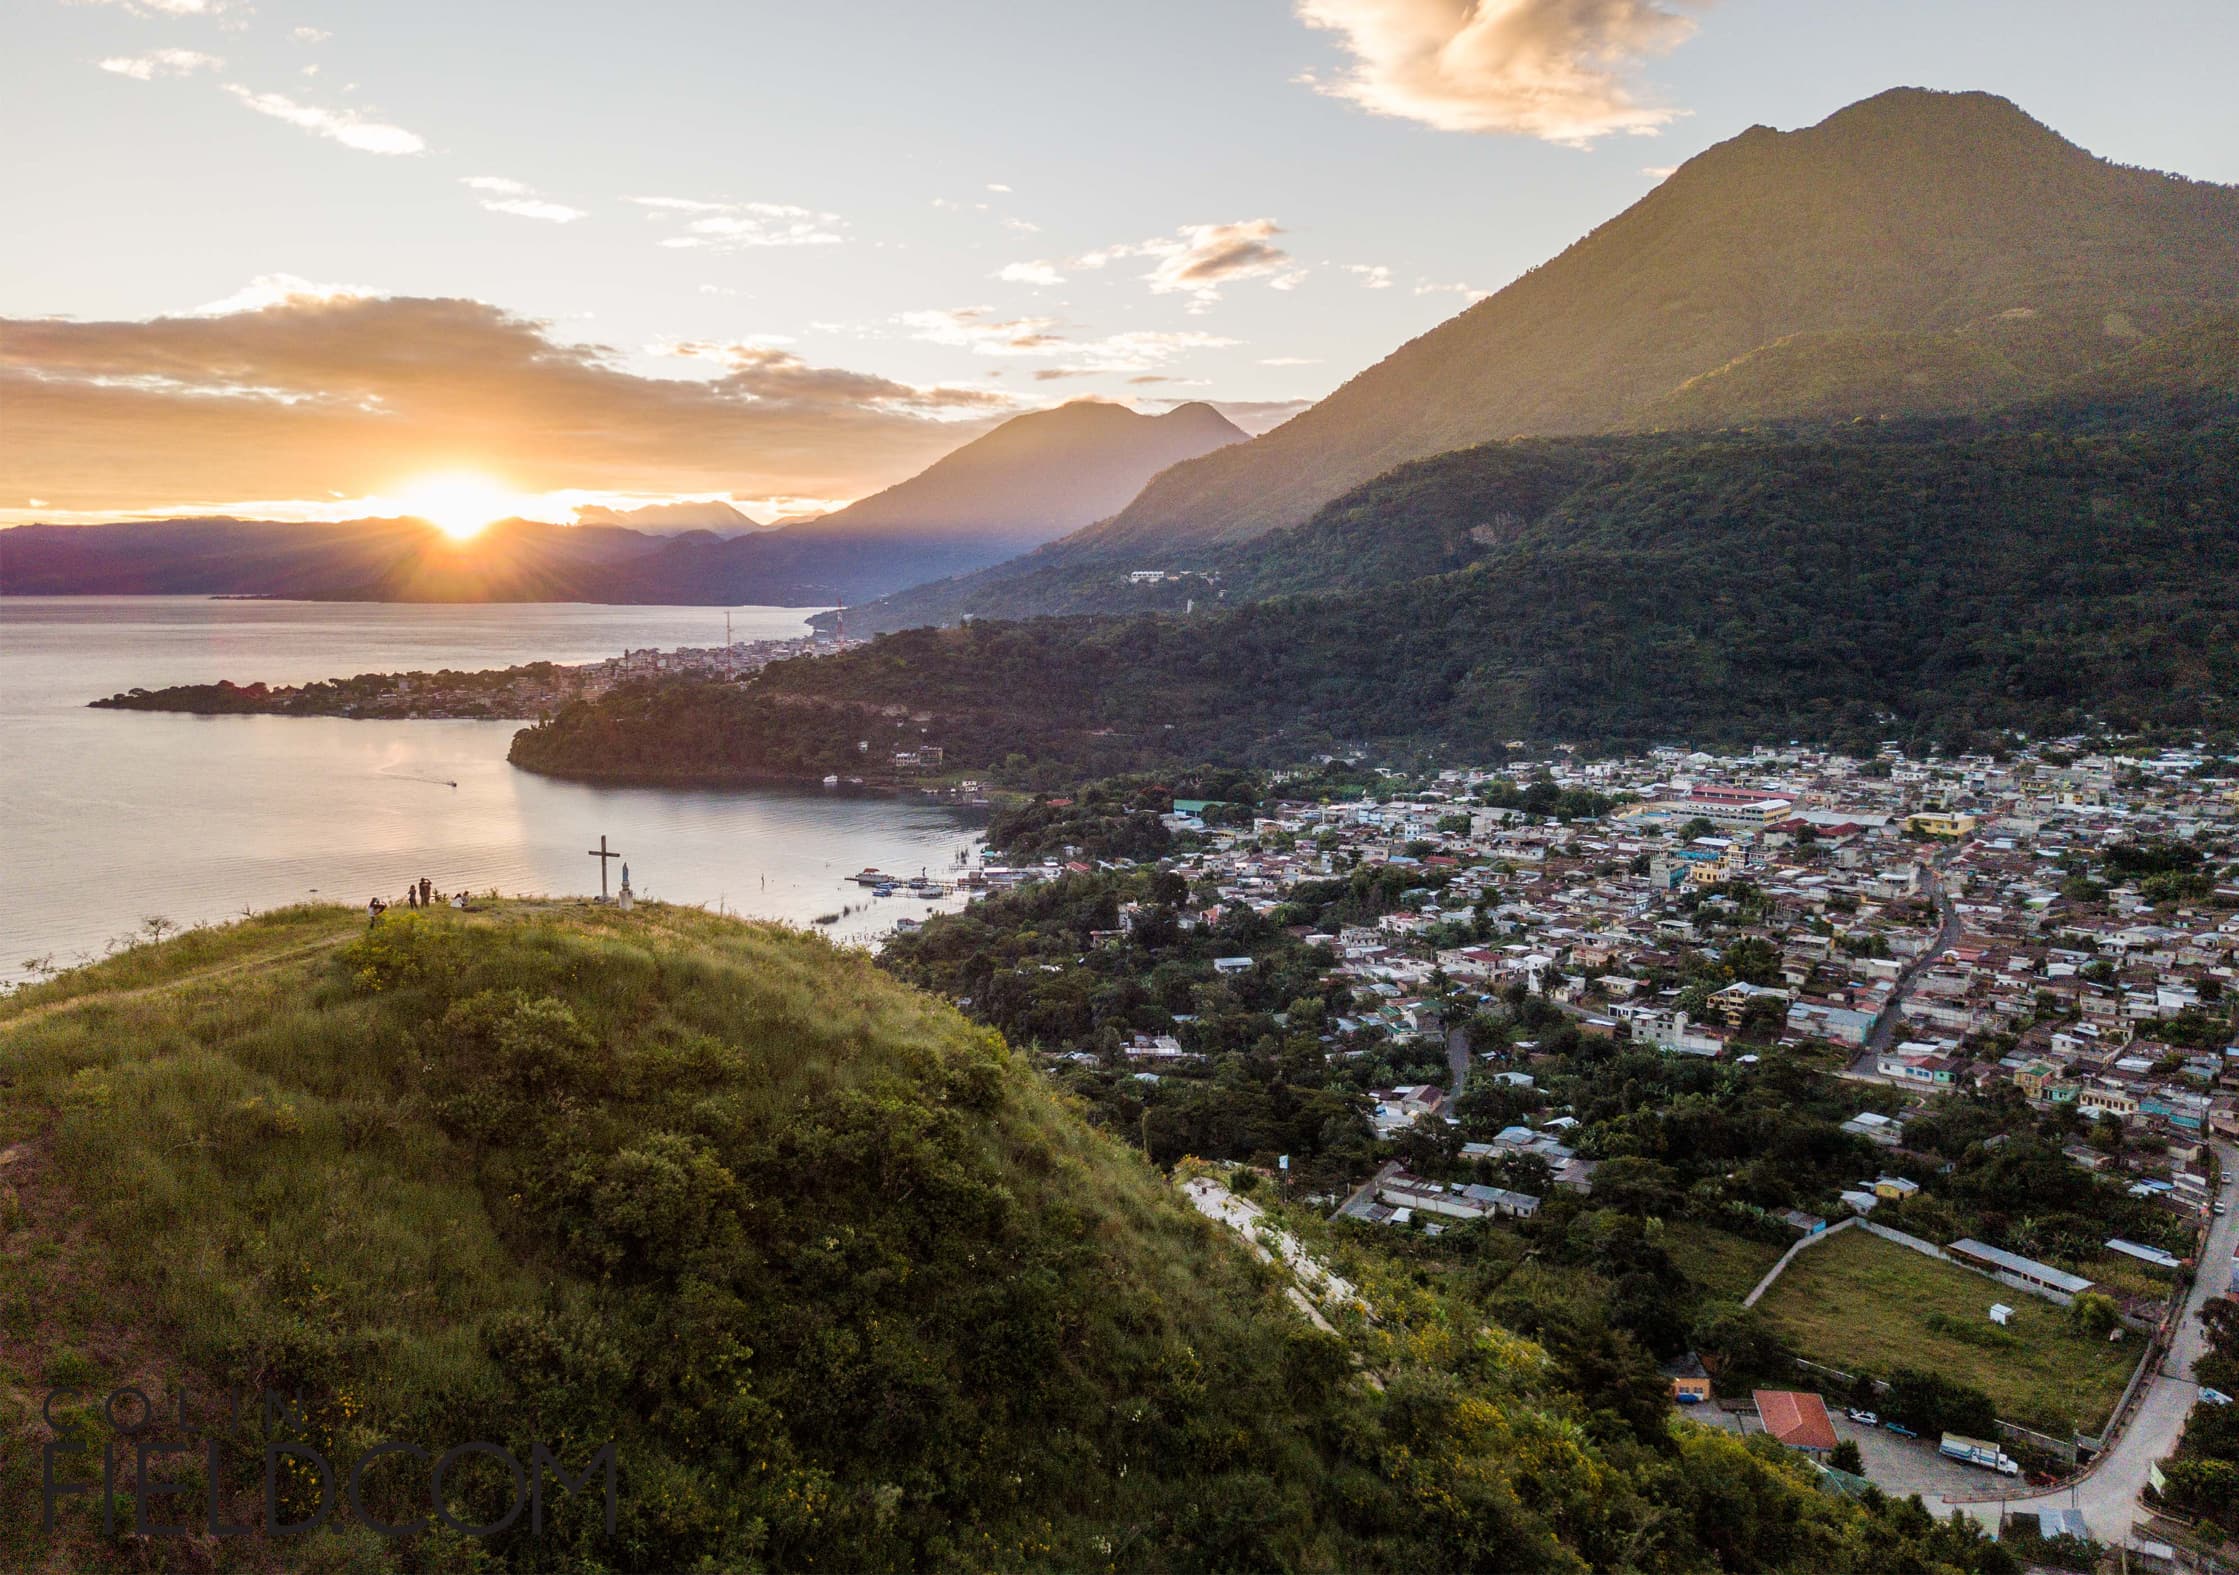
Let’s be real, the whole world is going to be run by drones at some point. You’ll be receiving your groceries by drone in addition to using one like a carrier pigeon. Until that day comes, you should probably stick to exploring aerial photography and videography with a drone.
As they become more commonplace, the price tag of drones keeps coming down, along with the size. There is a bit of a learning curve with flying—and a mistake could mean losing your drone in the ocean—but once you get the hang of it, it’s pretty simple to use. Once you’ve got the flying down, you’re taking pictures from the SKY!
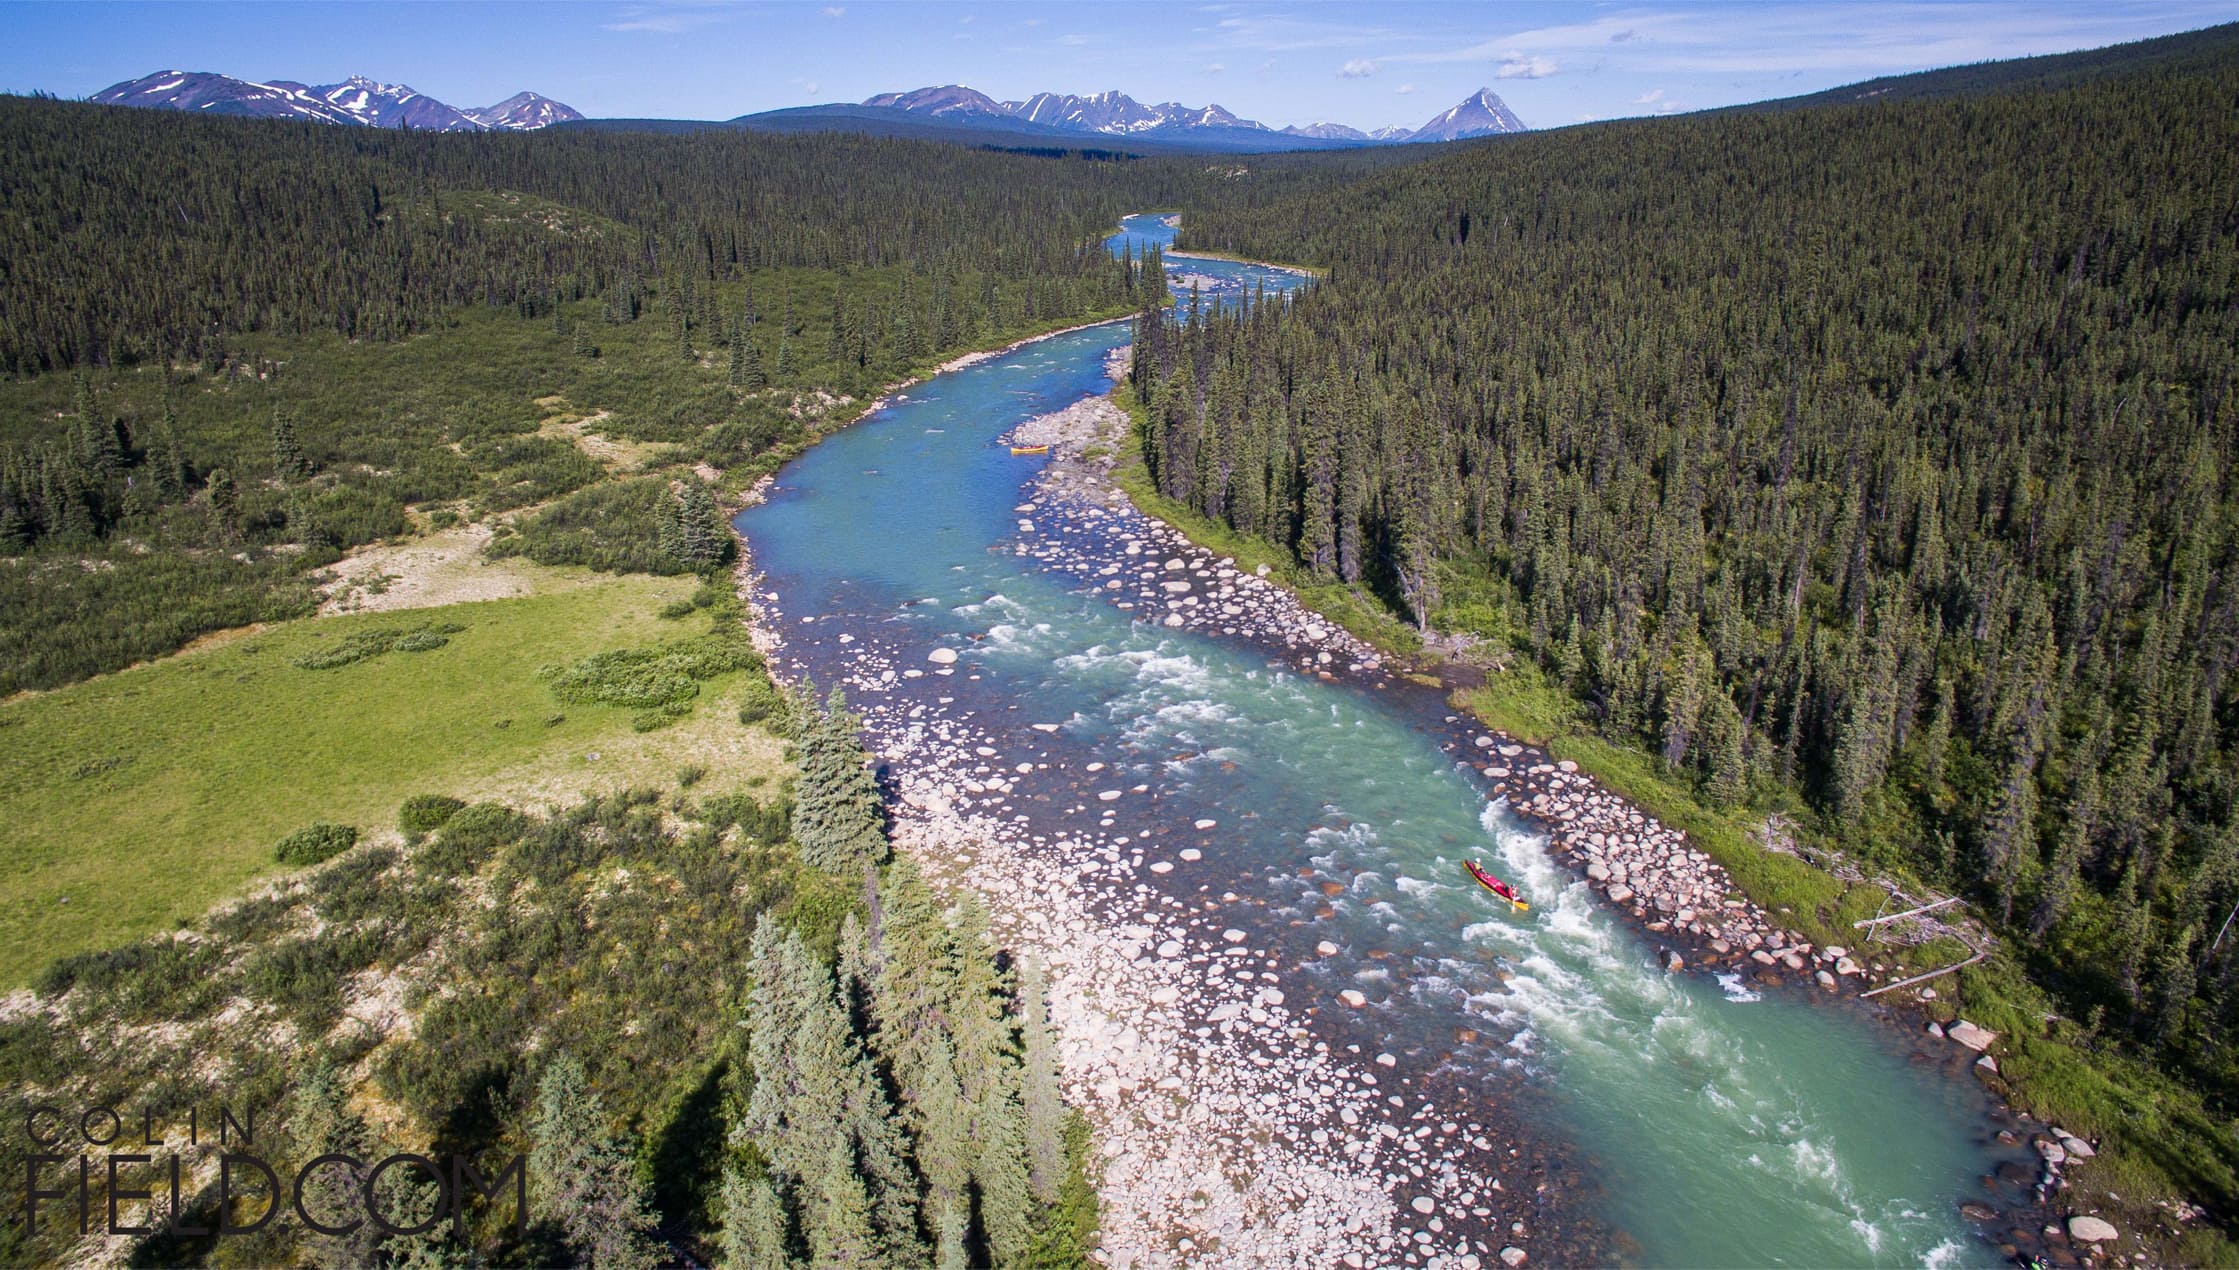
Drones are often used for sweeping landscape shots like you’d find in a Lord of the Rings movie, viewing “forbidden” areas from above, action sports sequences, or just providing a unique perspective. Mainly used for filming—but still equally good for stills—these cameras can assist in creating cool transitions and awesome overview shots. Do it right and you’ll have people thinking you rented a helicopter to get the shots you’ve created.
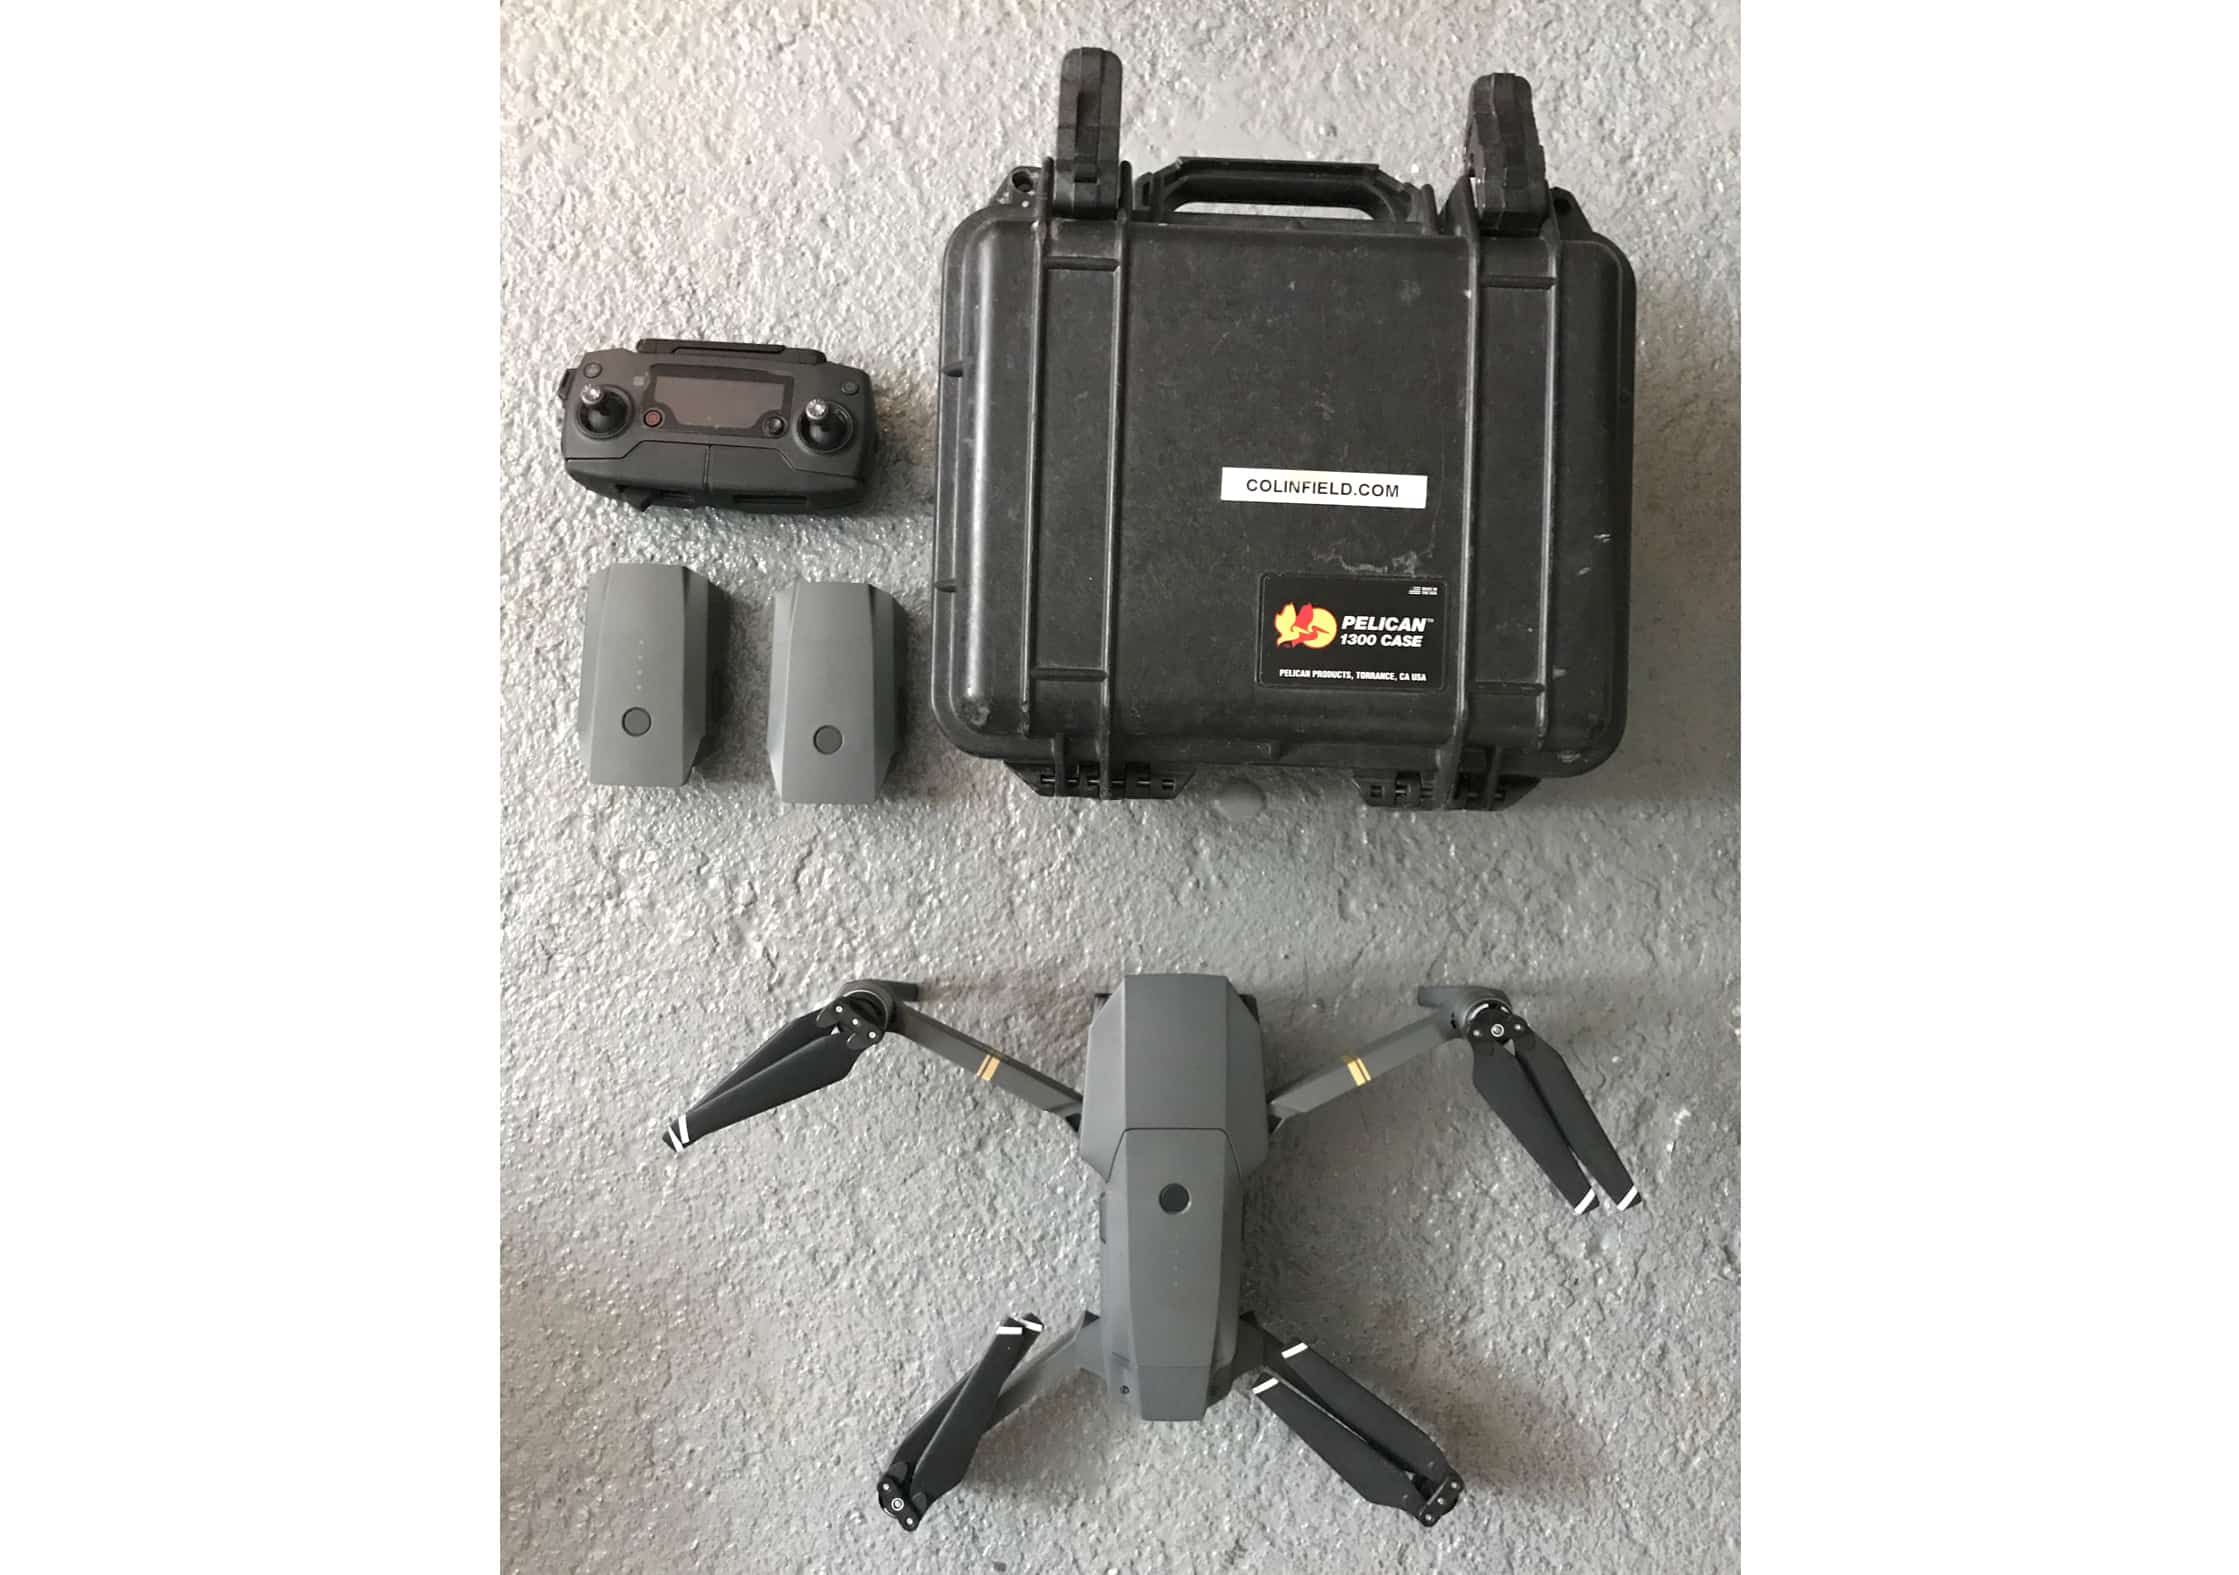
The DJI Mavic Air is a solid option for travel. Compact & powerful. There’s also the classic DJI Mavic Pro—another solid option.
“Do keep in mind that some countries require you to submit flight routes and there are many national parks that do not allow you to fly a drone (Banff, I’m looking at you).”
—Frances Beatty, Professional Wedding Photographer
Action Cameras
Action cameras are designed to be right in the action—hence the name. These tiny cameras generally provide point of view (POV) video footage and still images by attaching themselves to something or someone. They are incredibly durable and oftentimes have completely waterproof cases that will allow the user to take them swimming, skiing, or on a boat. These cameras are incredibly popular with action sport aficionados as they can be attached to bikes, cars, helmets, or chests to give exhilarating footage that makes the viewer feel like they are in the shot themselves.
Most of these cameras do not have viewfinders or LCD’s, so you are often left guessing when taking a still image or quick video in your hands. Some models have smartphone apps that will provide a quick glimpse at what you’re shooting and can even upload images or videos directly to your phone. Image quality is surprisingly high, although these cameras tend to lack zoom or many settings at all, really.
The GoPro Hero7 is by far the most popular and well-known action camera, but there are a handful of others that are just as capable including the YI 4K+ Sports and Action Camera, YI Lite Action Camera (a little less robust) and the Sony FDRX3000.
Disposable Cameras
A cardboard camera with film inside. It’s a super uncomplicated camera that you don’t really need to worry about damaging or insuring. These can be fun for taking snapshots during social events. Pass it around during a party or hand it to your kids to see what they see. They can also be a great way to remember a quick trip, as you’re guaranteed to have the physical prints in your hands at some point—as opposed to having them buried deep in your phone’s photo library. These prints may easily find their way into a picture frame or scrapbook, unlike your digital photos.
Instant Cameras
Shake it like a polaroid picture. Polaroid may not be around the way it used to be, but instant photography is making a comeback. It makes sense. Just like with vinyl, there’s been a real push back to analog after a point where it seemed like digital might make film obsolete. Instant cameras are really easy to use, with fully automatic cameras, but they provide you with an instant physical picture.
The downside? No duplicates. But that’s also kind of nice. Something to cherish.
The Fujifilm Instax Mini 9 is a good instant camera to have on the road. There’s nothing like meeting a new friend & creating a permanent memory with them within seconds.
That's a wrap!
We’ve teamed up with TOM BIHN to give away a selection of top travel gear! Check it out →
The Final Decision: Choosing The Best Camera For Travel Photography
Whether you’re gearing up to snap a few pics with your smartphone or ready to buy a new lens for your DSLR, we hope this guide has helped steer you in the right direction towards finding the best travel camera kit for you. Traveling and photography go hand in hand, and quite frankly, if you’re not taking a few pics here and there during your world travels… You’re doing it wrong.
As you’ve probably noticed by this point, there is no one camera setup that works for everyone—just like there is no single “best” backpack. We encourage everyone to look at what they ultimately want from their photos, work backward, and try to decide what setup would suit them best. By no means do we expect you to have a clear solution just from reading this one guide, but we do hope that you have the knowledge to now help yourself figure out what the best travel camera is for you.
For the newer photographers out there, you may want to get yourself out to a store and hold some cameras in your hand. We love smaller, dedicated photography shops as opposed to the big tech retailers, because the folks there will have the expertise to give you quality advice depending on your situation.
And for the professionals out there, hopefully you’ve been able to get some insight into how you can travel around the world with your kit and augment it to suit your needs. If you have any good tips that you’d like to share, we are all ears. Feel free to drop us a line.
This Guide Was Brought to You By…
Frances Beatty
Frances is a thirty something wedding photographer living in small town Ontario with her husband. She’s a wedding photographer with some serious travel perks, and also the main creator of this guide! You can check out her website here.
Corey Tenold
Corey was born and raised in a small town outside of Chattanooga, Tennessee. Now, he’s based in New York City shooting for clients such as Vogue and Marc Jacobs. He looks at everyday things from a different perspective and believes that change inspires creativity. Check out his latest work here.
Jared Martin
Jared is a Professional, Real Estate, Architecture, and Interior Design Photographer. You can find him shooting anything from the intricate architecture in his home state of Minnesota to the mountain tops of Peru. Take a look at some of his work here.
Colin Field
Colin Field primarily shoots with a drone throughout his photography work and travels. He has bicycle toured through North and West Africa, taught English in Korea, worked as a bicycle courier in London, and hitchhiked throughout Australia and North America and more. Follow his latest adventures here.
Adrienne Tam
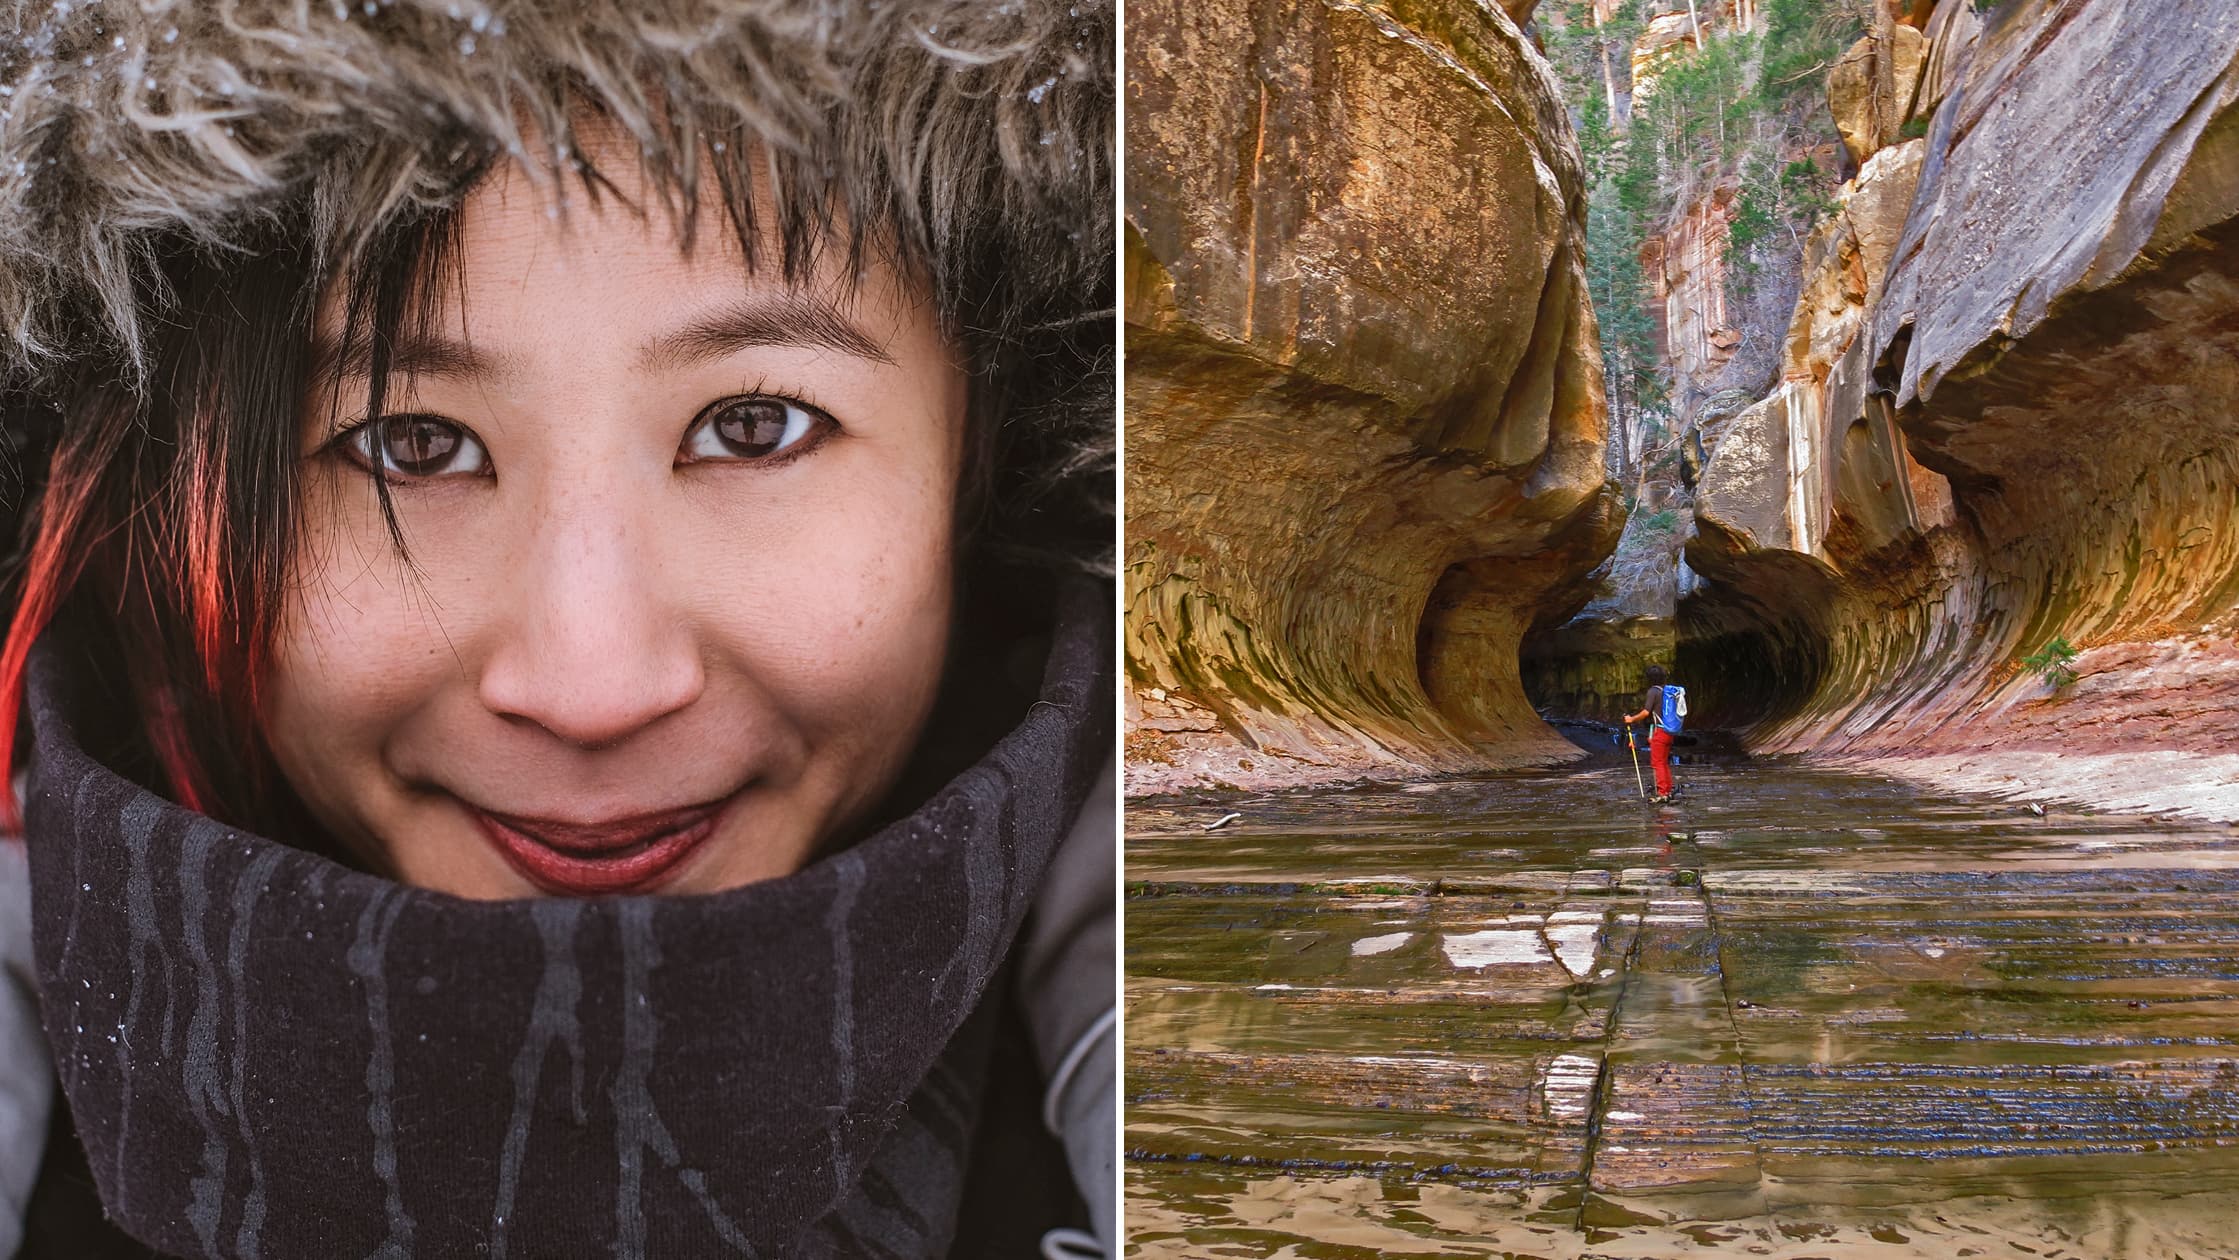
Adrienne is an Architect based out of Toronto. Whenever she gets the chance to hit the road, trips are focused around food, design, nature, and rock climbing. She’s learned the hard way that the climbing portion of traveling should probably occur before the eating, as gravity will get you every time. You can find some of her work here.
Tam Le

Tam is a self-taught mobile photographer and blogger. She captures small things, big things, and everything in-between. You can find her in Vietnam snapping photos of food and sharing her tips through Airbnb experiences.
Tara Lilly
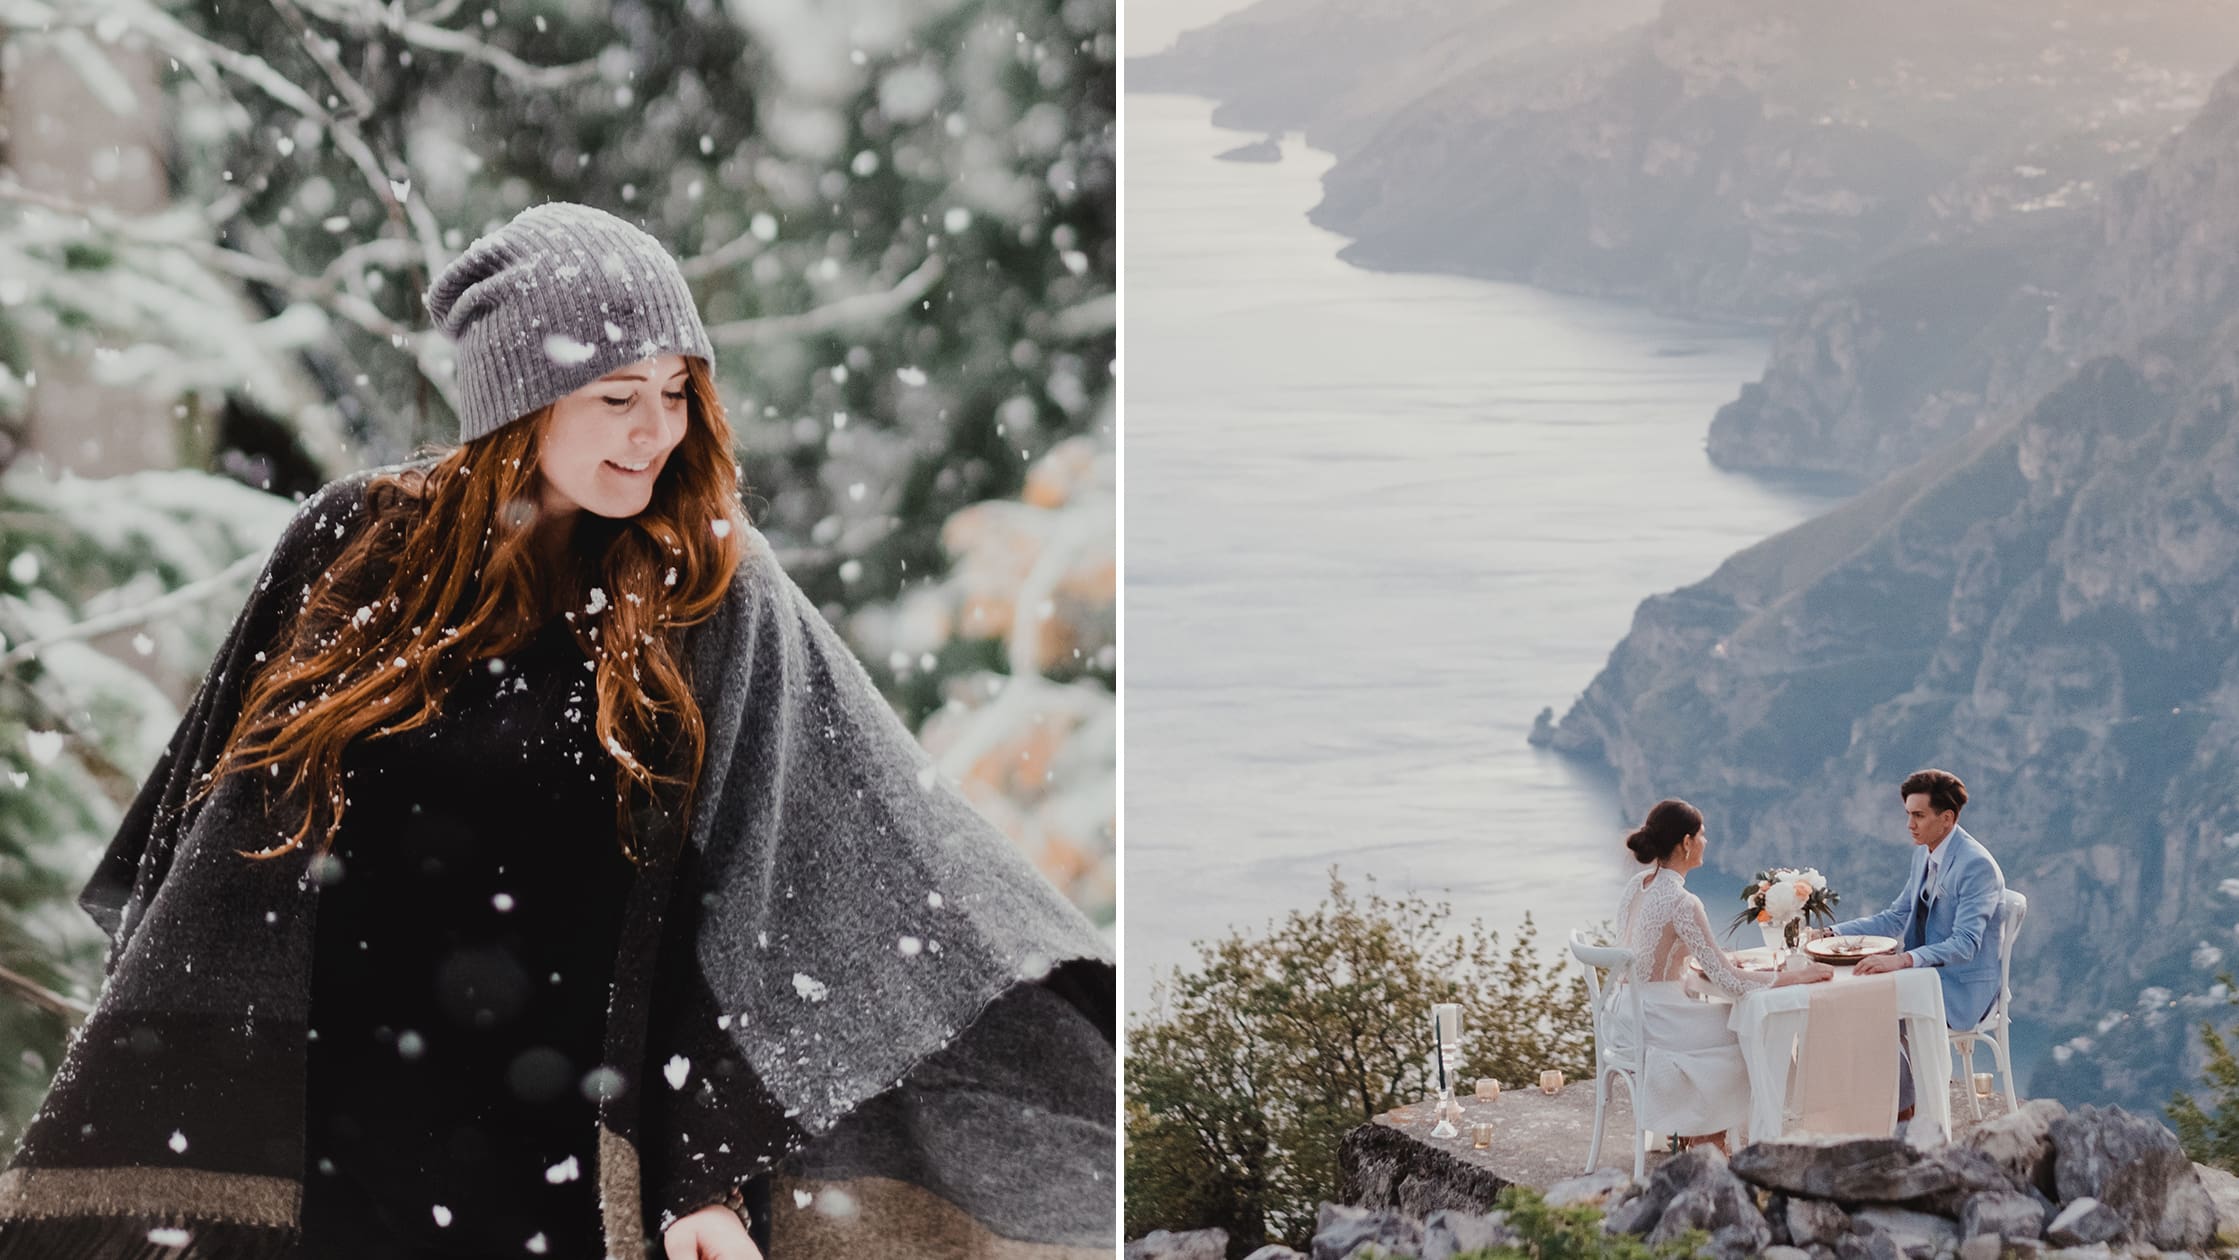
Tara is a Whistler based wedding photographer that loves to travel and live in a van every chance she gets. She can get completely lost in the projects she is passionate about when she’s doing something she loves and can fall asleep faster than anyone on an airplane. Take a look at her work here.
Author:
We find and test the best gear for travel based on form, function and aesthetic. We believe the best trips start with quality gear, regardless if you’re traveling for business or pleasure.