Step By Step Cleaning Tips
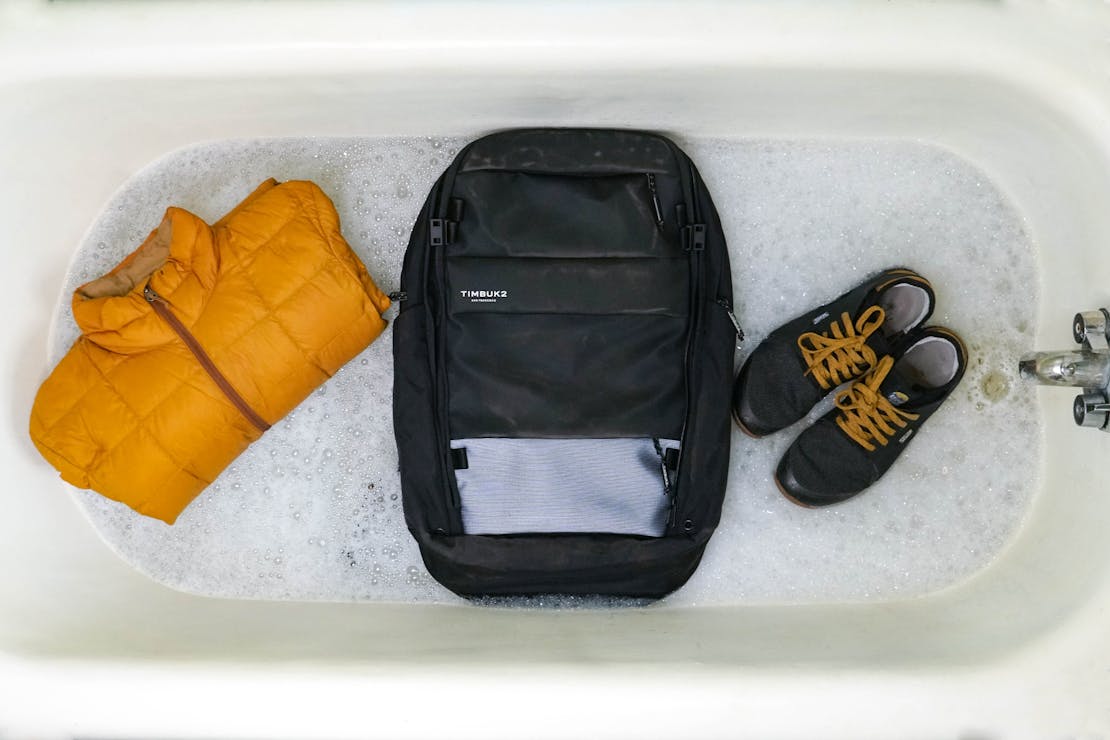
Let’s be real—your gear could probably use a wash. Things like backpacks, sling bags, down jackets, etc get dirty while you’re using them in your everyday life or life on the road. And, it’s probably been a while since you’ve taken the time to clean your gear.
So, in this post, we’re covering how to wash a backpack and cleaning instructions that we find helpful for those other frequently-used pieces of gear (down jackets, shoes, laptops, and phones).
Important Note: These cleaning tips are things we’ve found to work for us and should work for most gear. If in doubt, read the label or check the product’s website and follow the care instructions given by the manufacturer.
We have a lot to cover, so let’s dive in.
General Cleaning Tips
When it comes to washing most of the gear that we cover in this post, the key word is mild. Mild soap, mild water temperature, mild scrubbing, mild drying temperature—#BornToBeMild. Seriously though, you don’t want to cause unnecessary damage or a shortened lifespan for your gear. A lot of gear cannot be machine washed or, if it can go in the washer, you’ll probably need to use a gentle setting. Typically, we opt to hand-wash most gear, just to be safe.
Hand-washing Darn Tough Merino Wool Socks
No matter if you’re machine or hand-washing, try to use a mild soap. Preferably one that is made specifically for the gear/material you’re trying to clean. Use Merino wool specific detergent, for example, if you’re doing a load of your Merino wool clothes (we have a whole guide about Merino wool and how to wash it, so make sure to check that out if you haven’t already.)
While it may not be very fast, we’ve found that air-drying your gear (either hanging up or laying flat, depending on the item) is usually the safest option. Throwing something in the dryer, placing it next to an artificial heat source, or putting it in direct sunlight for long periods may over-dry and cause damage. Especially if whatever you’re washing has bonding elements (glue), like shoes, or a weatherproof coating, like a backpack.
Okay, now let’s get specific. Are you ready? Good.
How to Wash your Backpack
Before you start washing your backpack, take a minute to unzip all of the pockets and make sure it’s completely empty. It may seem obvious, but you don’t want to ruin your notebook full of brilliant ideas or that one picture of your cat on Halloween just because you didn’t take an extra few seconds to double (or triple) check.
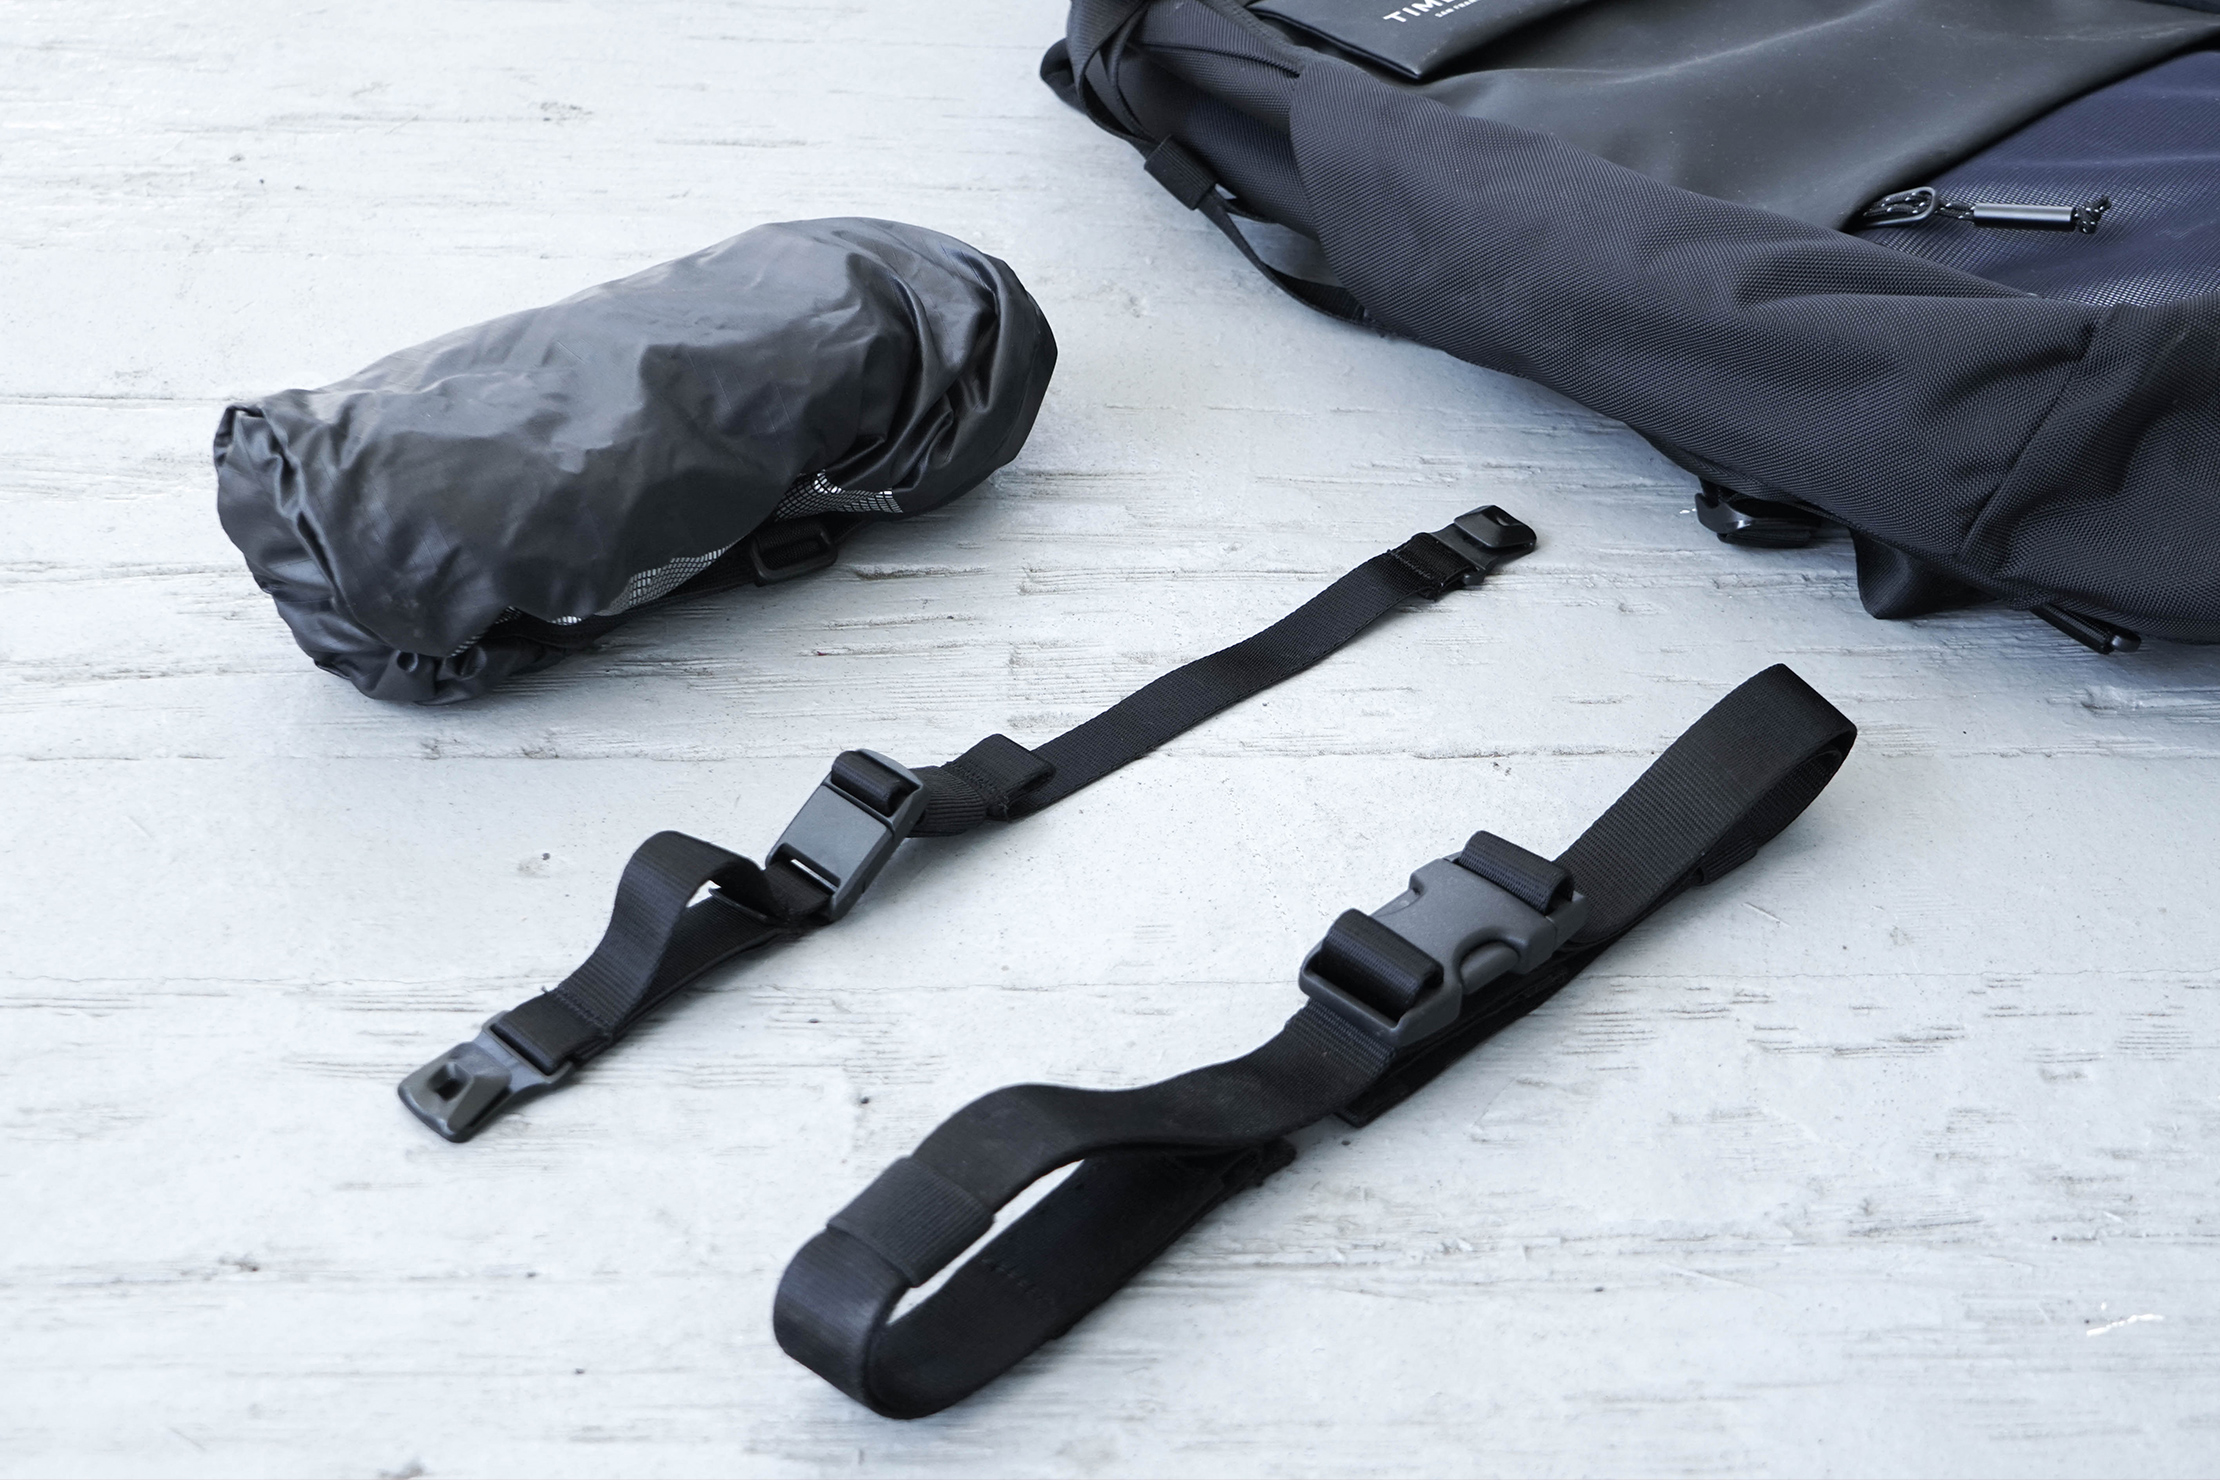
Also, if your bag has any removable bits—sternum strap, hip belt, back panel/frame sheet, etc—now is a good time to take them off. It makes the washing process easier by eliminating excess dangling straps.
Okay, now you’re ready to get washing.
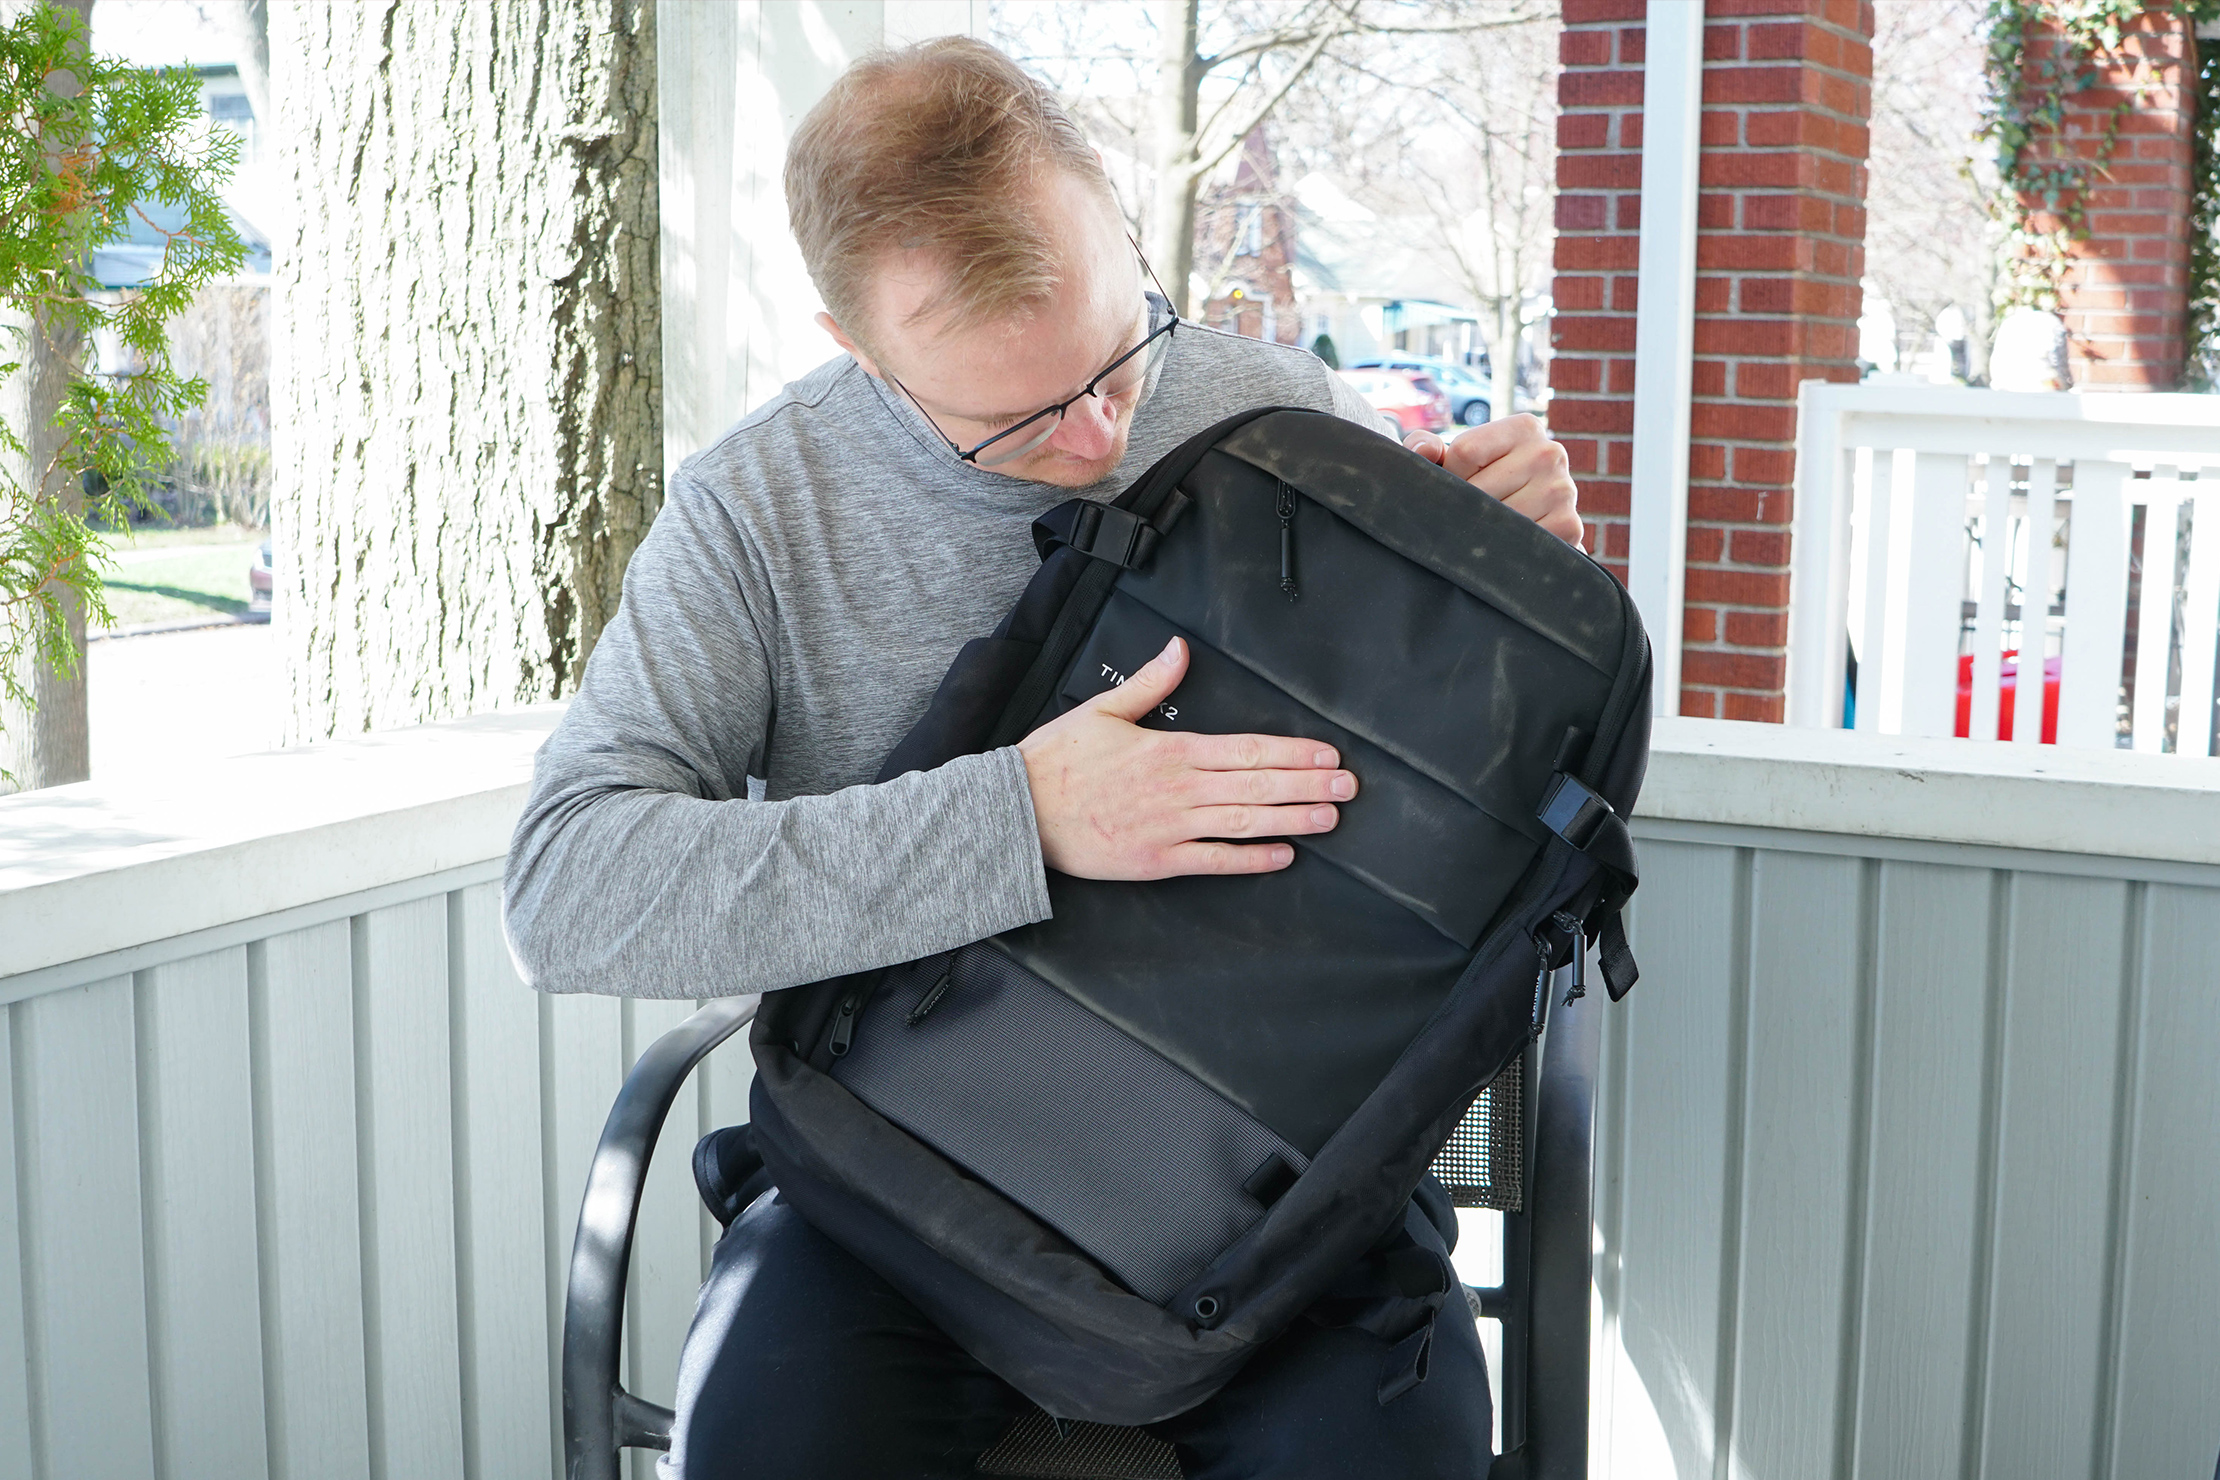
Shake out any loose dirt, dust, or sand from inside the pack and brush off any on the outside. It’s usually easier to knock off dry dirt than sticky mud.
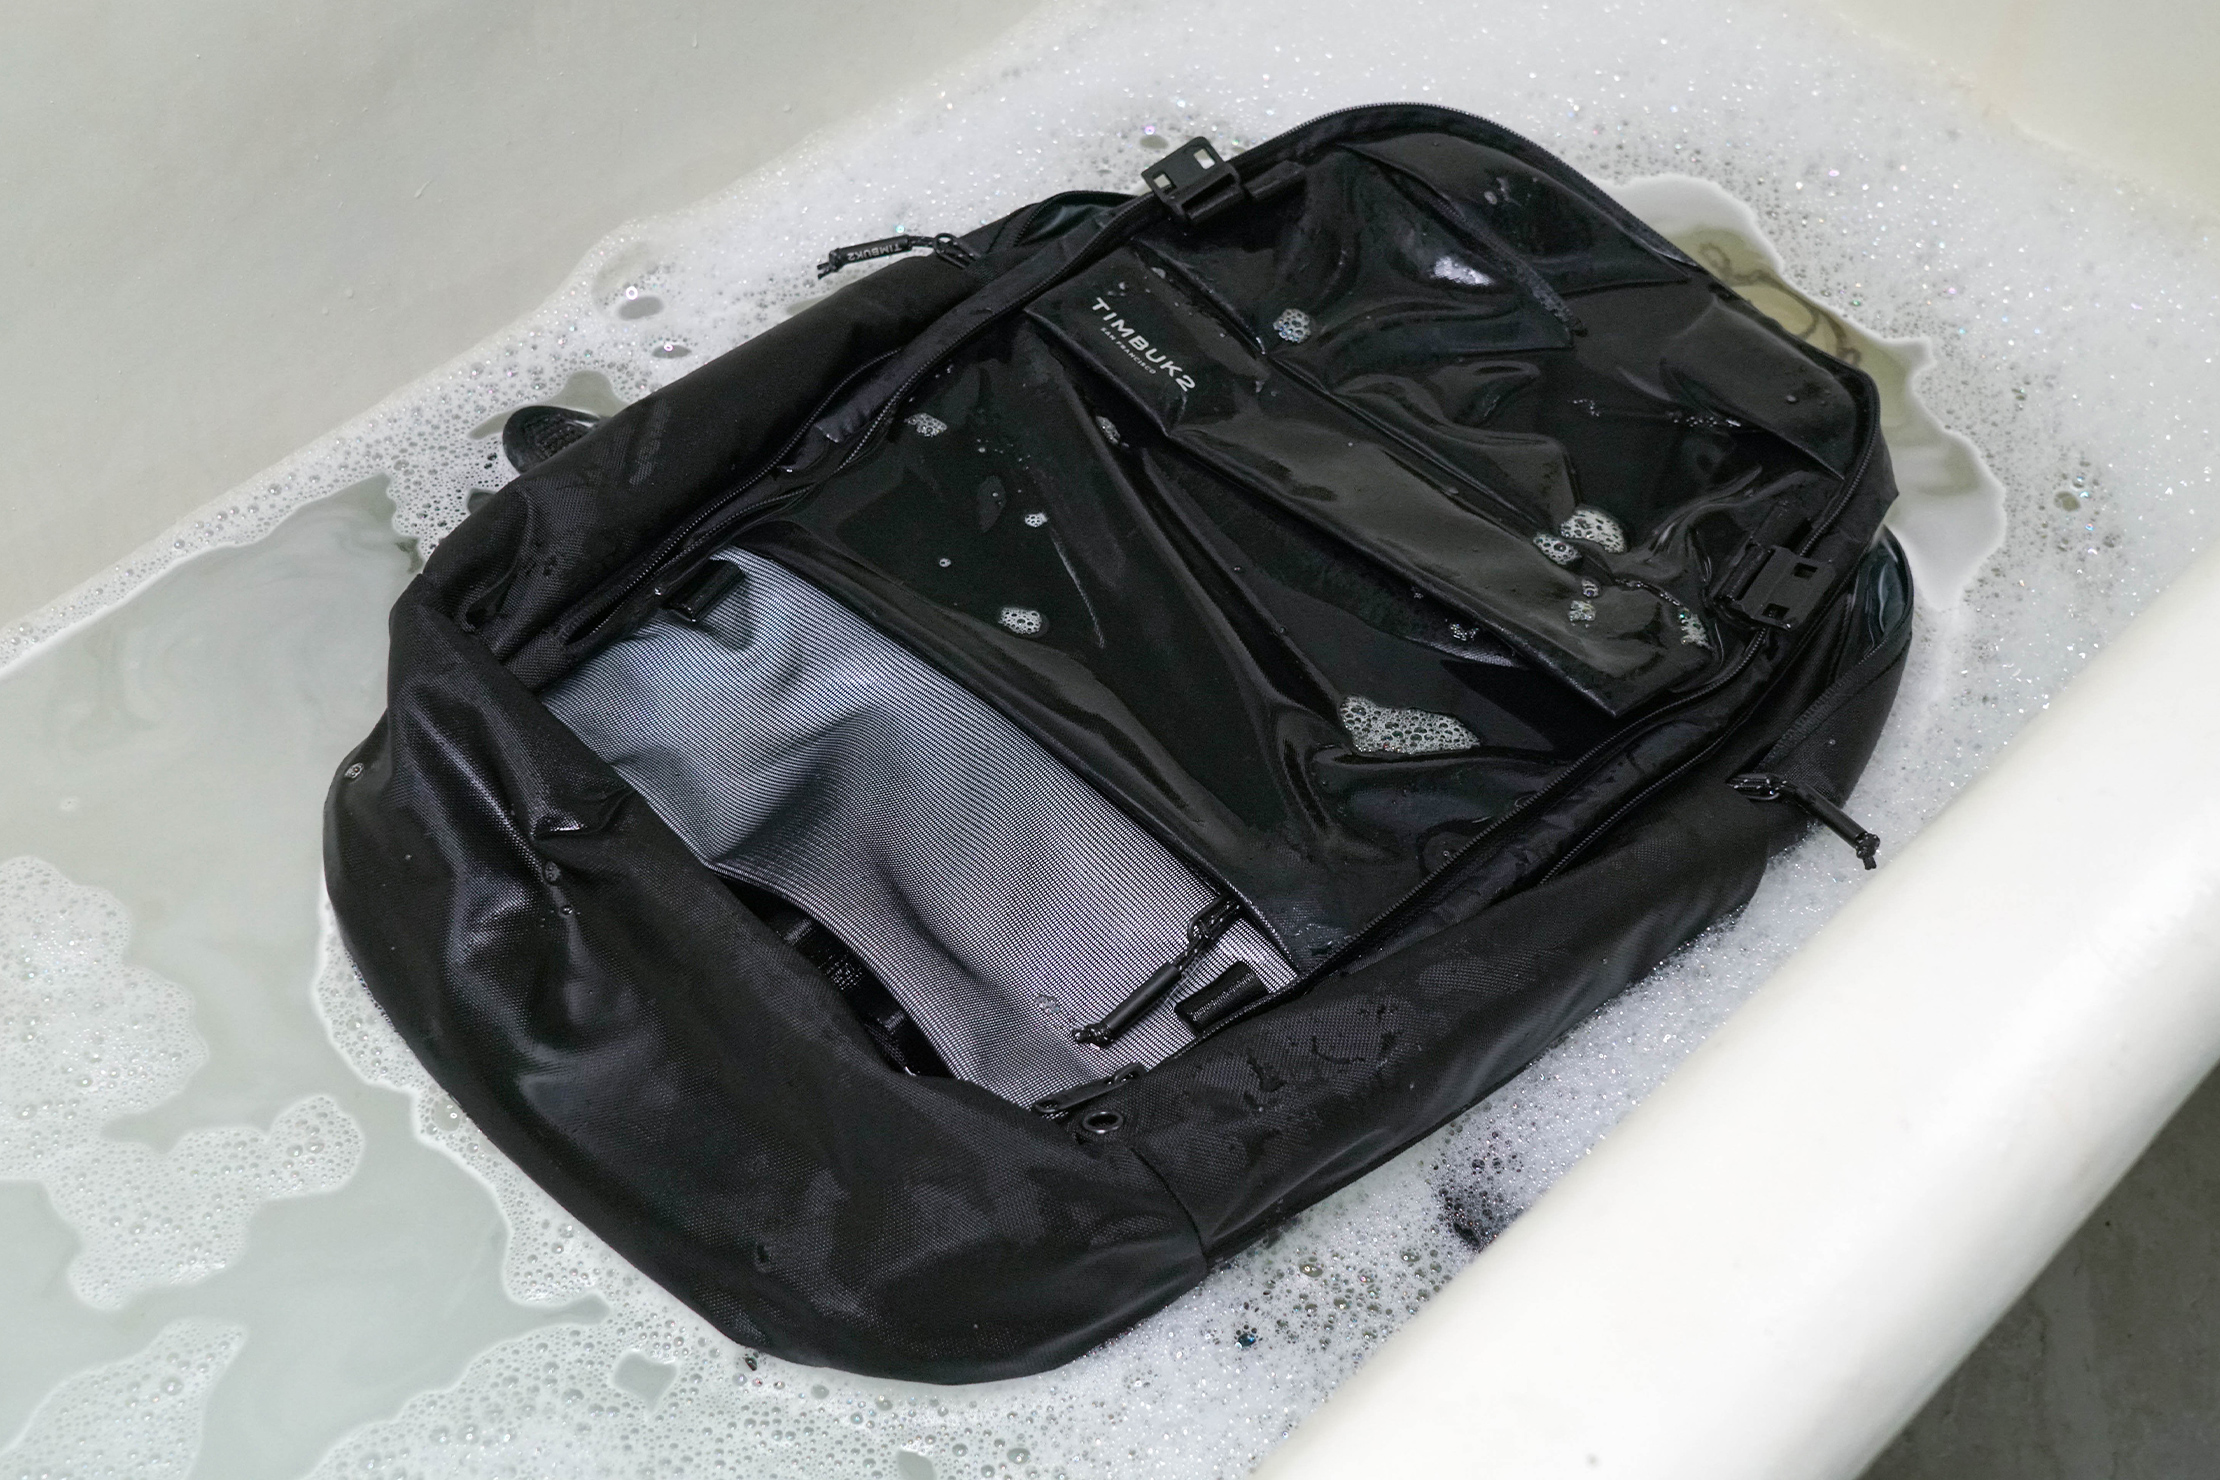
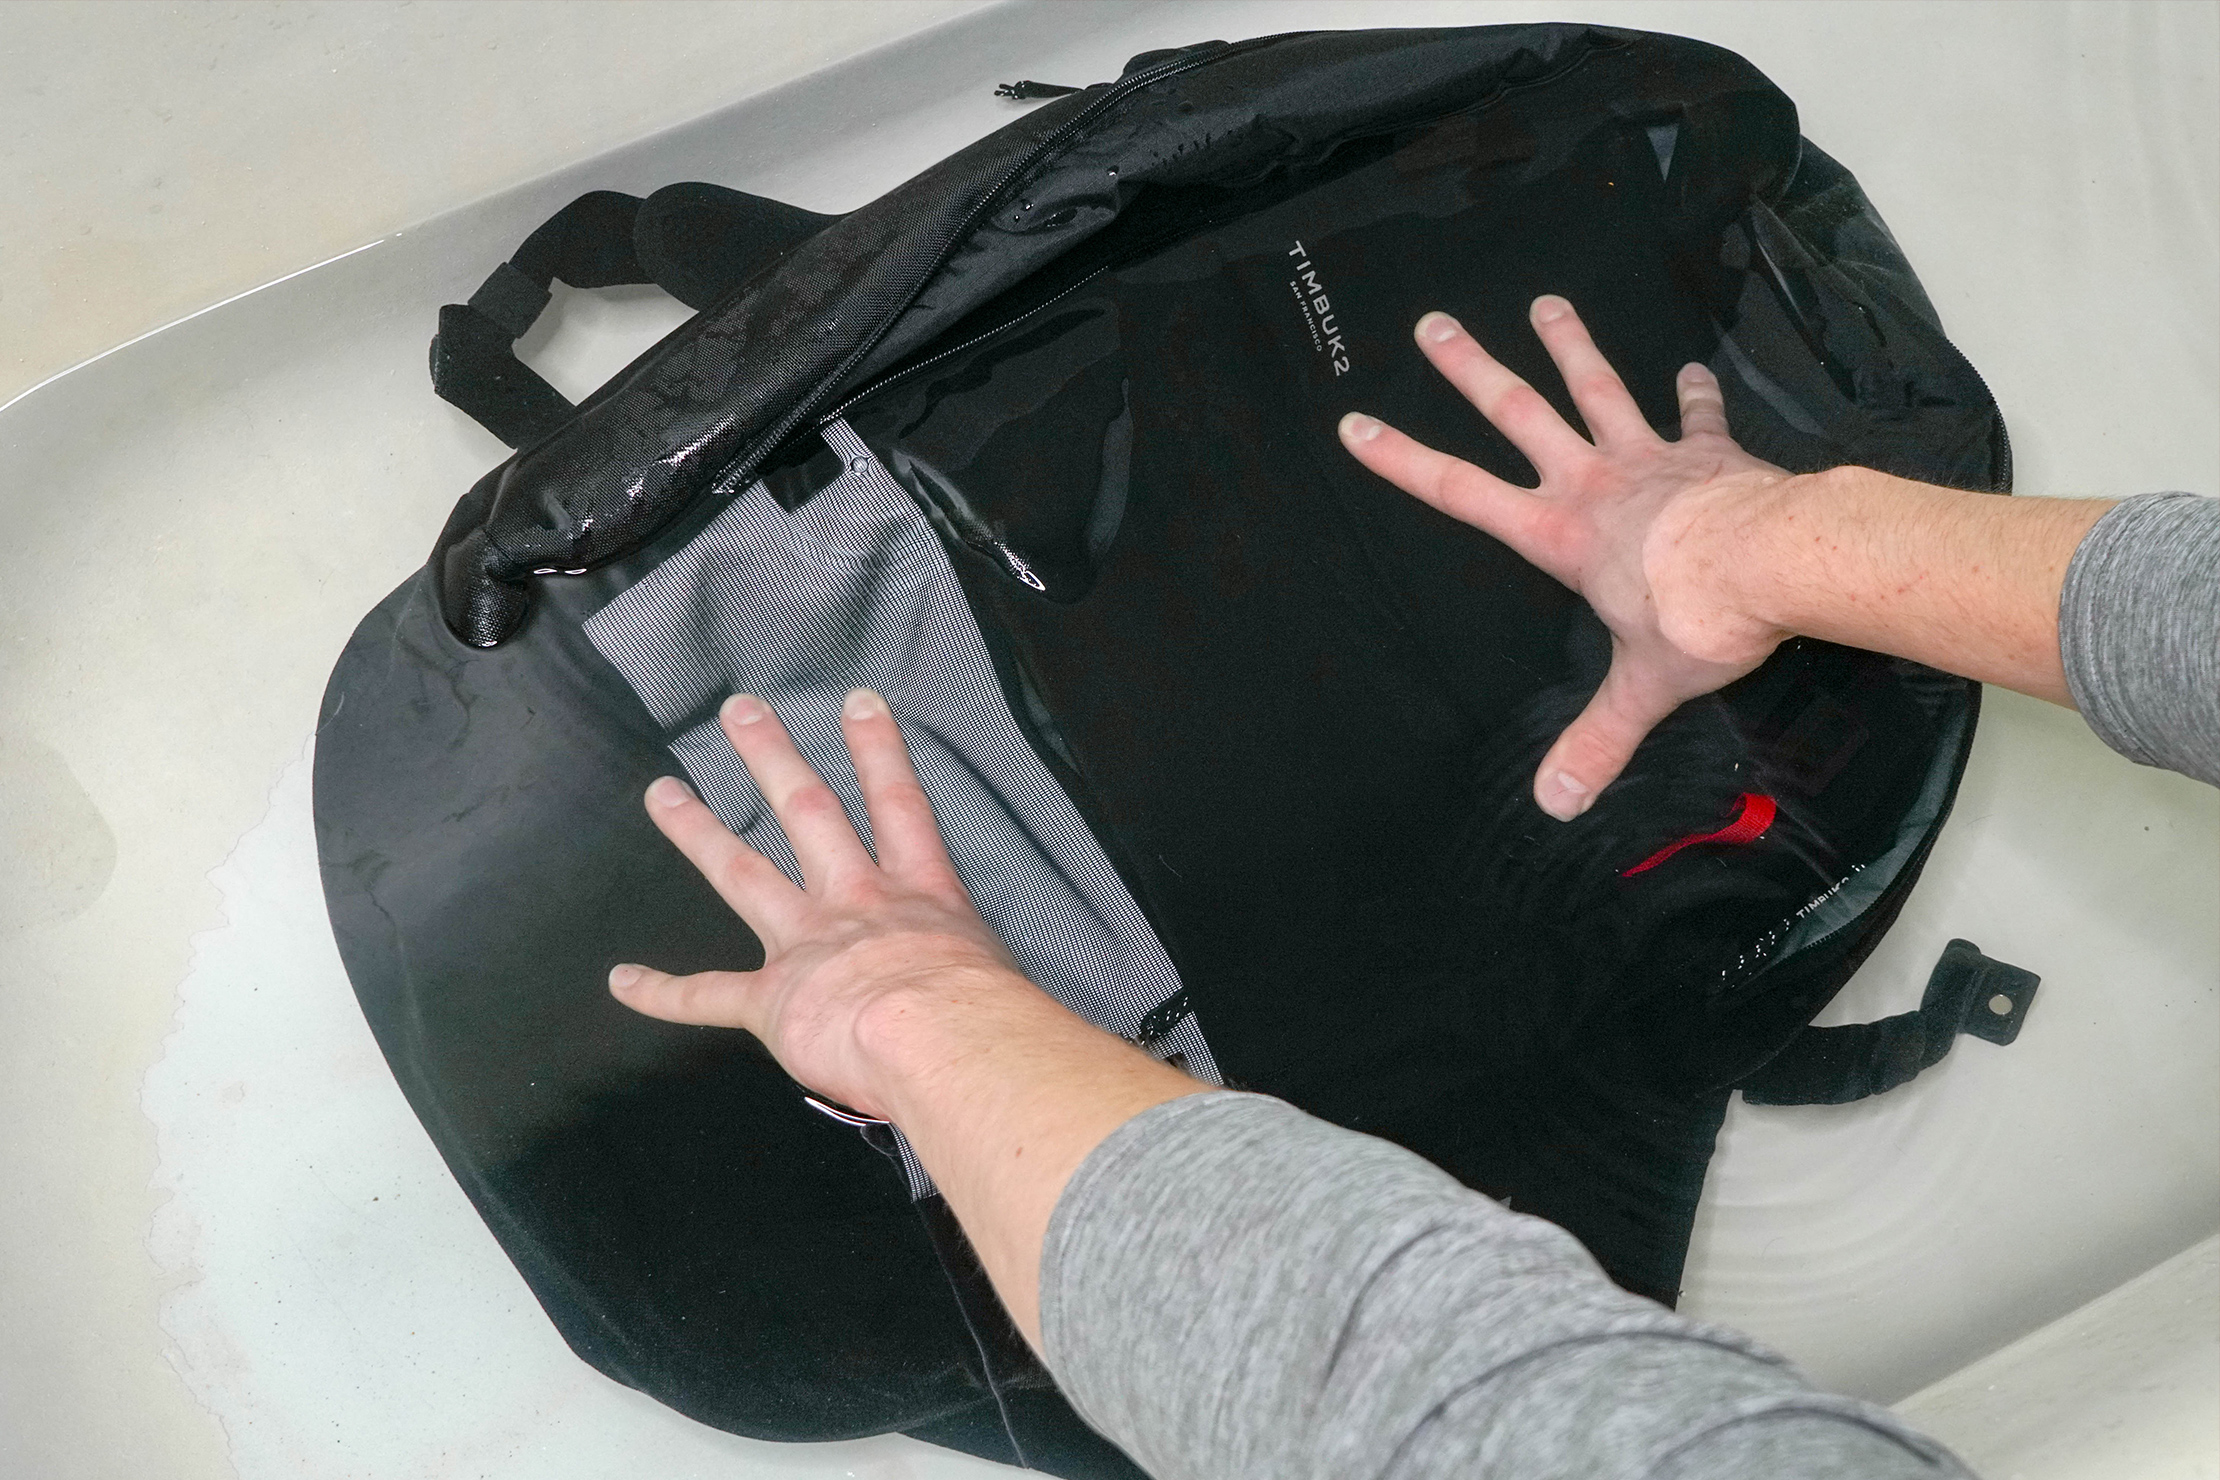
Soak the backpack in lukewarm water with a small amount of mild soap (a little soap goes a long way).
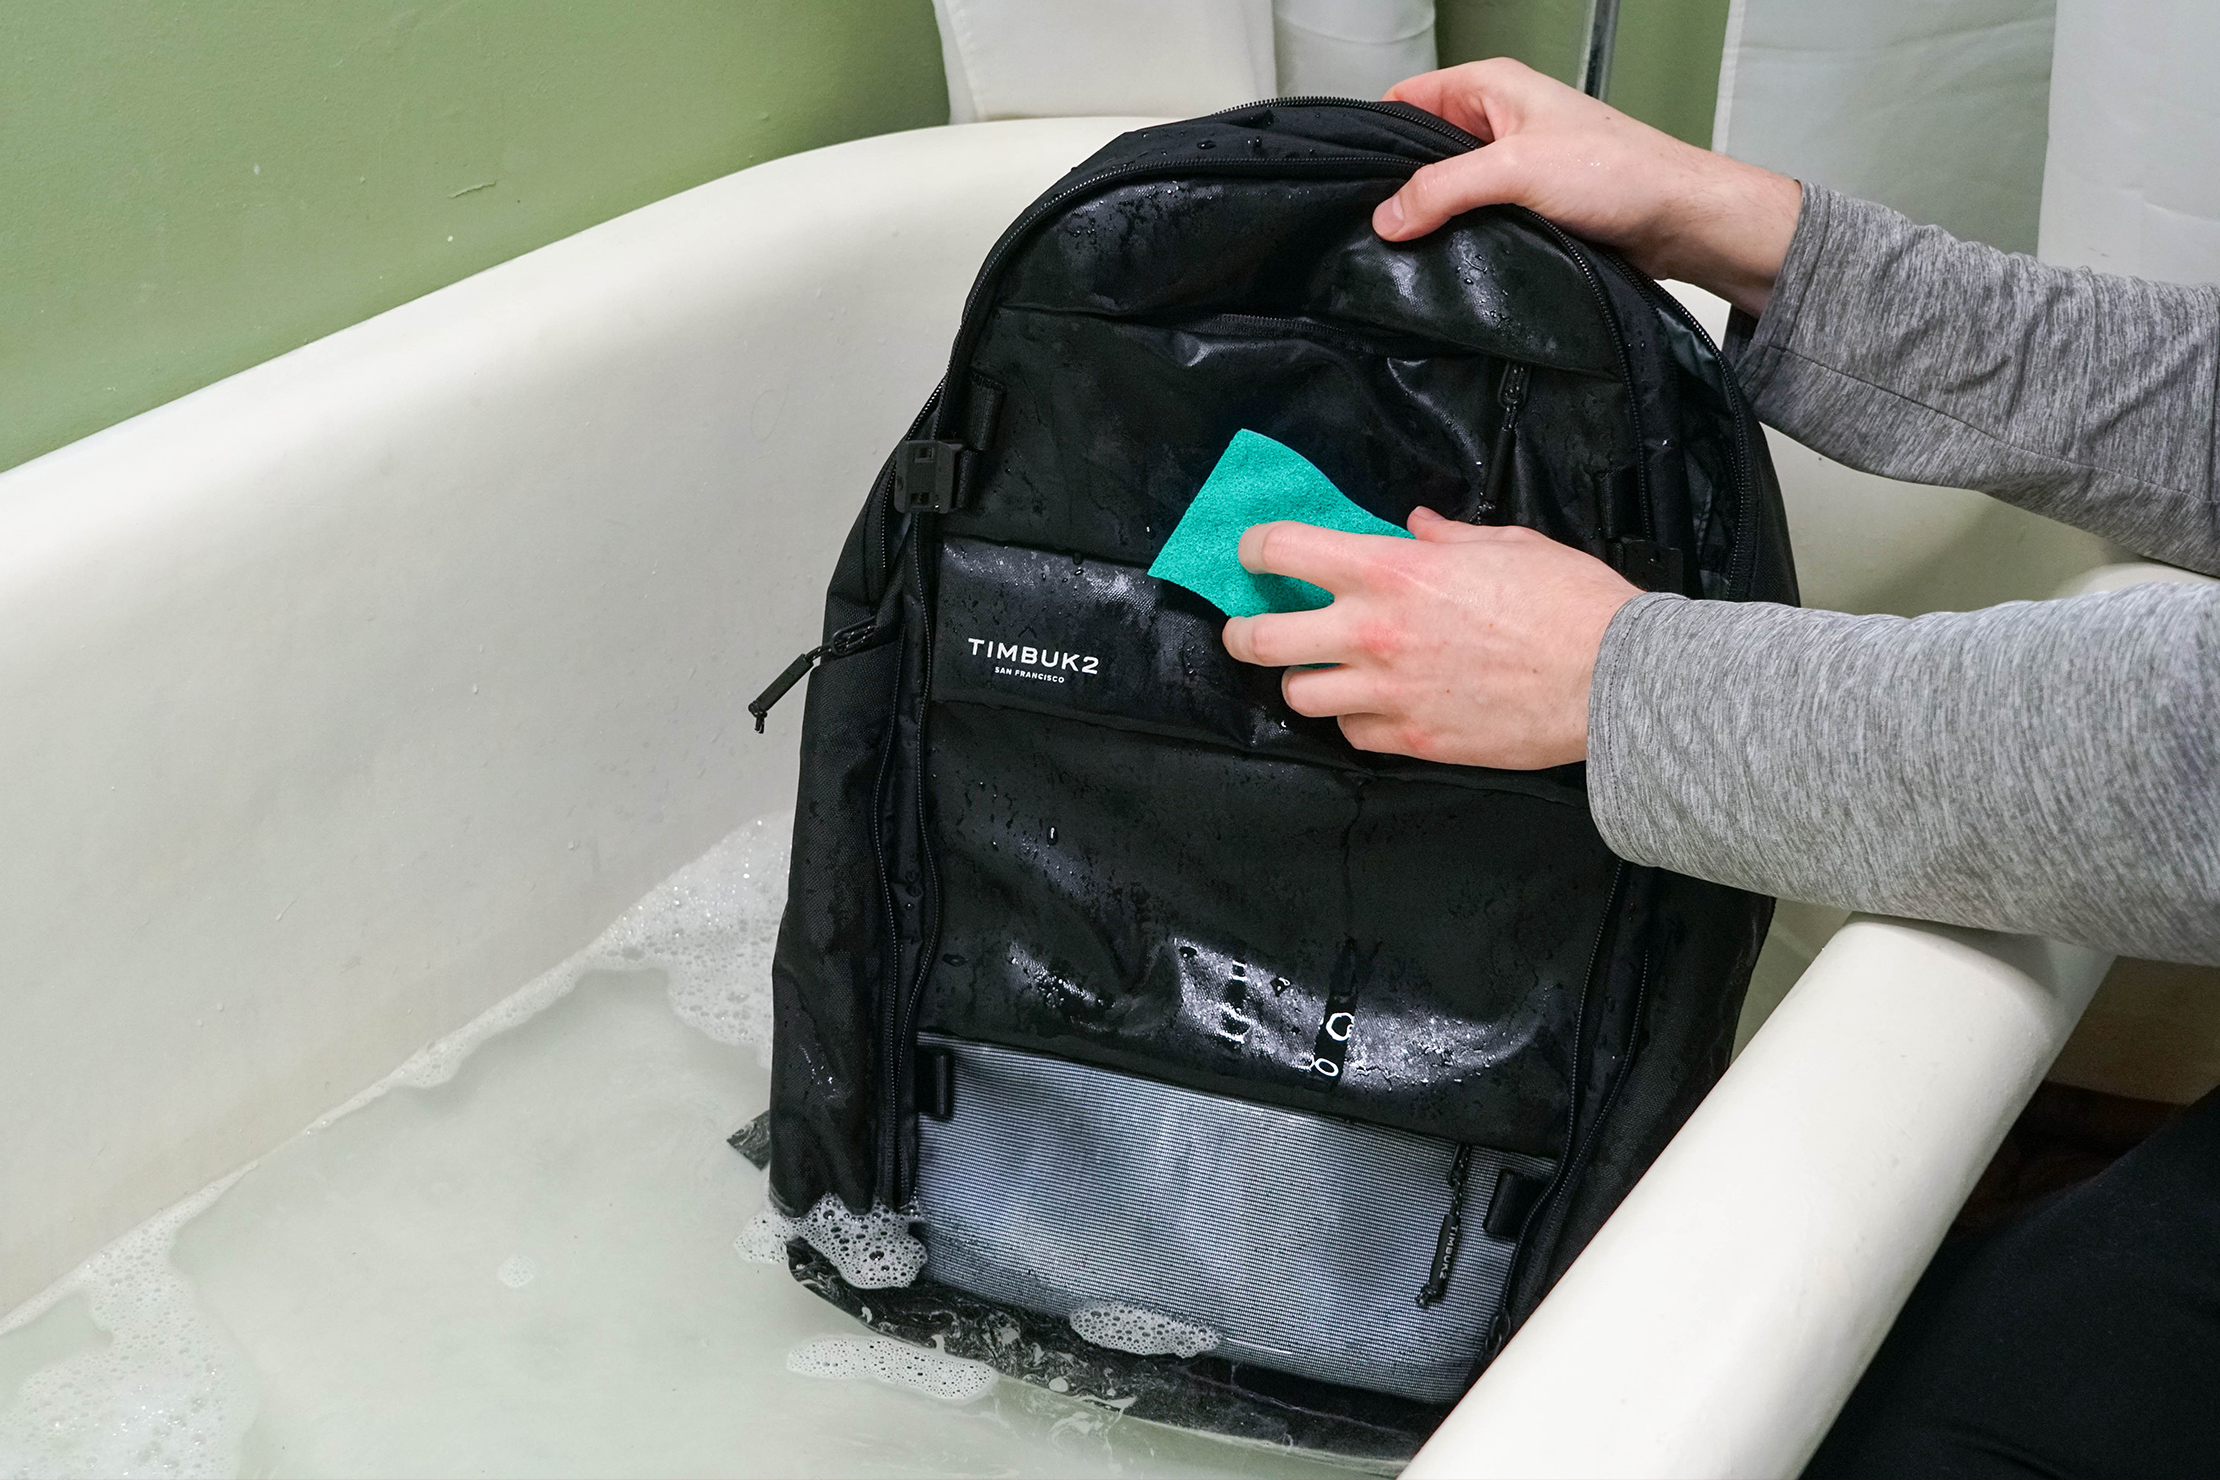
Use a sponge or washcloth to wipe down the entire bag. Don’t forget to wash inside the pockets! And, remember, mild scrubbing is typically best.
Pay extra attention to areas that accumulate sweat like the shoulder straps, back panel, and hip belt. Feel free to add a bit more soap and scrub a little more—if your bag has a funk, these spots are likely to blame. Plus, if you’ve removed any of these straps and belts, you can wash them separately, which makes things a little easier.
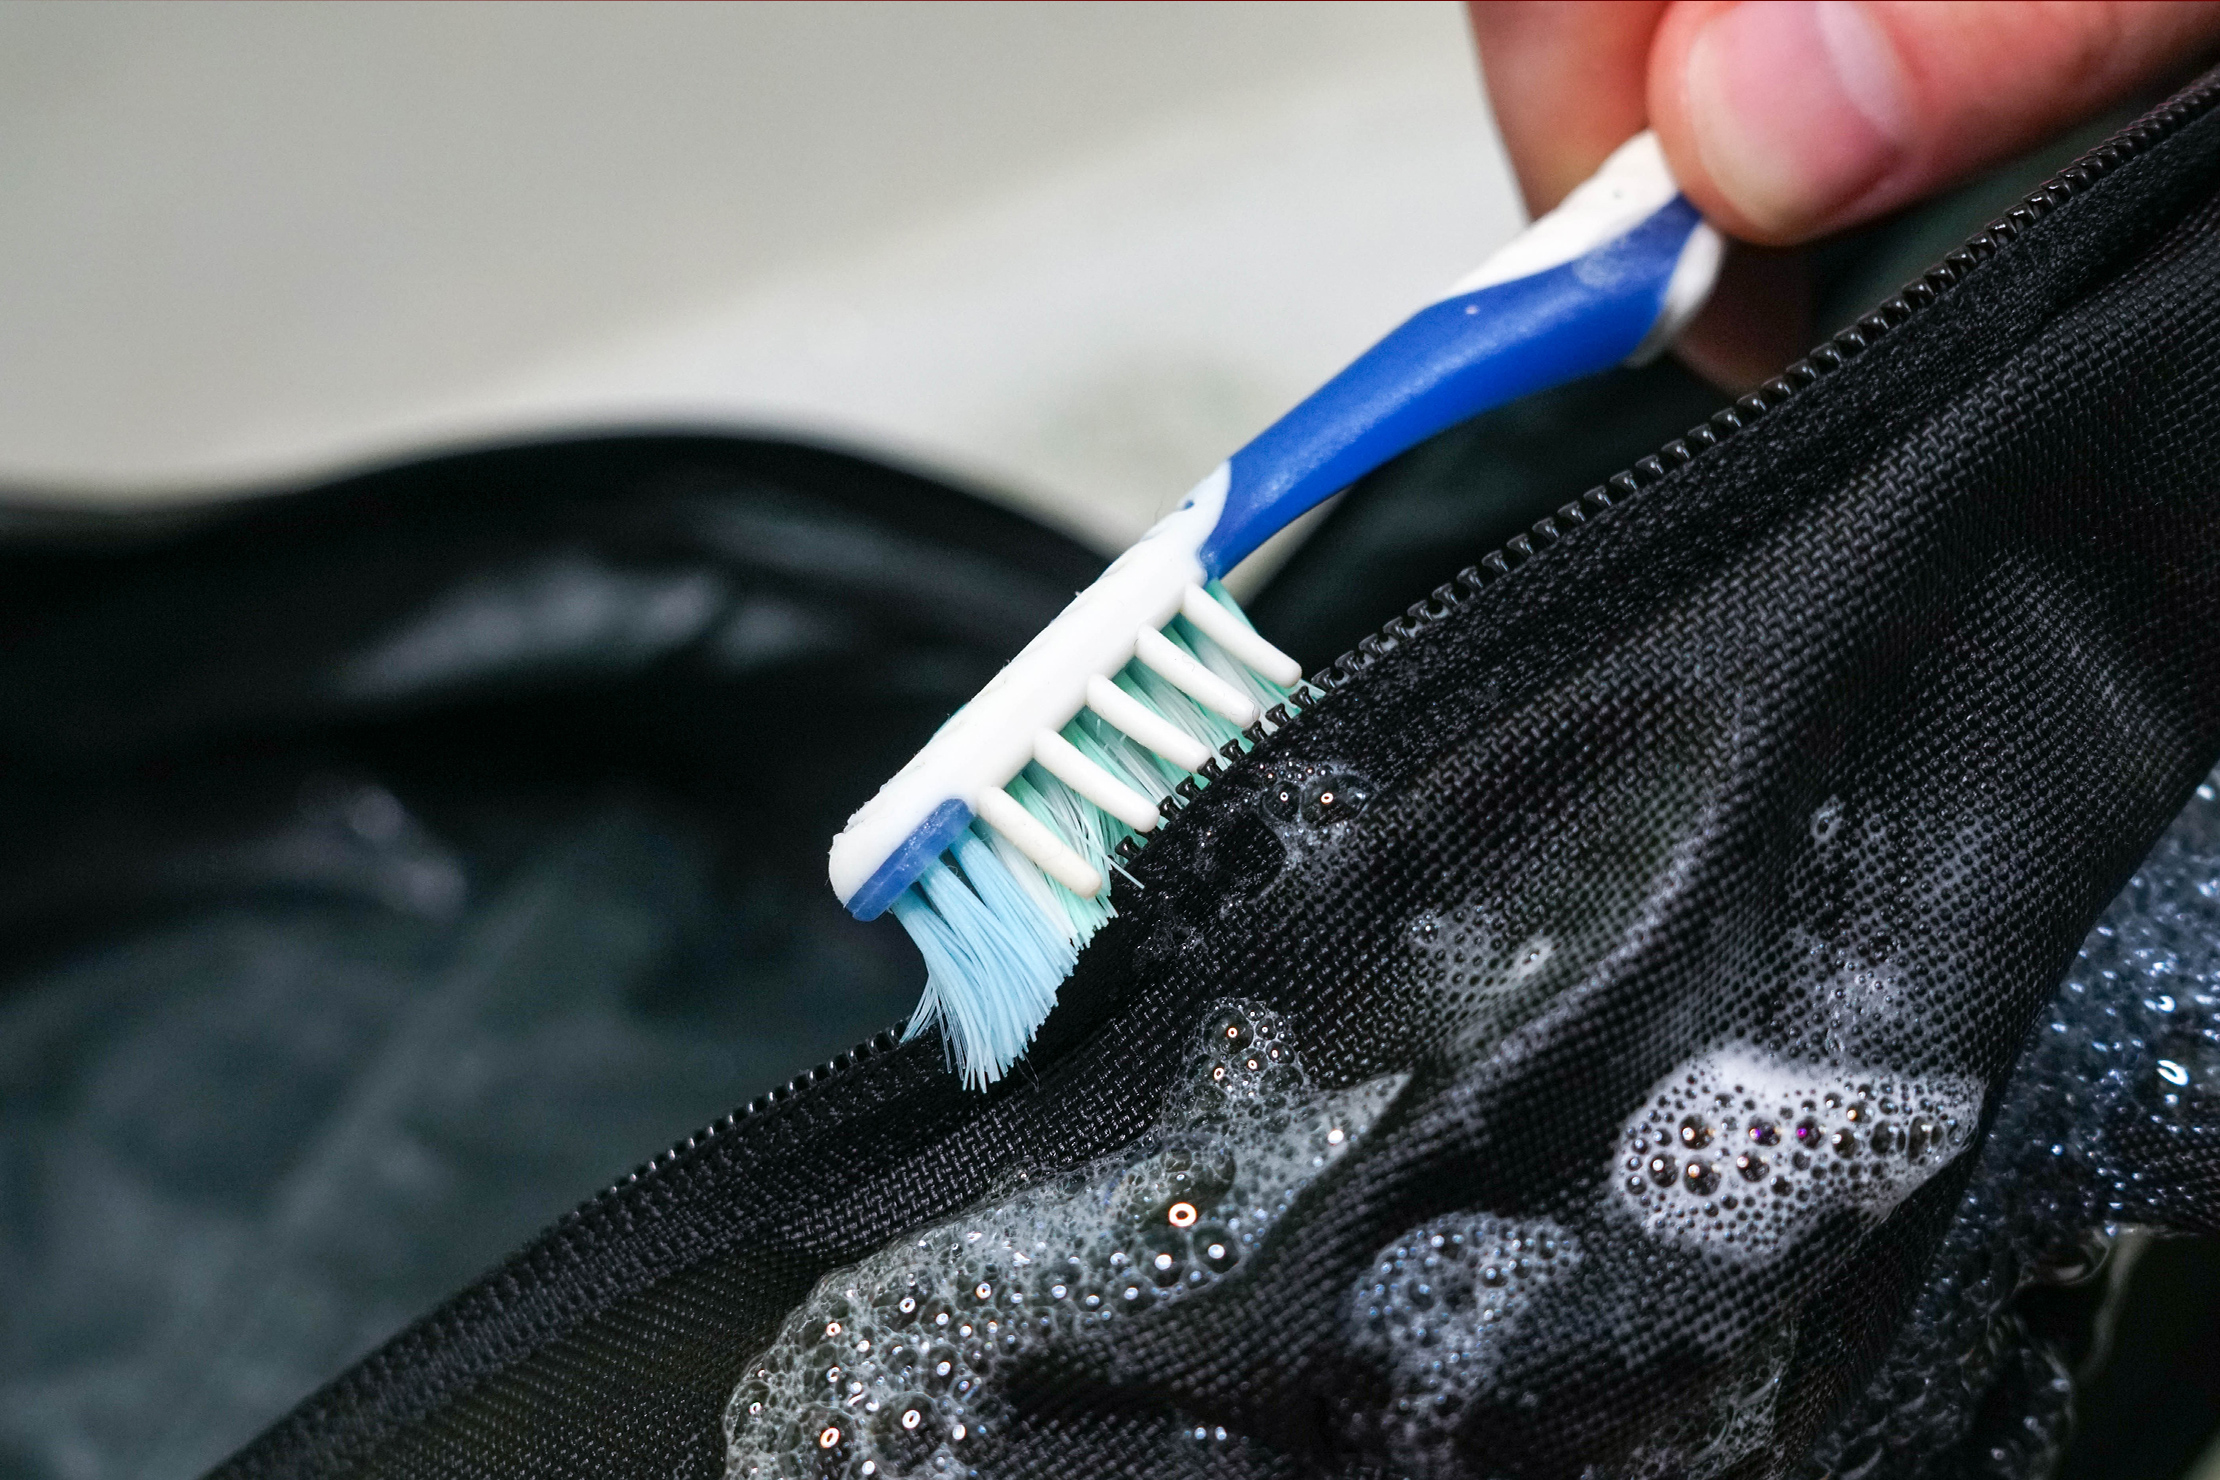
If the zippers are sticky or have been getting jammed, you can give those some extra love too. Use a toothbrush to gently brush the teeth of the zipper. Just like the rest of the backpack, be careful not to scrub too hard to avoid damaging the zipper (especially waterproof zippers). YKK, for example, recommends adding paraffin wax or another lubricant after cleaning to help waterproof and lubricate the zippers.
After you’ve thoroughly scrubbed your bag, it’s time to rinse it off. Simply rinse it with clean water until there are no more bubbles on the bag, It may take a few cycles.
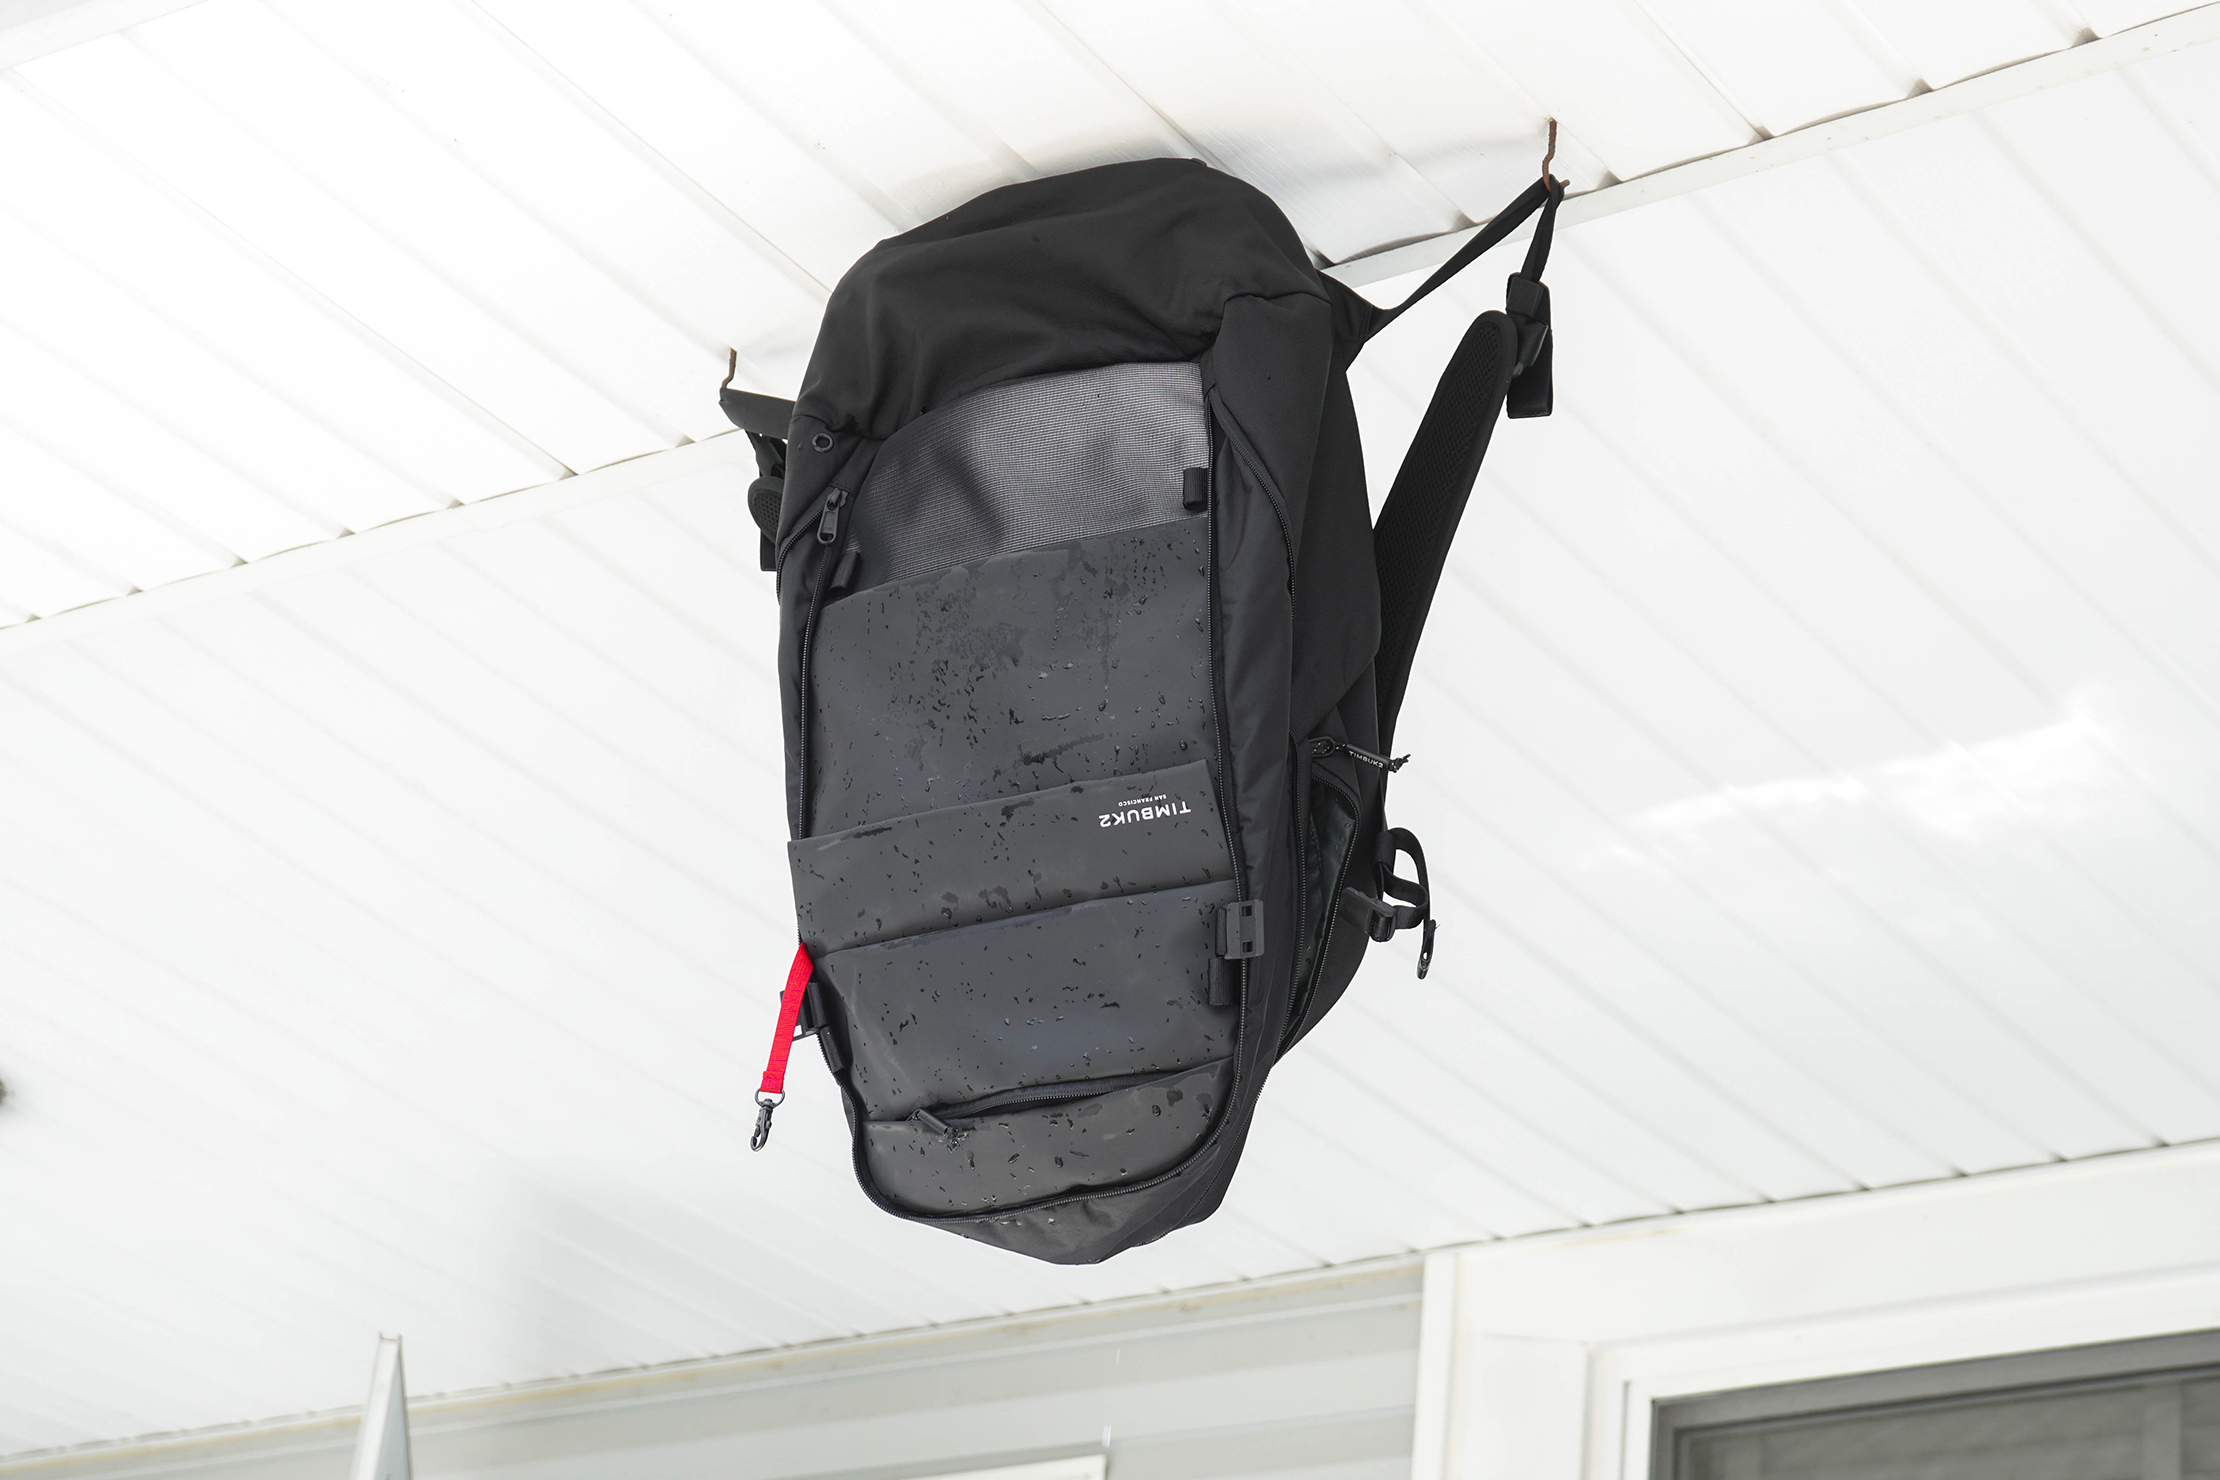
Once rinsed, open every zippered pocket and hang your backpack upside down to air dry. Also, hang all external components you’ve removed from the bag. Hanging your backpack upside down with all the pockets open will prevent water from pooling at the bottom of the compartments. If you’re hanging the bag inside, do not use any artificial heat sources as they can over-dry your bag and cause the material to crack or get damaged. If you’re hanging it outside, try to avoid direct sunlight as prolonged exposure to UV rays can be damaging—especially to water-resistant materials.
And that’s it! You’ll want to make sure your backpack is 100% dry before reassembling your pack, using it again, or throwing it back in storage. If there’s any moisture left in your bag, mold can easily grow causing it to smell worse than it did before you washed it. (Like when you forget about that load of laundry in the washing machine for three days.)
How To Wash A Down Jacket
Down jackets are, usually, one of the few items that you can run through the washer and dryer. But don’t toss it in just yet—there are still some rules you need to follow to avoid clumping or damaging the down. As we said earlier, we typically prefer to hand-wash most items anyway, so we’re going to cover both methods below.

Let’s start with machine washing, shall we?
Important note: Only wash your down jacket in a front-loading washing machine, or top-loading machine without an agitator. The agitator that’s typically in the middle of most top-loading washers can severely damage the down inside your jacket.
Using a Washer & Dryer
Before you toss your down jacket in the washer all willy-nilly, make sure to empty everything out of your pockets. You don’t want to ruin your expensive jacket by washing it with a rogue tube of lip balm.
With the pockets empty, zip up all the zippers and fasten any other flaps or closures that may be on your jacket.
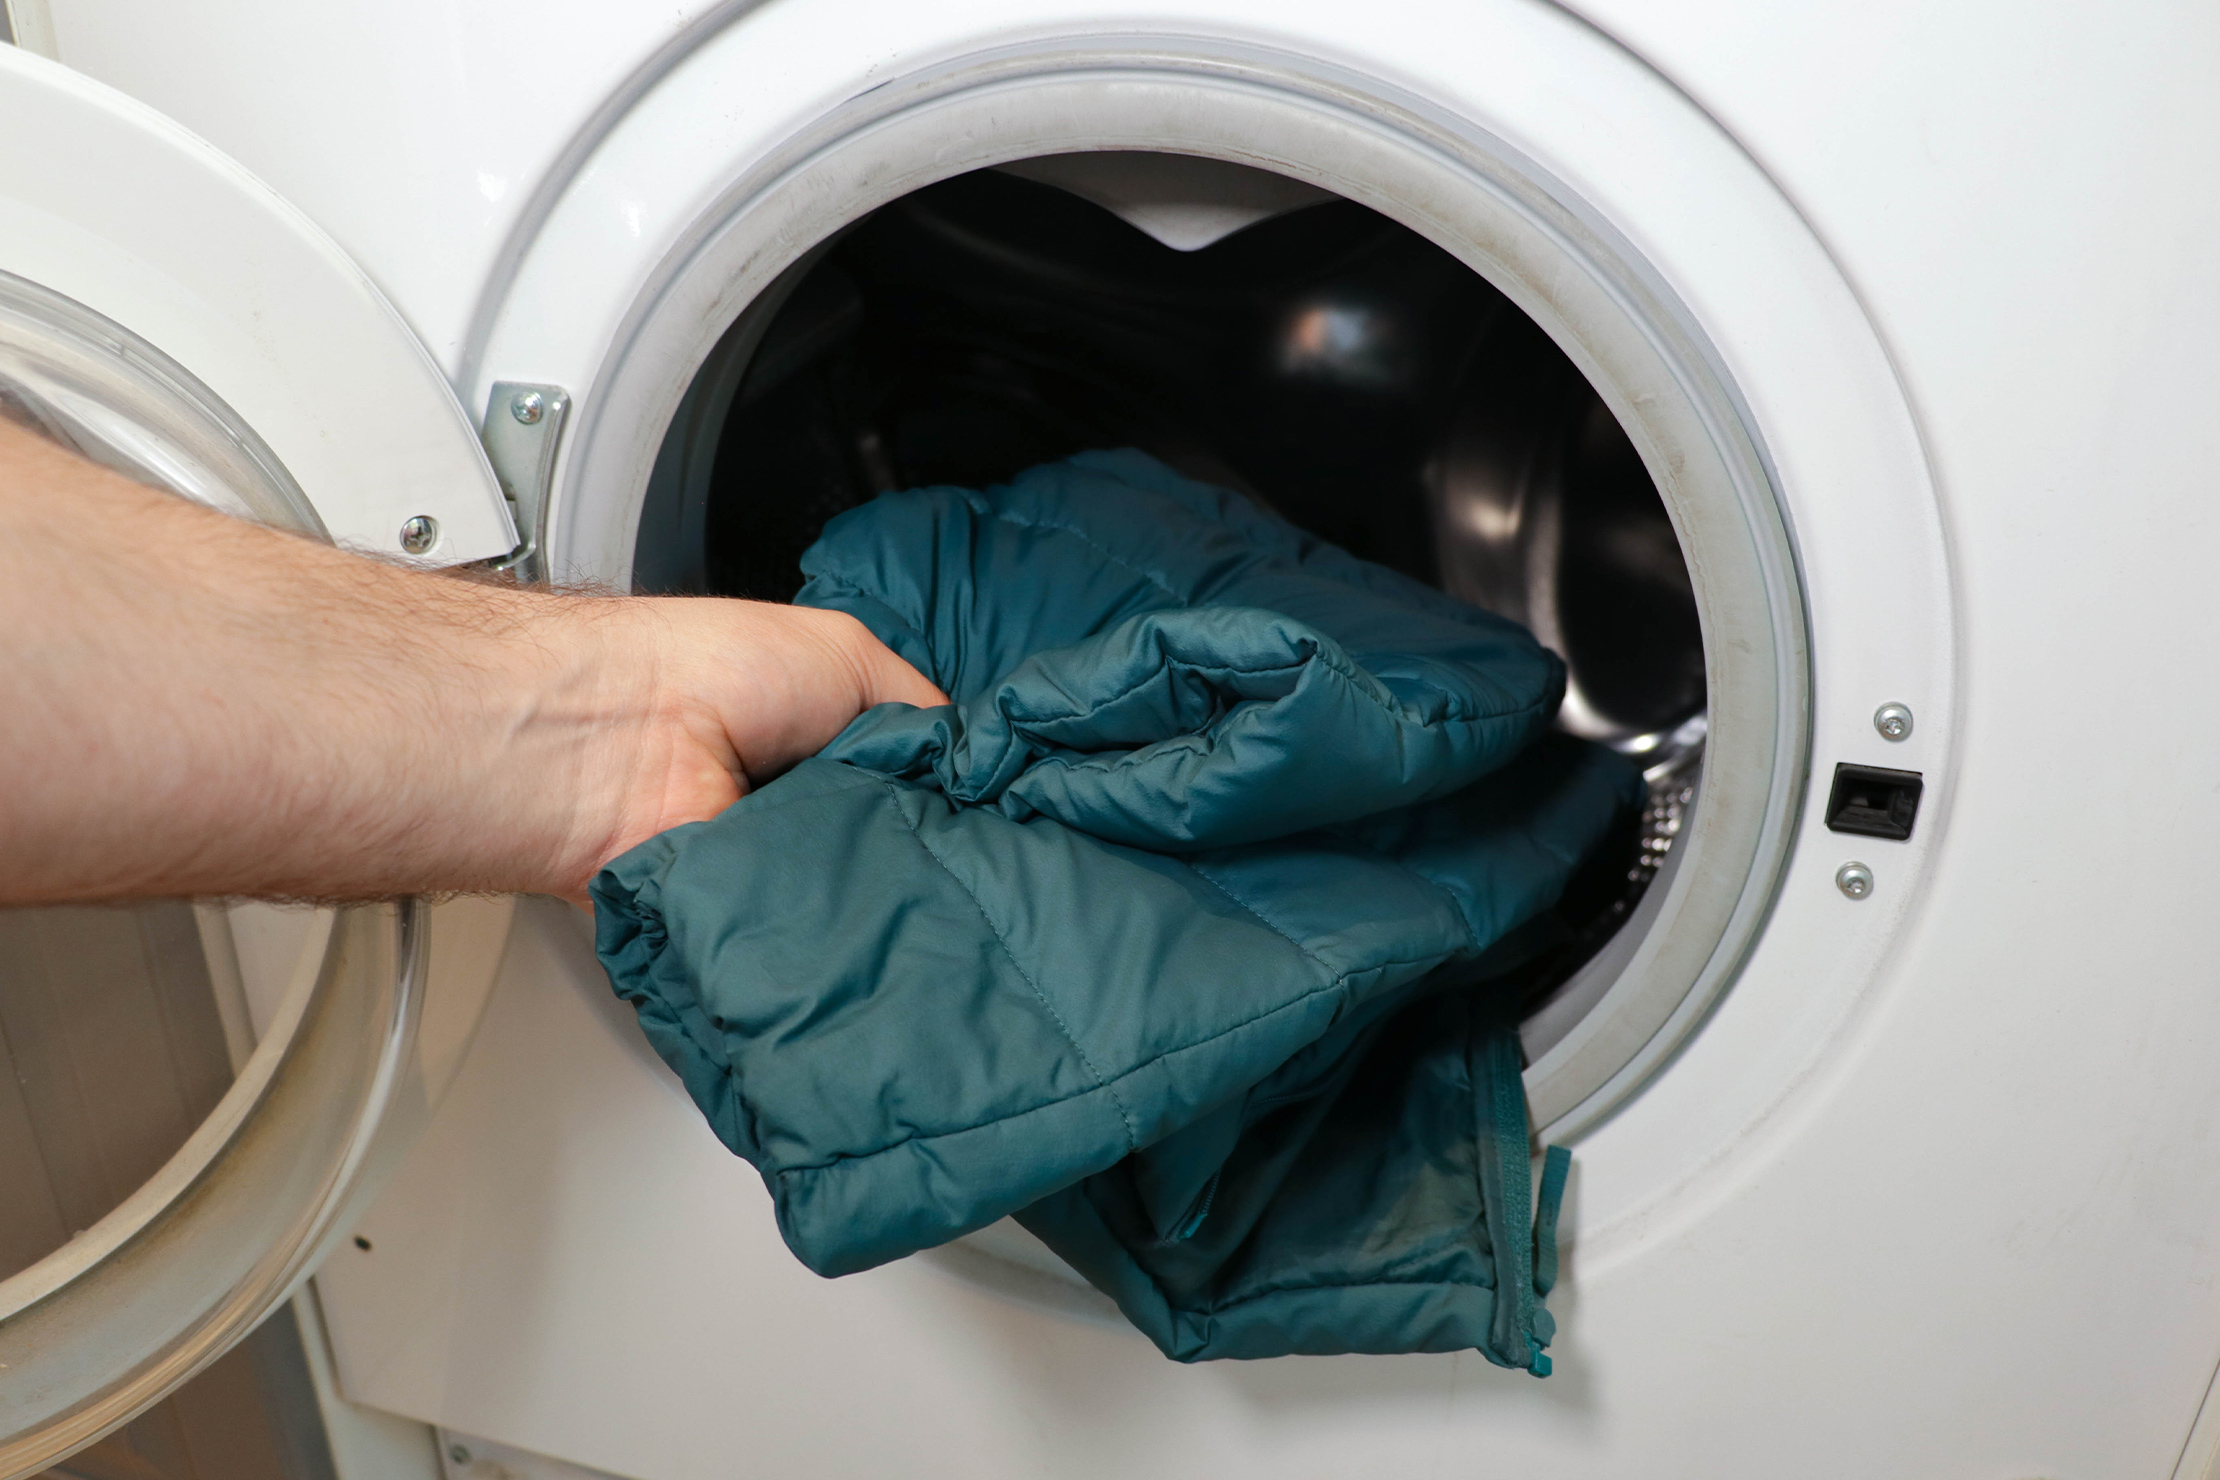
Load the jacket into your washing machine and set it to the gentle cycle using cold water. Turn off the spin cycle! Wet down is heavy and spinning it quickly (during the spin cycle) can cause it clump and compress, which will damage the jacket.
Also, it’s better if you can use a specialty down wash. Normal-strength detergent can strip the down of its natural oils, making it brittle.
Now, one cycle might not be enough to rinse all the soap out of the jacket so you may have to run it through the wash two or three times.

Once all the soap is rinsed out, it’s time to dry this thing. It’s going to be soaked but resist the urge to wring out the jacket—this will, again, compress and damage the down. Toss the jacket into the dryer along with a few tennis balls or specialty down balls. The balls will help to break up any clumps in the down while it is drying.
Set the dryer to tumble dry on low heat and let it do its thing. Since the jacket is so wet, you’ll probably have to run it through the dryer a few times to get it completely dry.
After it’s dry, you’ll be ready to go on any (chilly) adventure you come across.
Pro Tip: Even though many down jackets are compressible, do not store them compressed. Hang your jacket up when not in use to keep the down fluffy, giving you more insulation longer.
Hand-Washing
If you don’t have access to a washer and dryer or you’re worried about your down jacket getting ruined, hand-washing is the way to go. And it’s not too difficult.
First, as always, empty all the pockets, zip up all the zippers, and fasten any other closures that may be on your jacket.
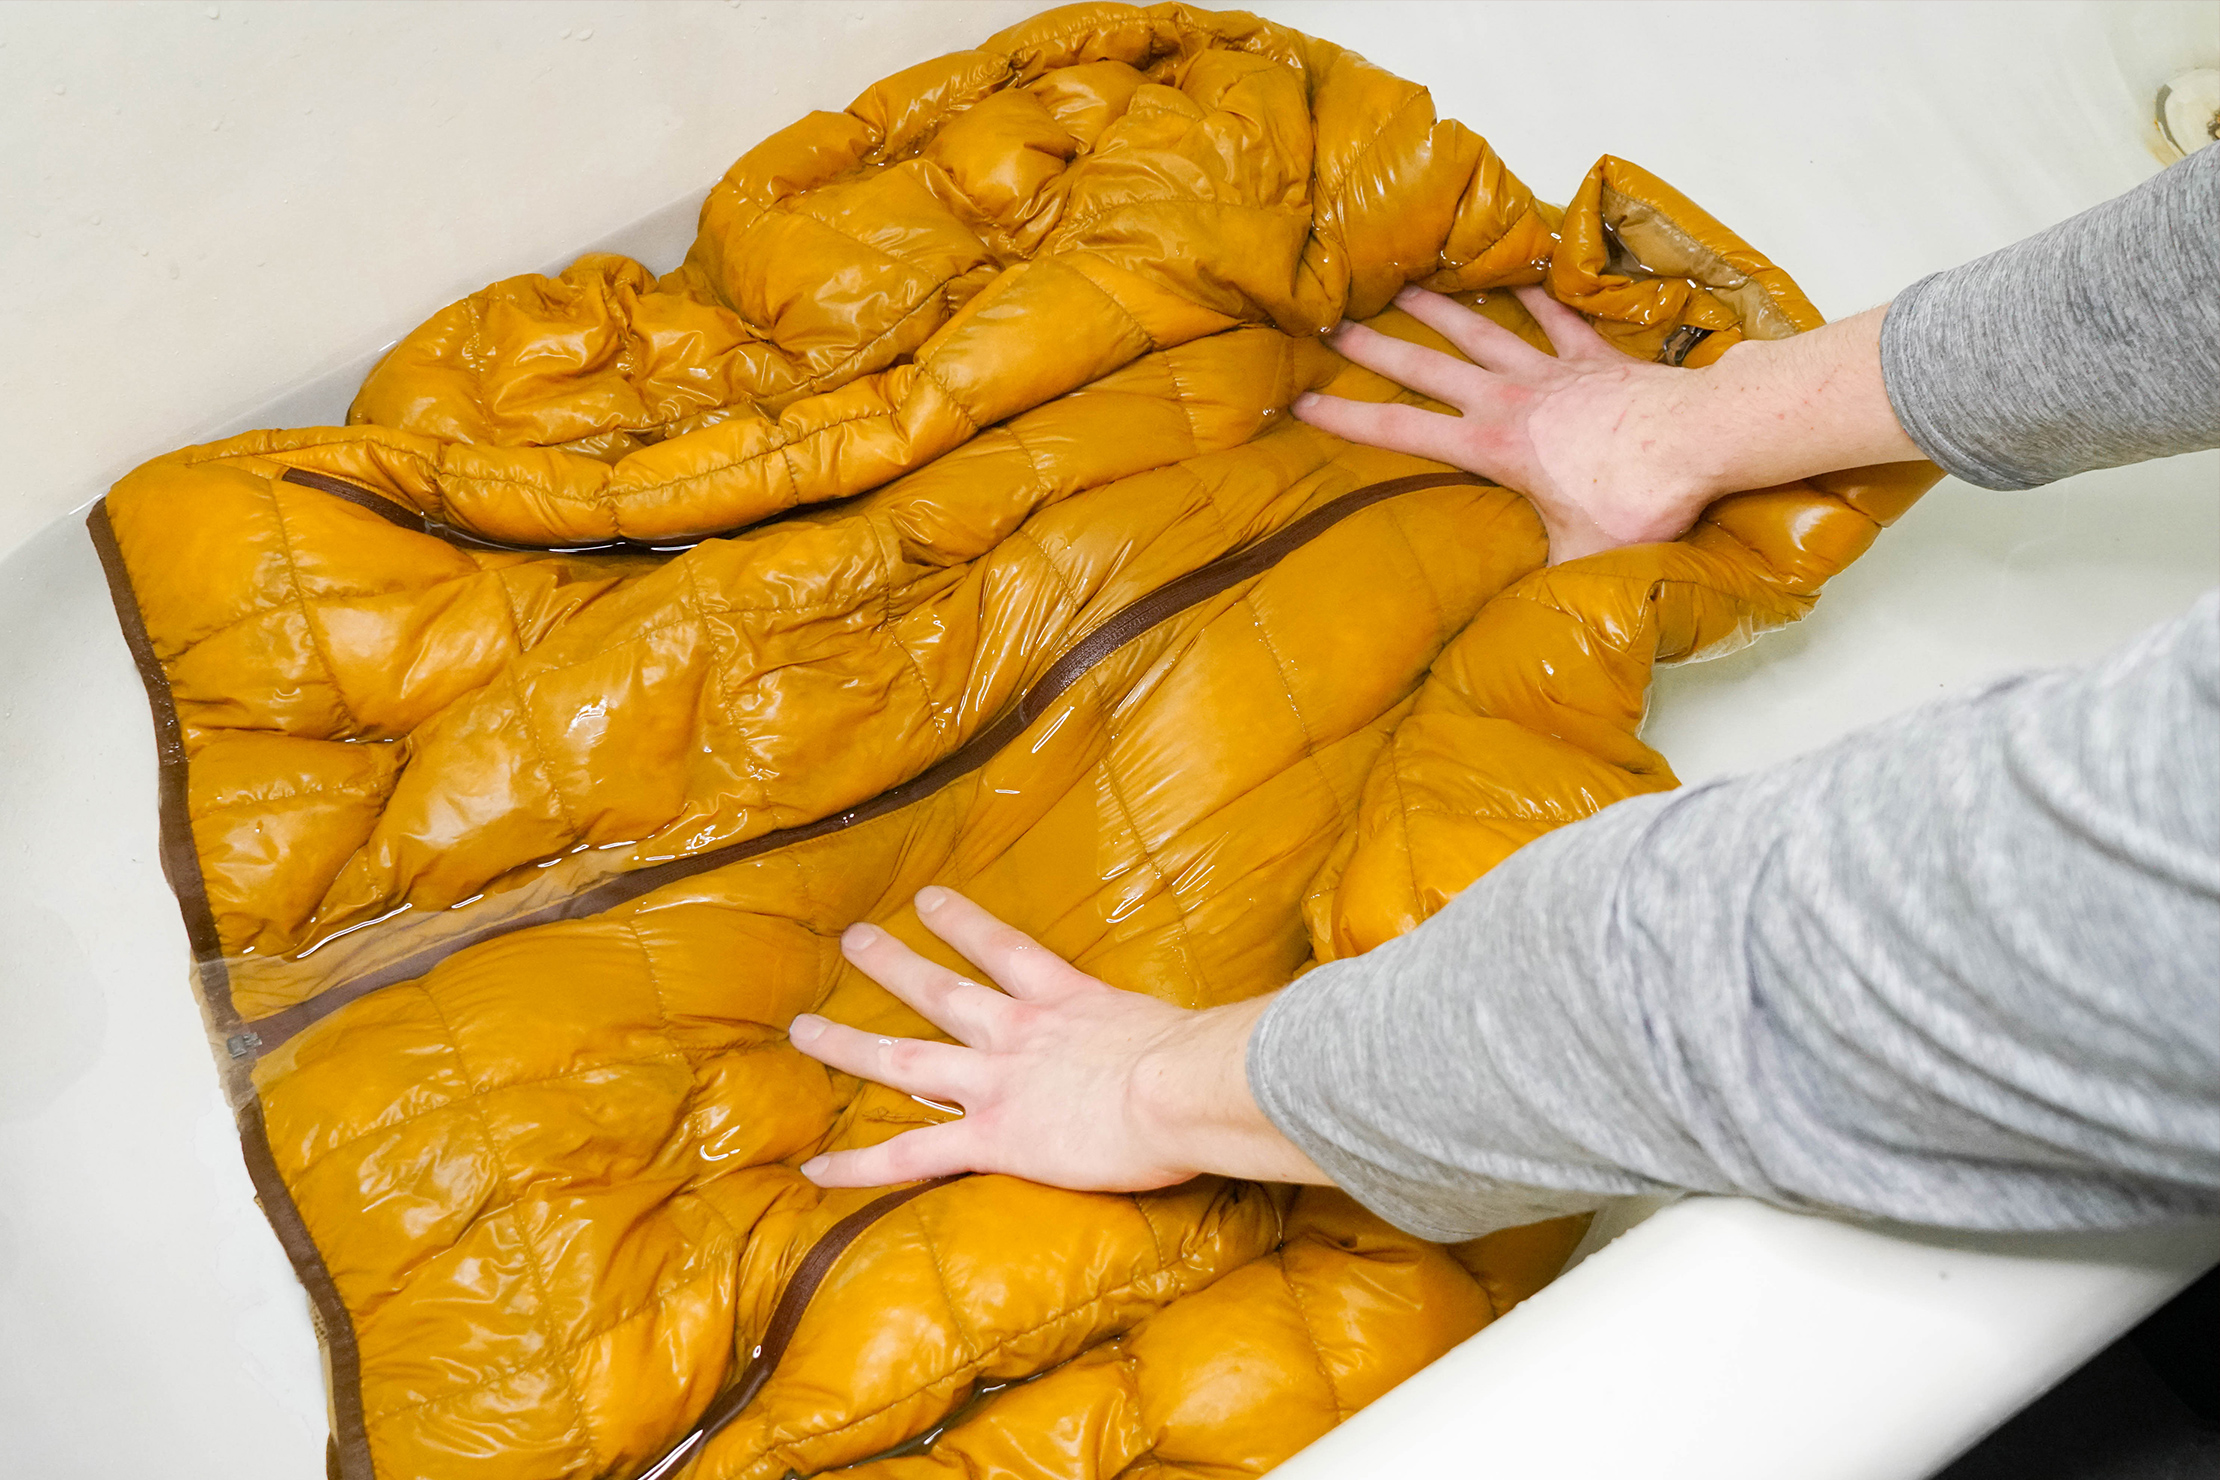
Fill a tub or sink with lukewarm water and a specialty down wash (normal detergent can strip the down of its natural oils, making it brittle).
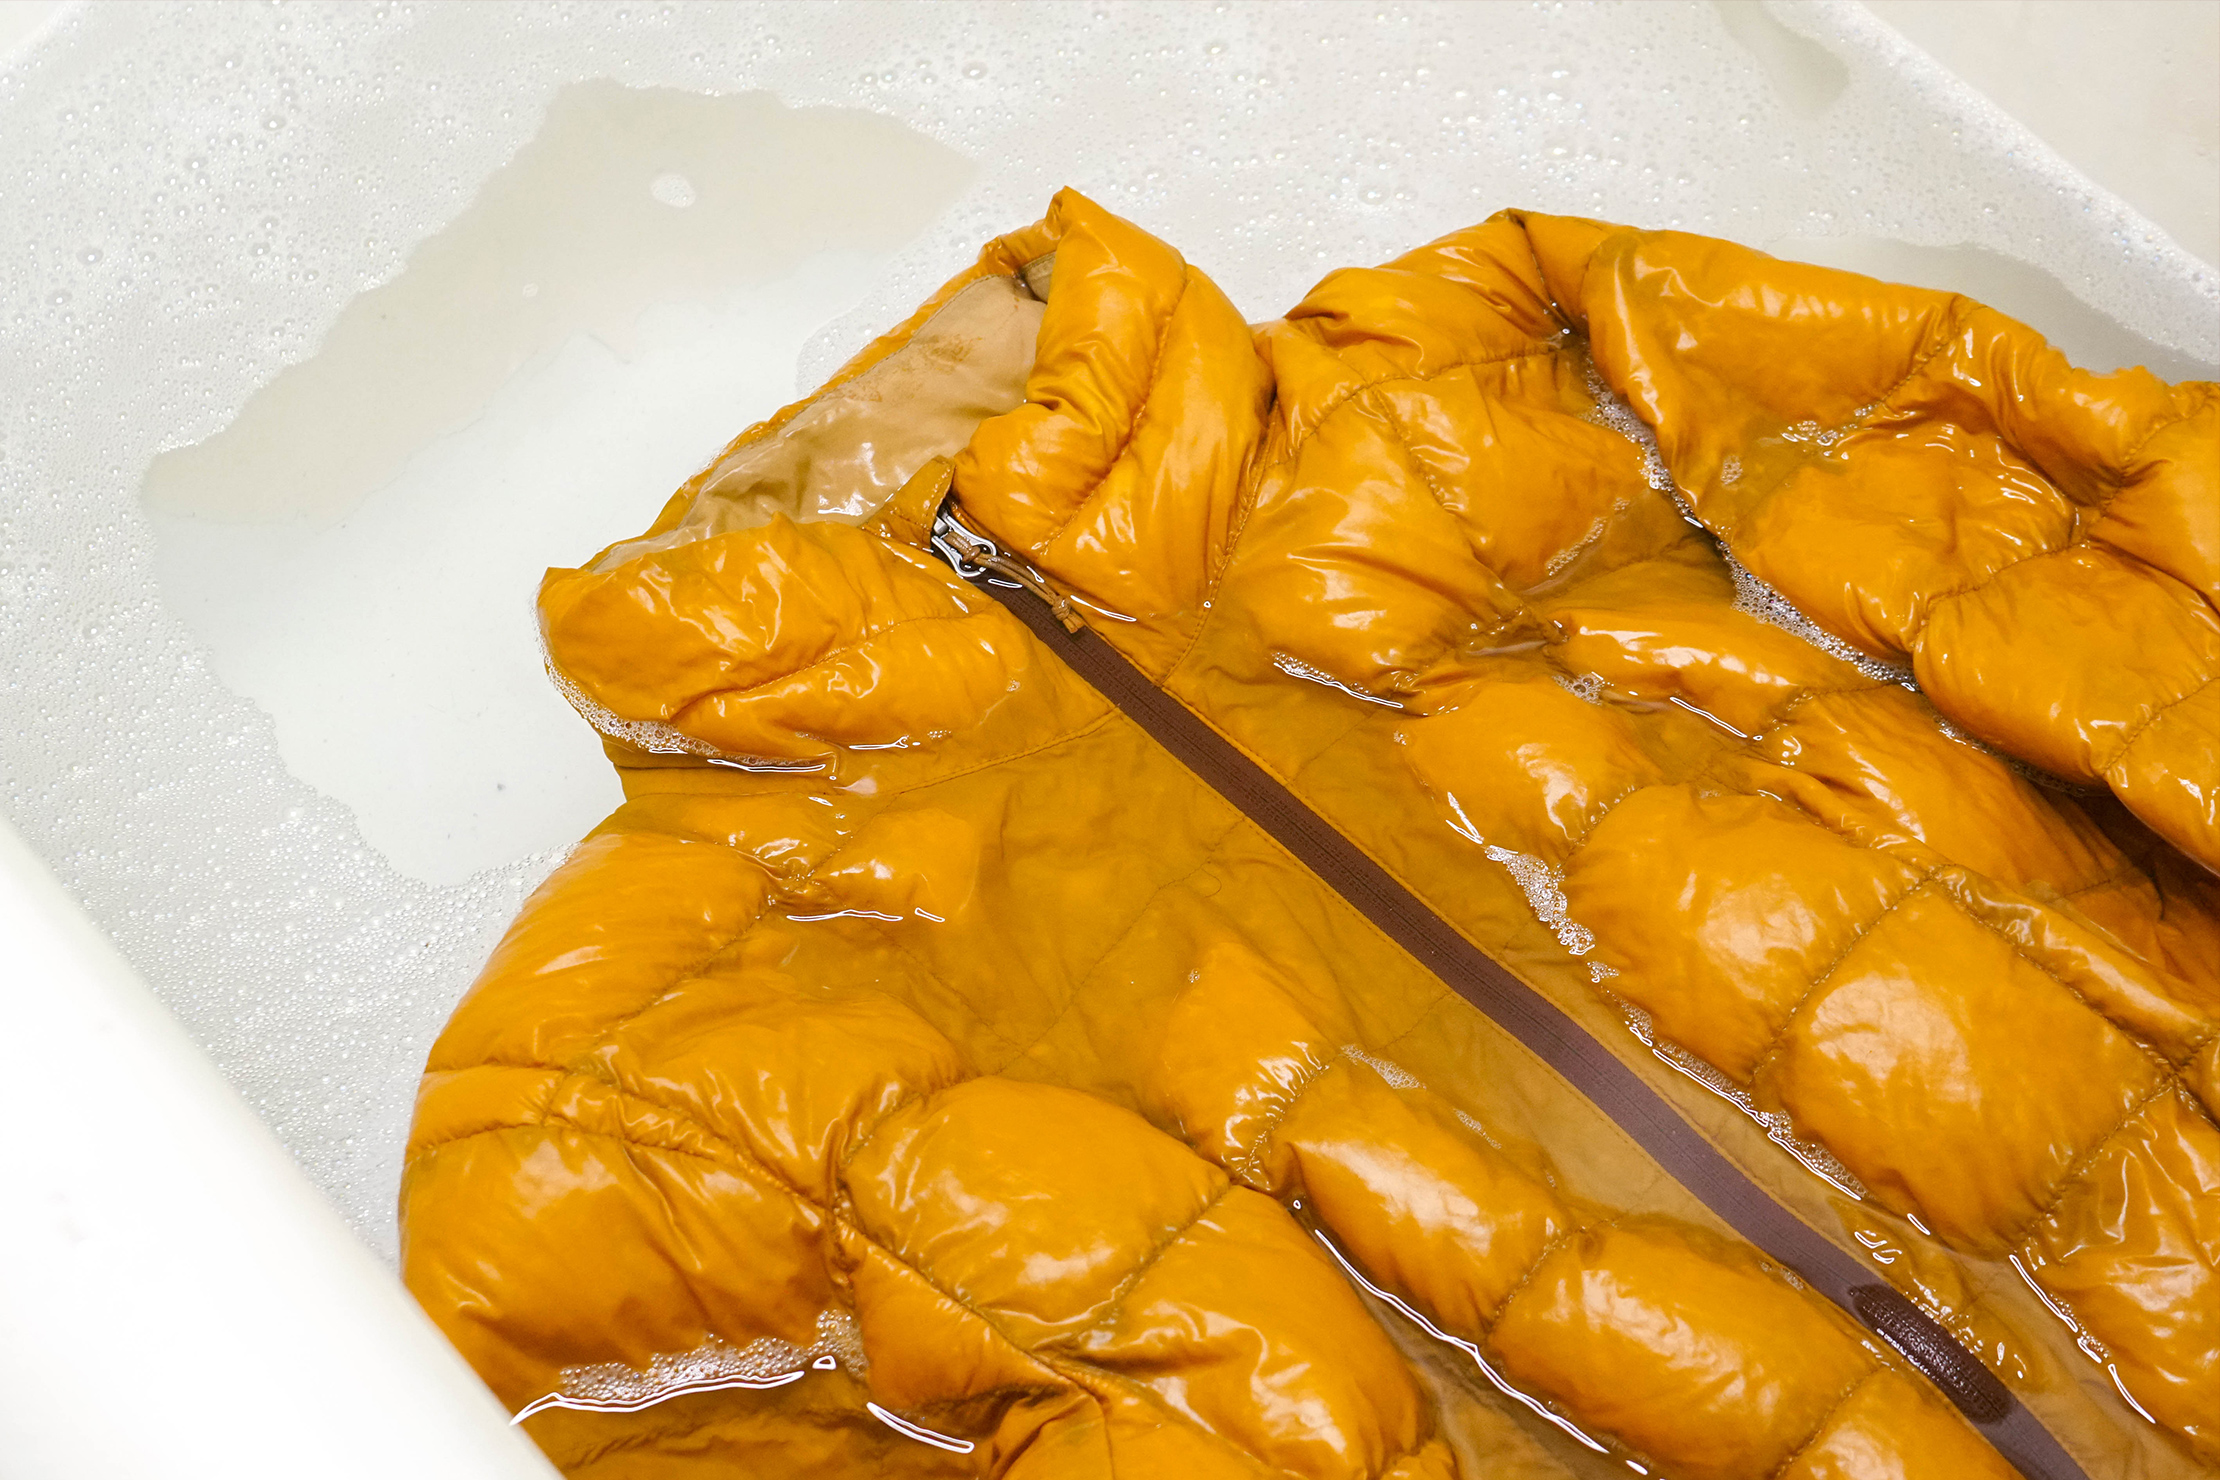
Submerge the down jacket in the soapy water and gently agitate it to shake off any dirt and help the soap work in. The key word here is gently. Do not twist or wring the jacket as it can clump, compress, and potentially damage the down.
Let the jacket soak for roughly 30–60 minutes. The dirtier your jacket, the longer it can soak.
Once you’re satisfied with the soak of your jacket, it’s time to take it out and rinse it. The easiest way we’ve found to rinse it is to transfer the down jacket into another tub or sink of clean water. Or, if you only have one, remove the jacket, drain the tub/sink, fill it with clean water, and put the jacket back in.
When moving the wet jacket, take extra care to hold it as flat as possible and support it evenly. When wet, the down is more likely to clump and picking it up by one spot may cause the down to settle unevenly (which, if you haven’t noticed, is not ideal).
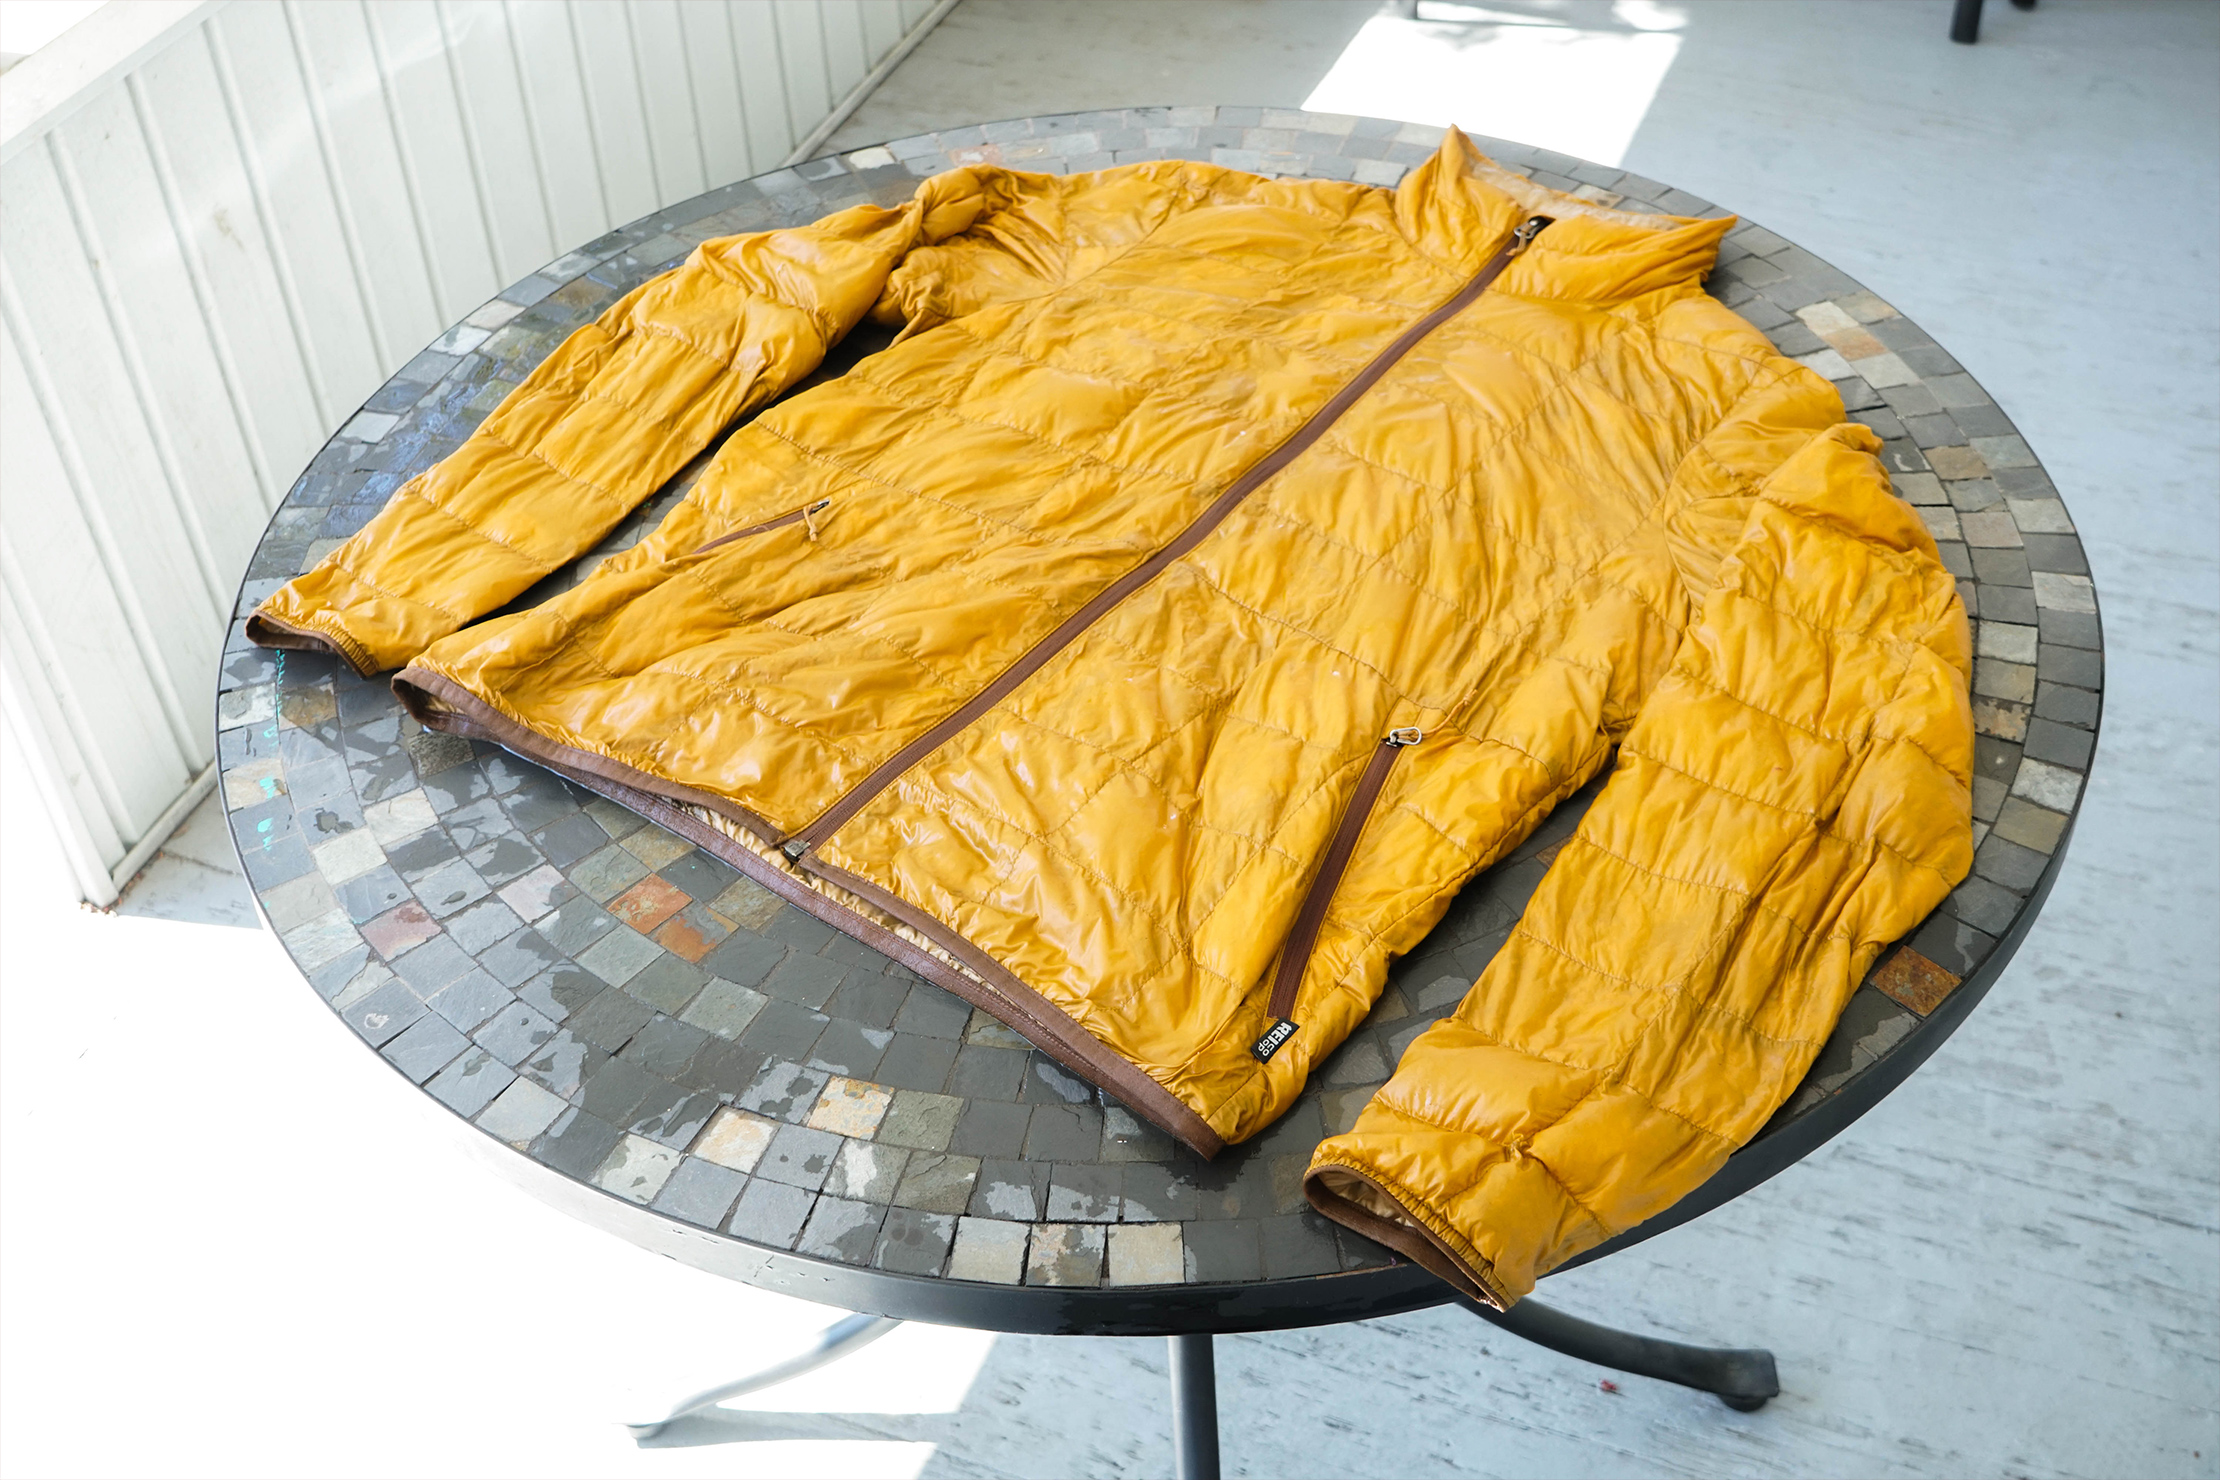
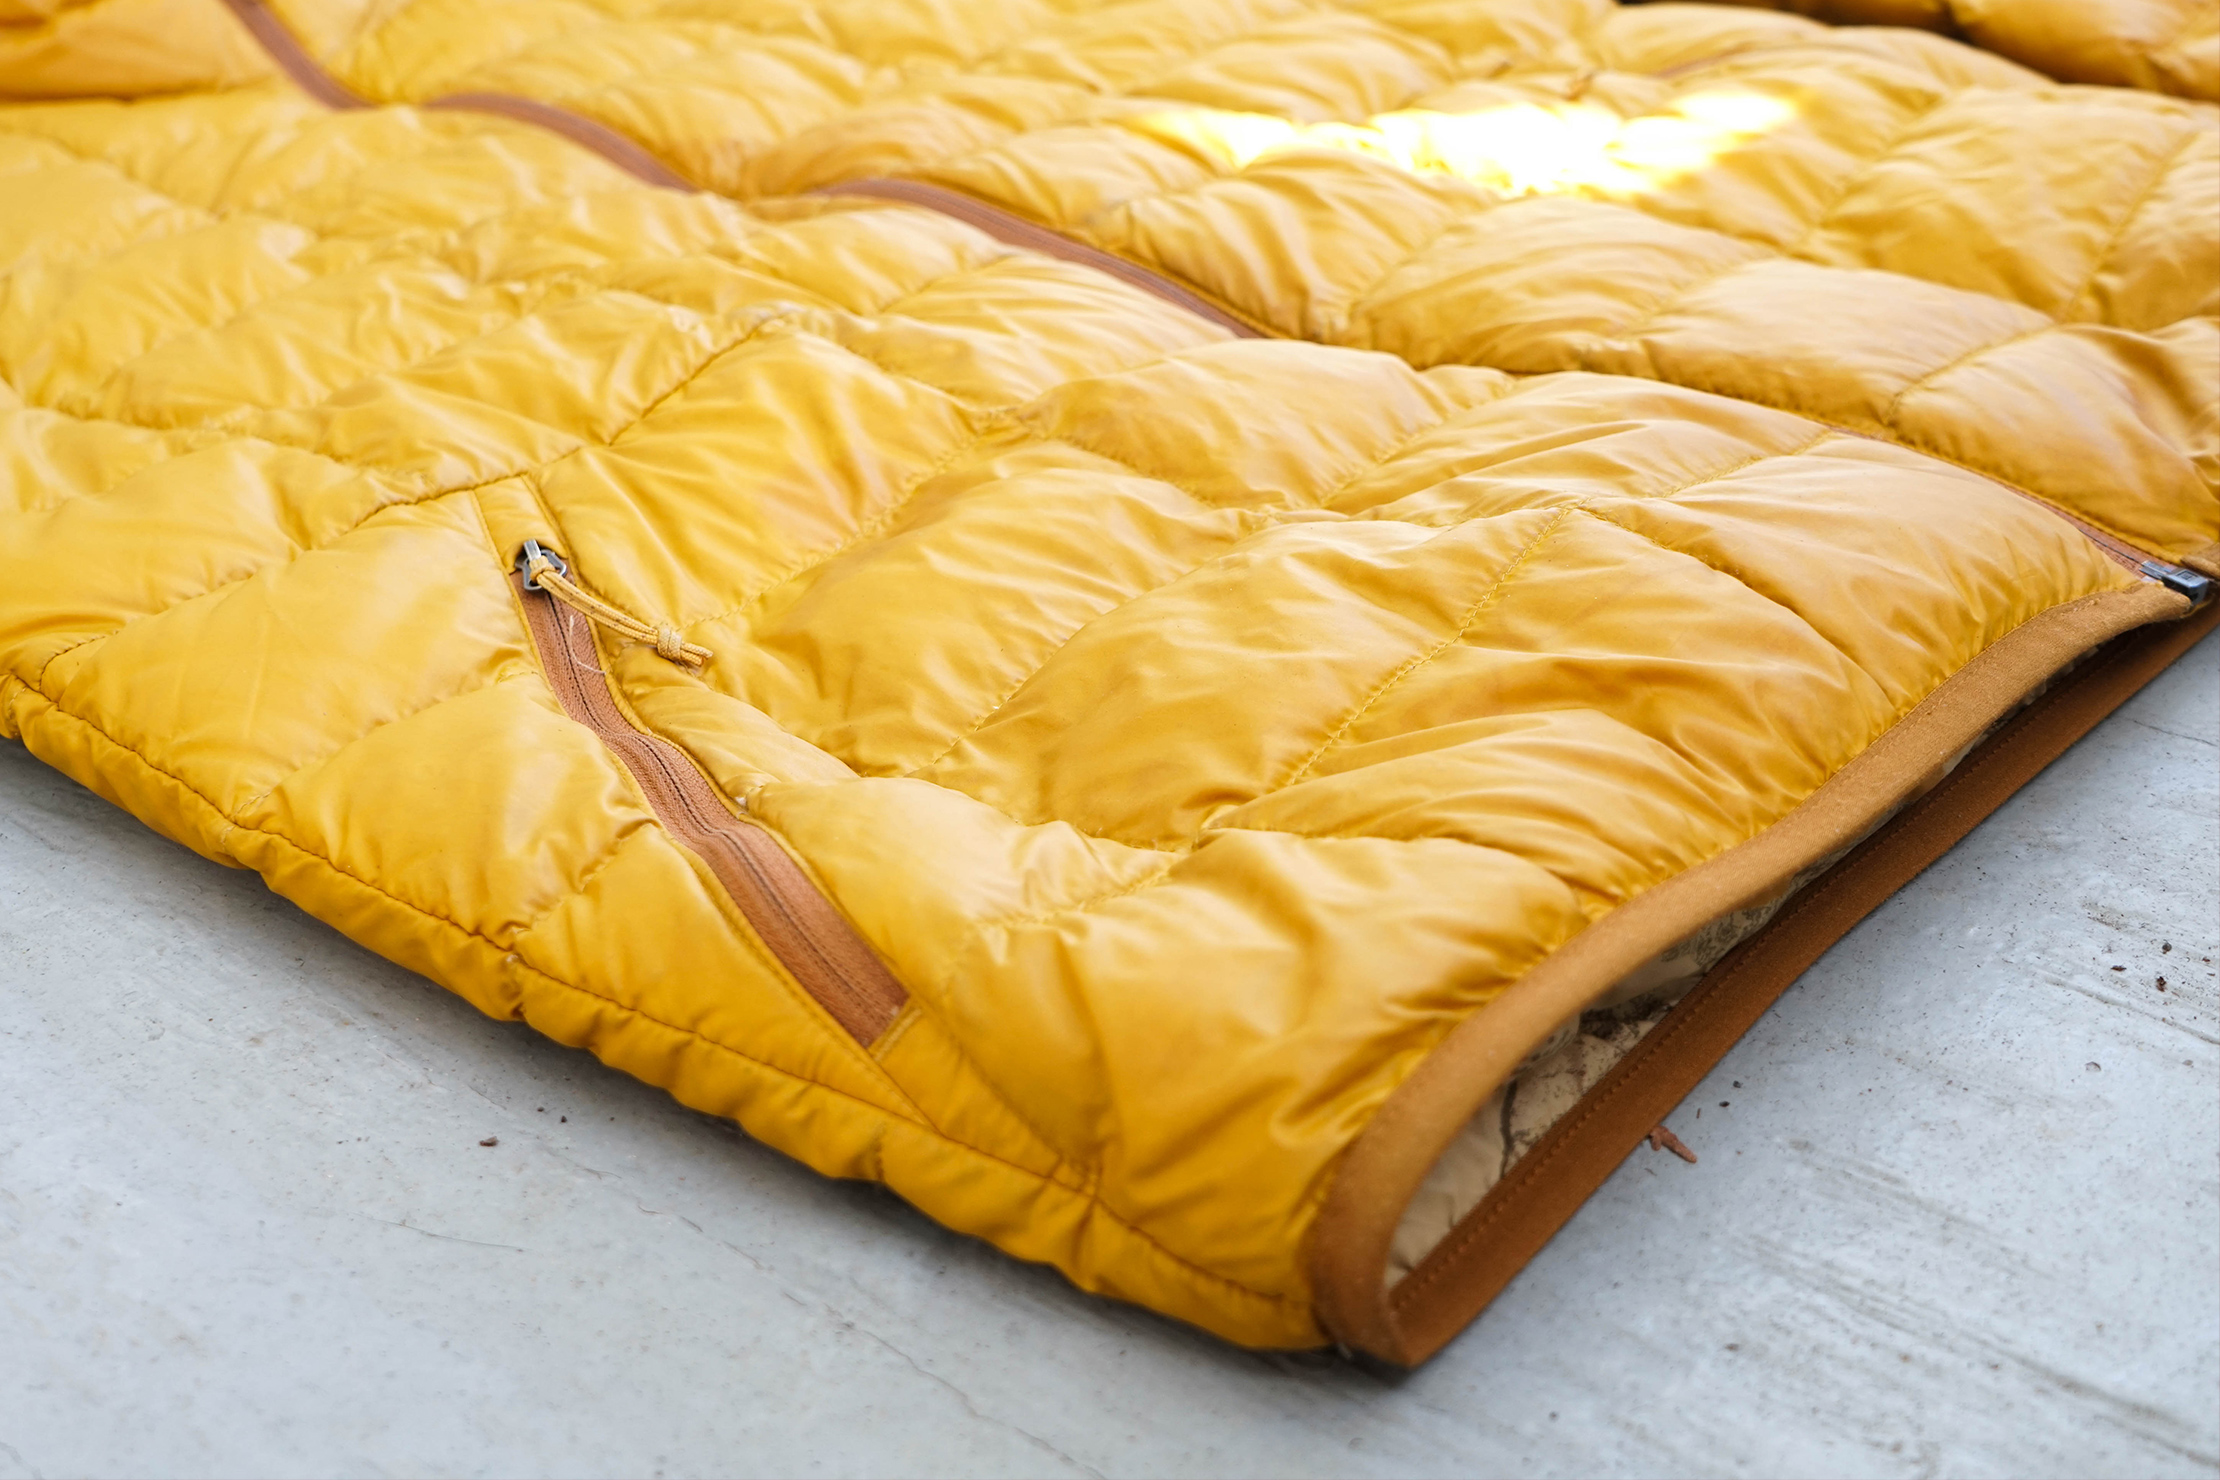
With all the soap rinsed out, lay the jacket flat on a drying rack or table with the arms spread out. Again, hanging up the jacket can cause the down to settle unevenly. While it’s drying, check on the jacket every couple hours if possible. Fluff up the jacket as it dries. Check for clumps and break up any you find. Make sure it is completely dry before storing it to avoid mold, mildew, and unpleasant smells.
See, not so bad, right?
How To Clean Shoes
Nobody likes dirty, smelly shoes (nobody we know, anyway). And what better time to clean your shoes than while you’re at home in between trips. Plus, having a fresh (or fresh-looking) pair of kicks can make you feel good and up your style while out exploring a new city. Or, you know, heading to the grocery store.
If you’re looking for a quick solution to stanky shoes, baking soda could do the trick. Sprinkle in just enough baking soda to cover the insole (no need to make a sandbox, you know). Let the shoes sit overnight and shake them out the next day. Vacuum out any remaining baking soda.
If your shoes require a little more attention, it may be time for a full scrub-down. Now, some shoes are machine washable (make sure to check before tossing them in) however we prefer to hand-wash when we can. The washer won’t get into all the nooks and crannies as well as we can, plus the dryer may cause unnecessary damage with all that heat and tumbling. That said, we’re just going to cover hand-washing below.

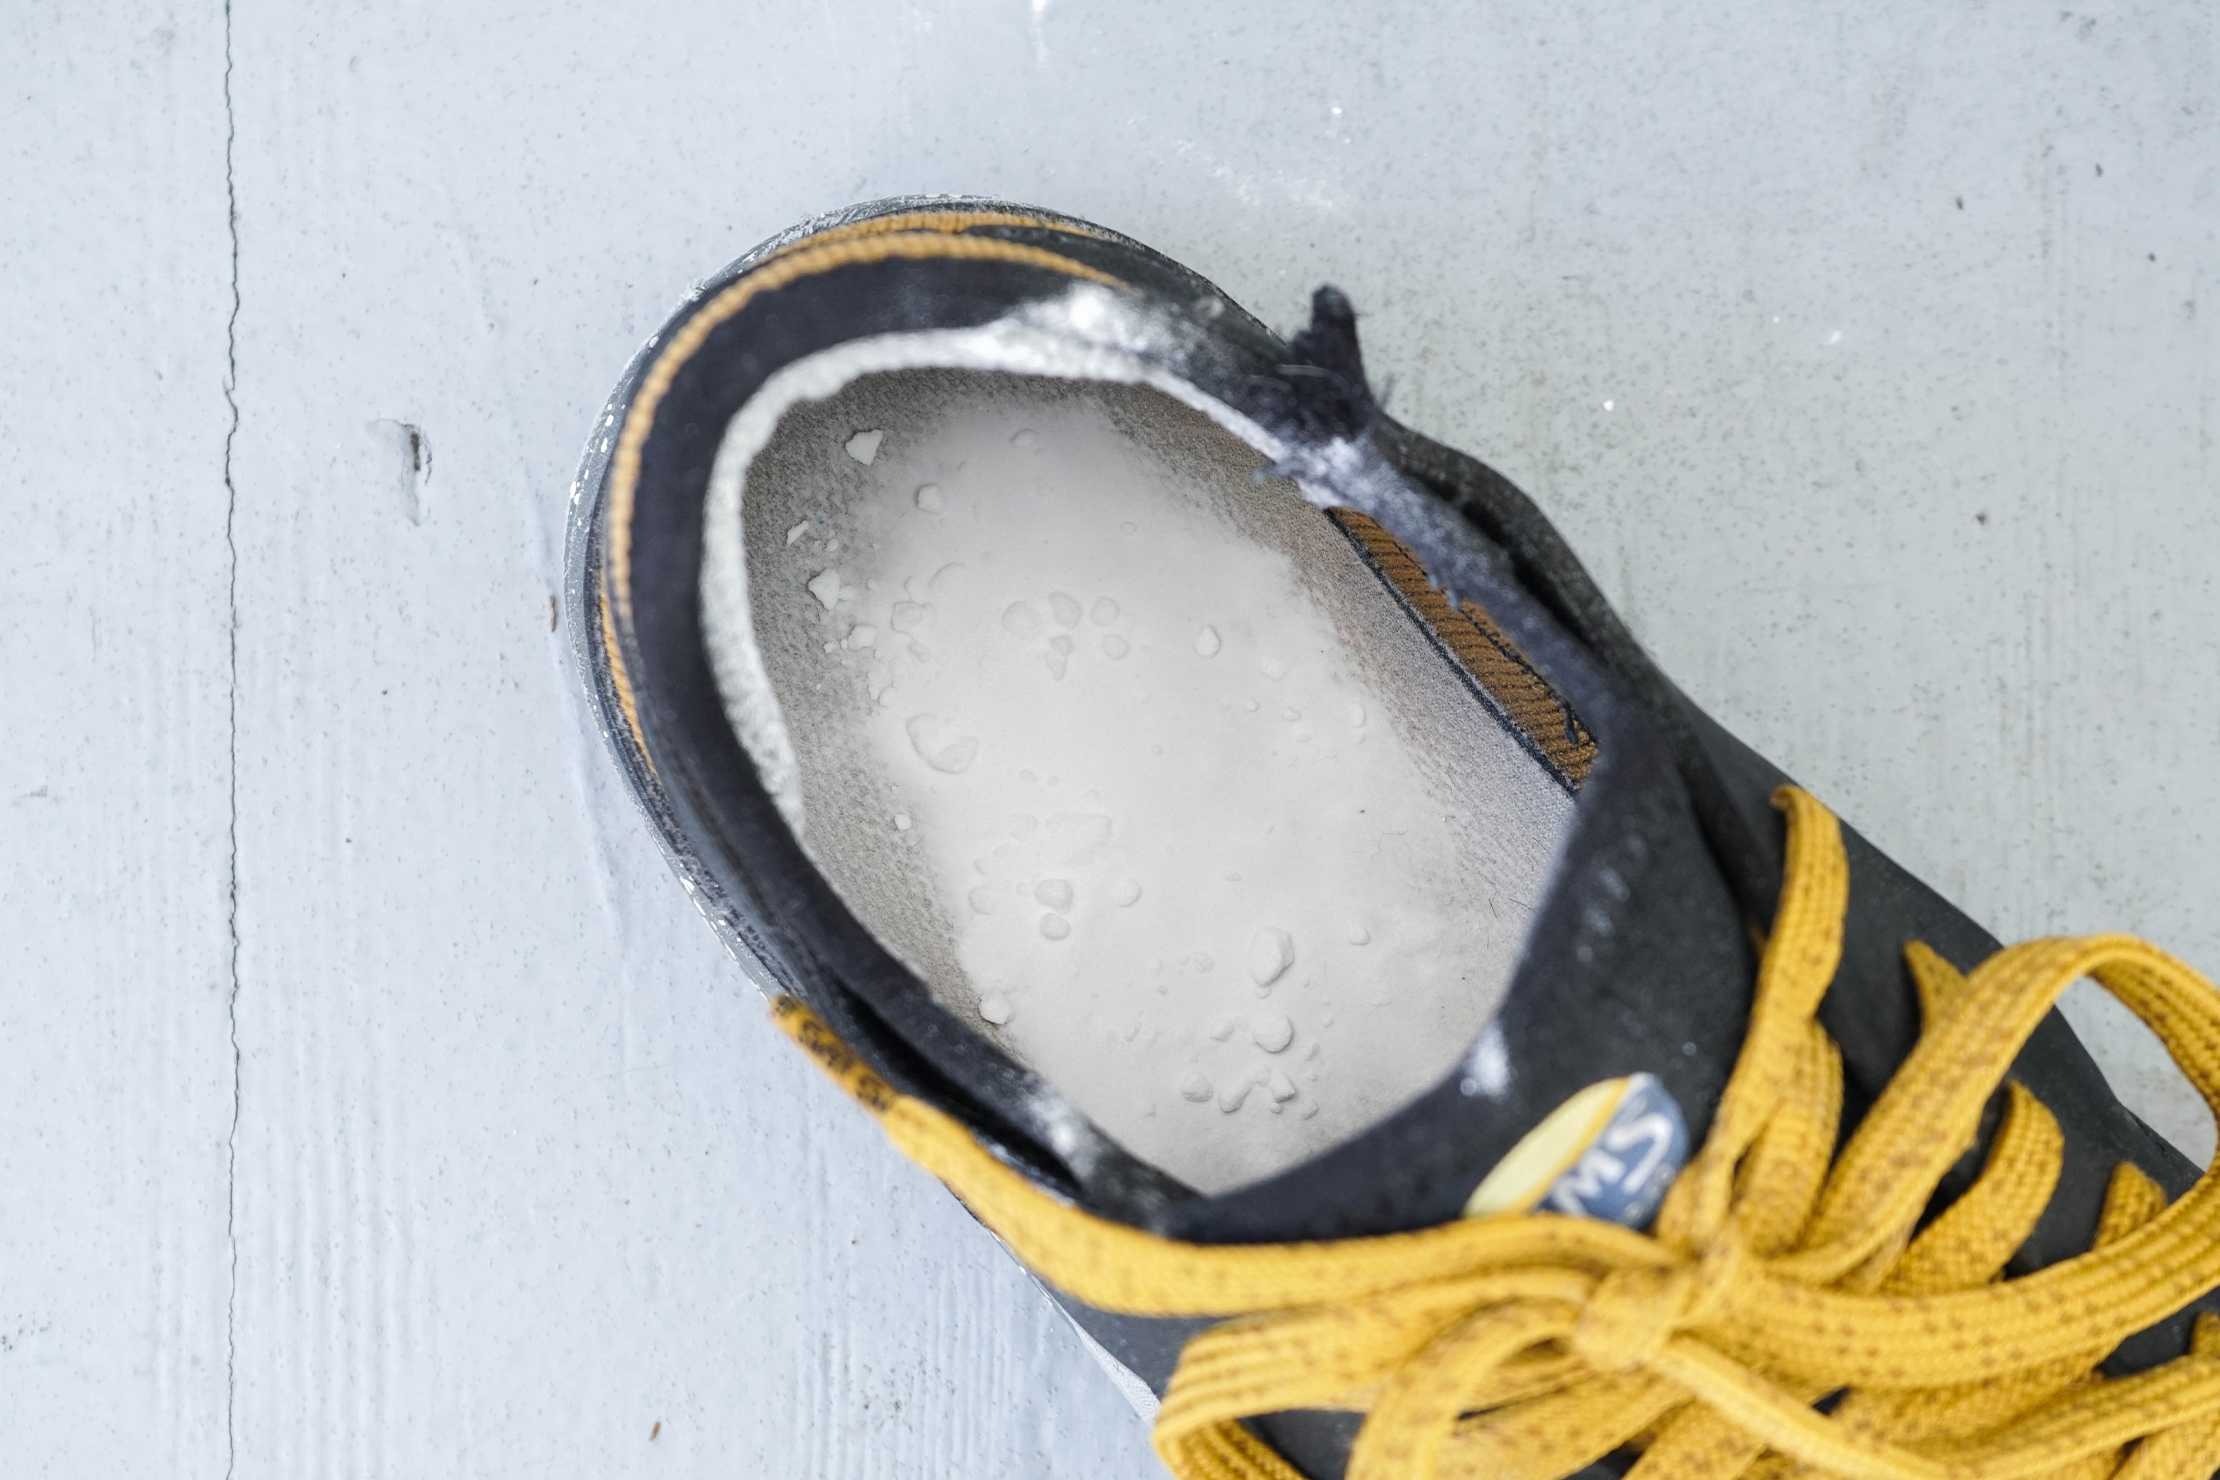
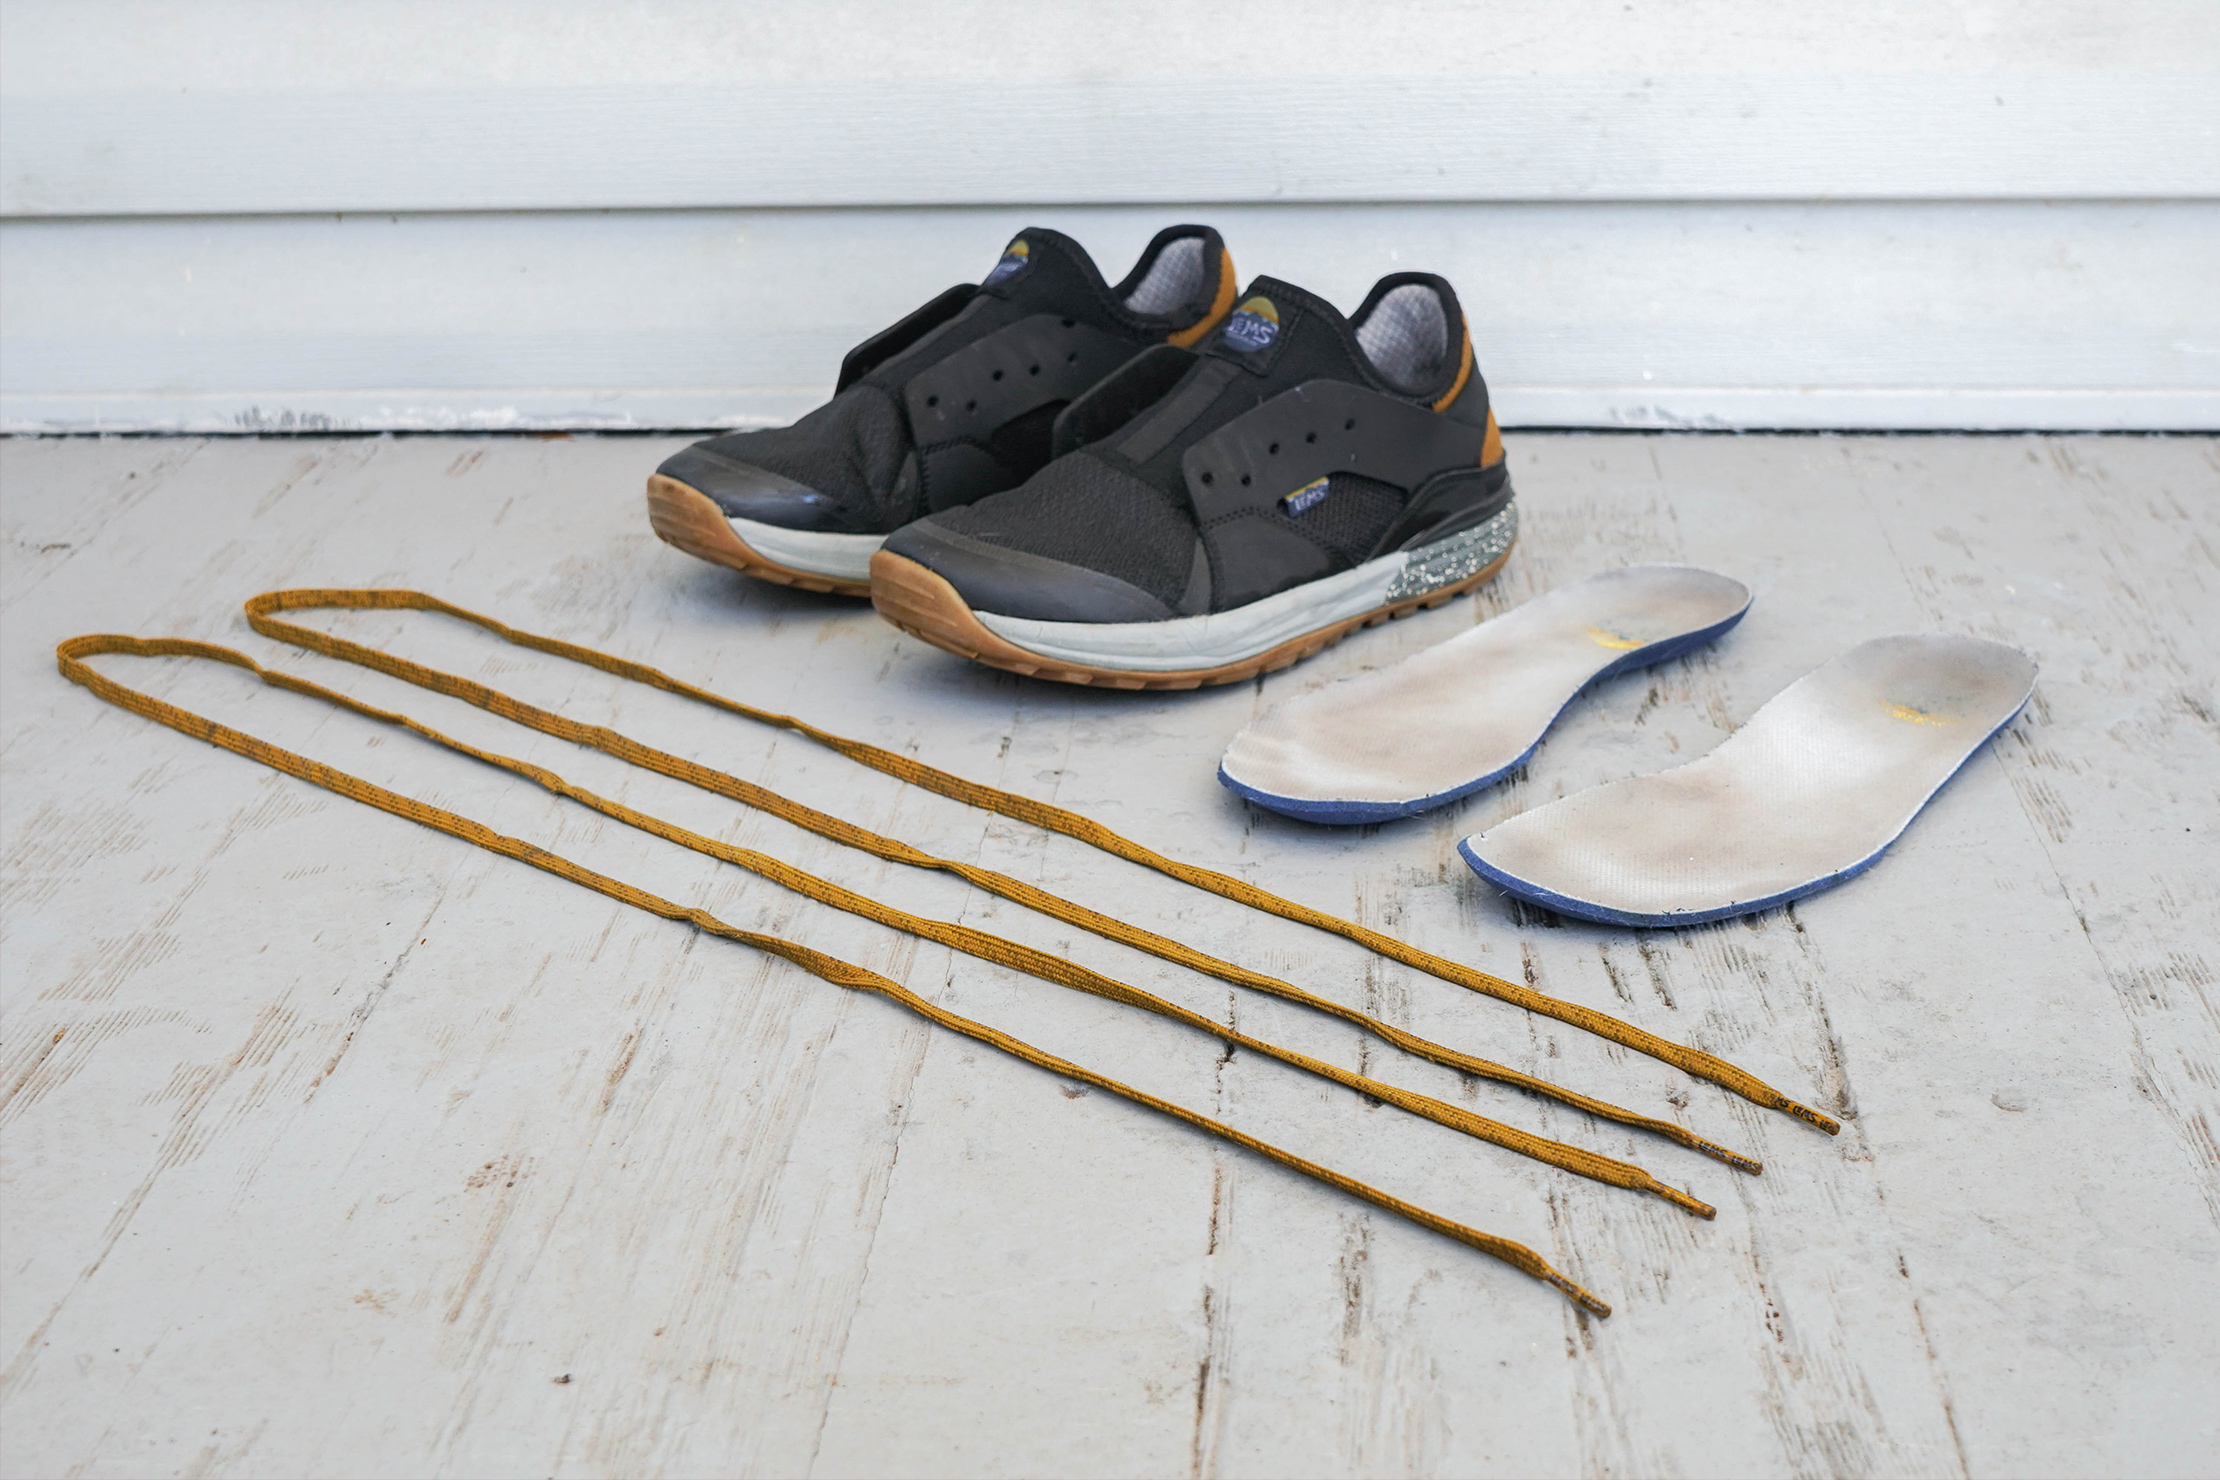
Start by removing the insoles and laces. Shake off any loose dirt, mud, debris, etc.
Fill up a sink or tub with (you guessed it) lukewarm water and mild soap or special shoe soap. Make sure it’s full enough to completely submerge the shoes and drop them in along with the insoles and laces.
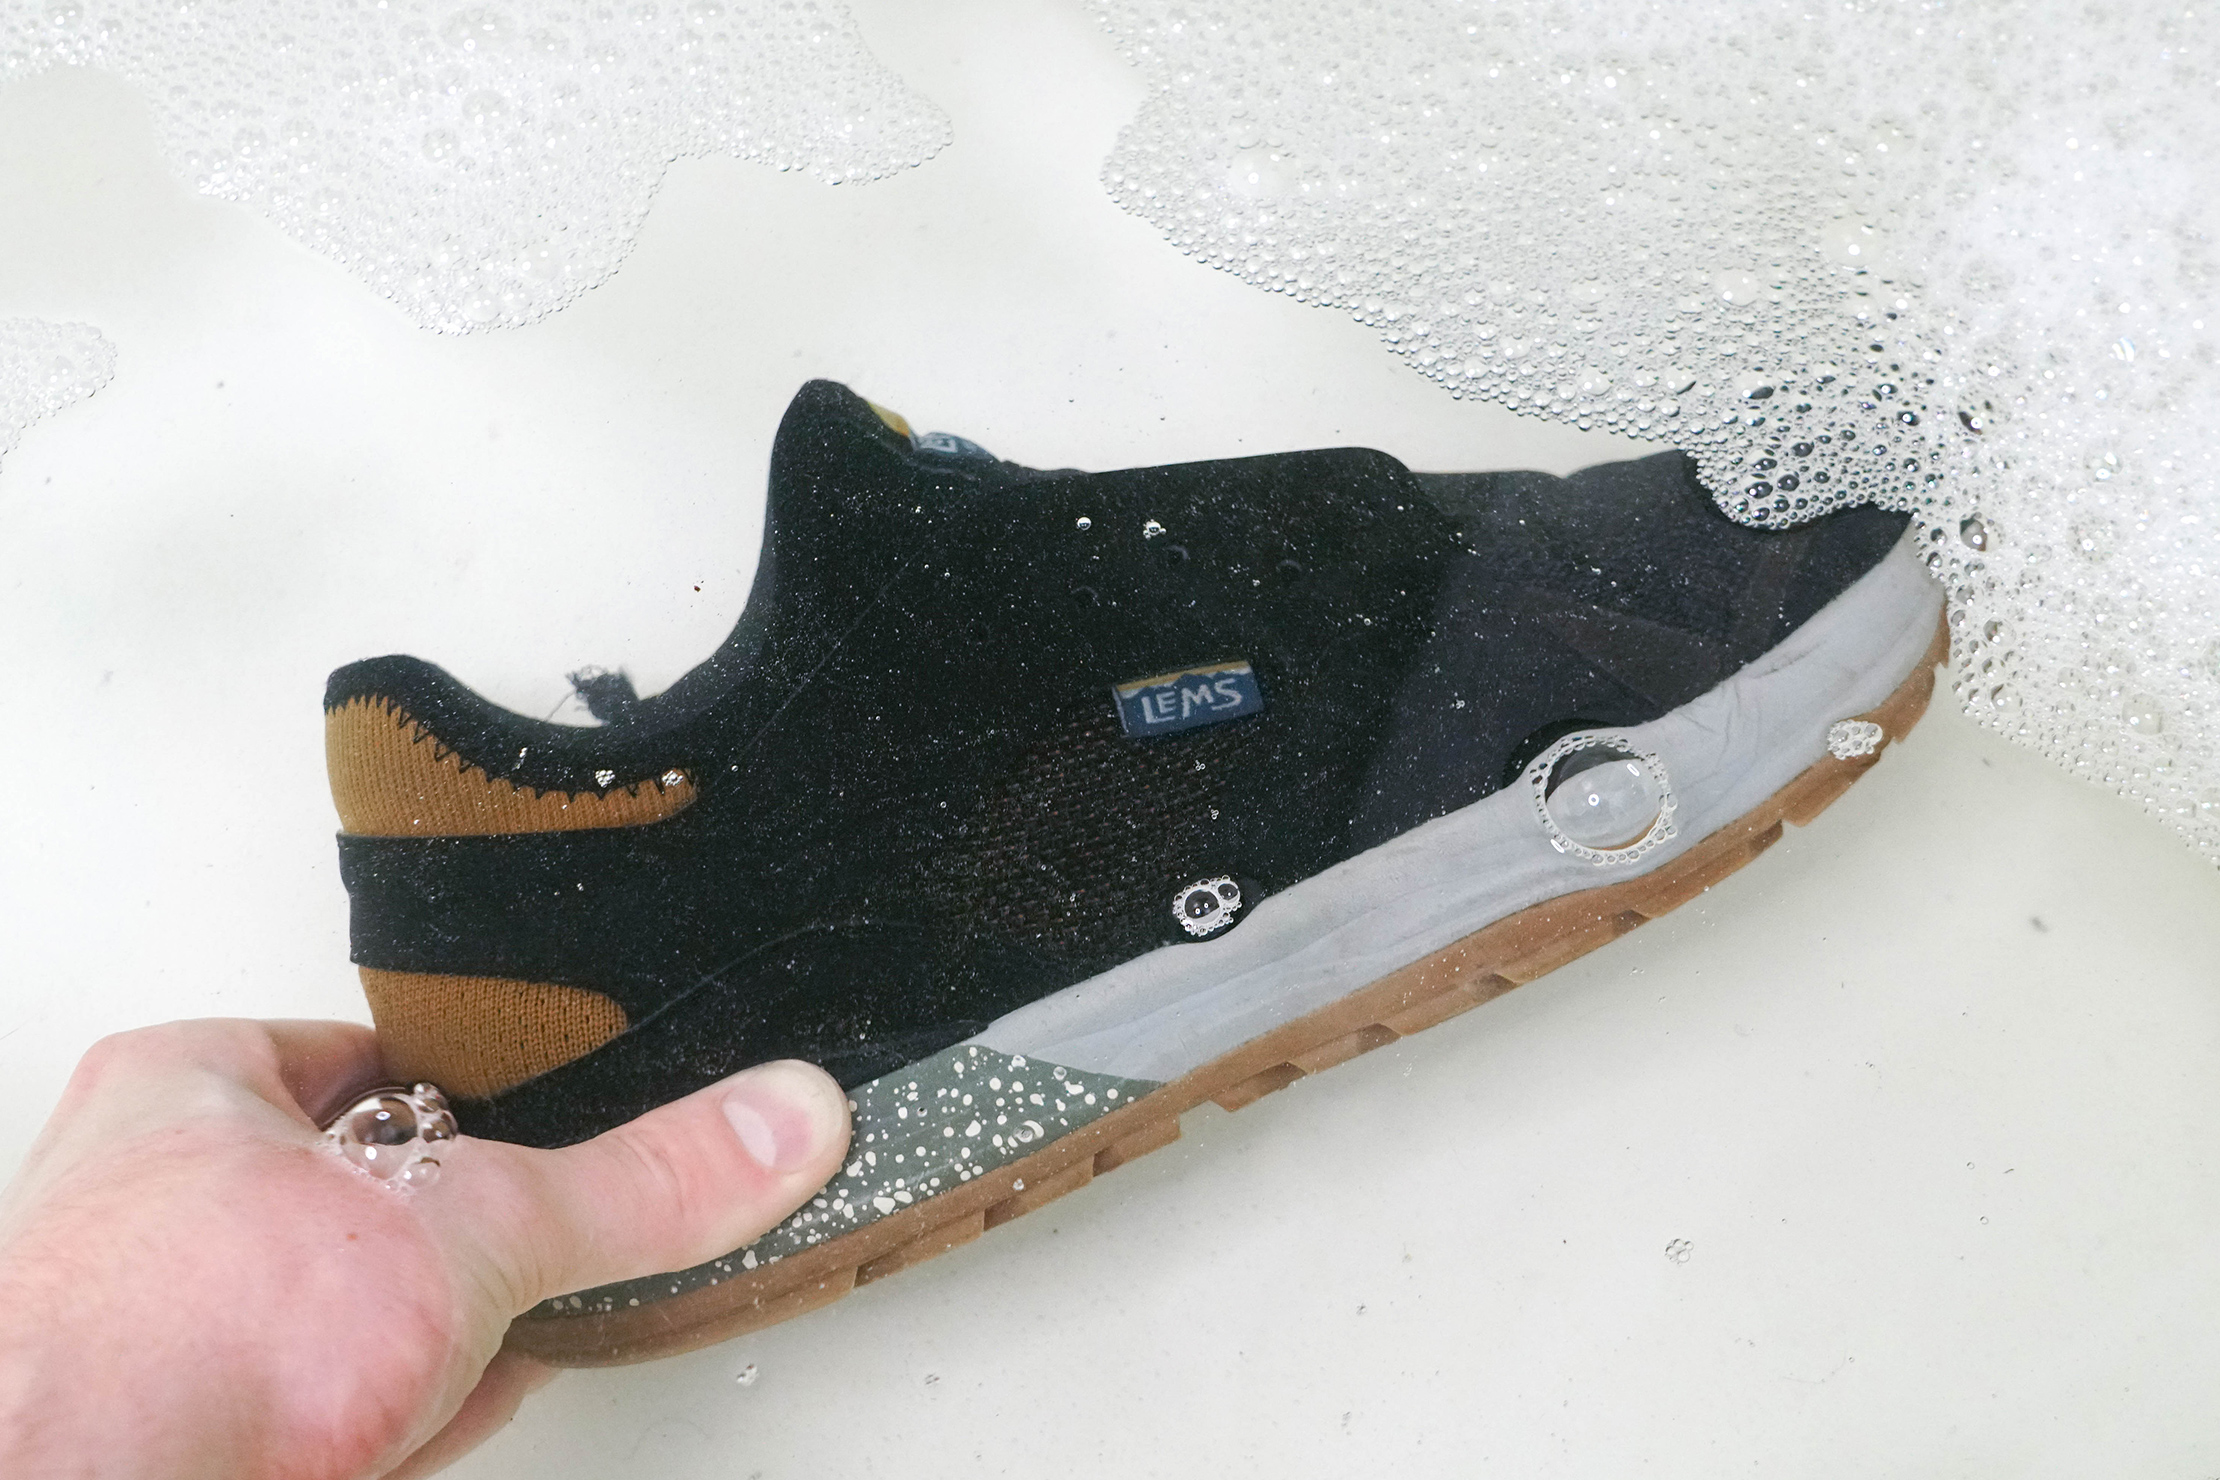
If your shoes are extremely dirty (maybe you’ve been hitting some muddy trails) you can let them soak fully submerged for 15 minutes or less. We wouldn’t recommend soaking any longer.
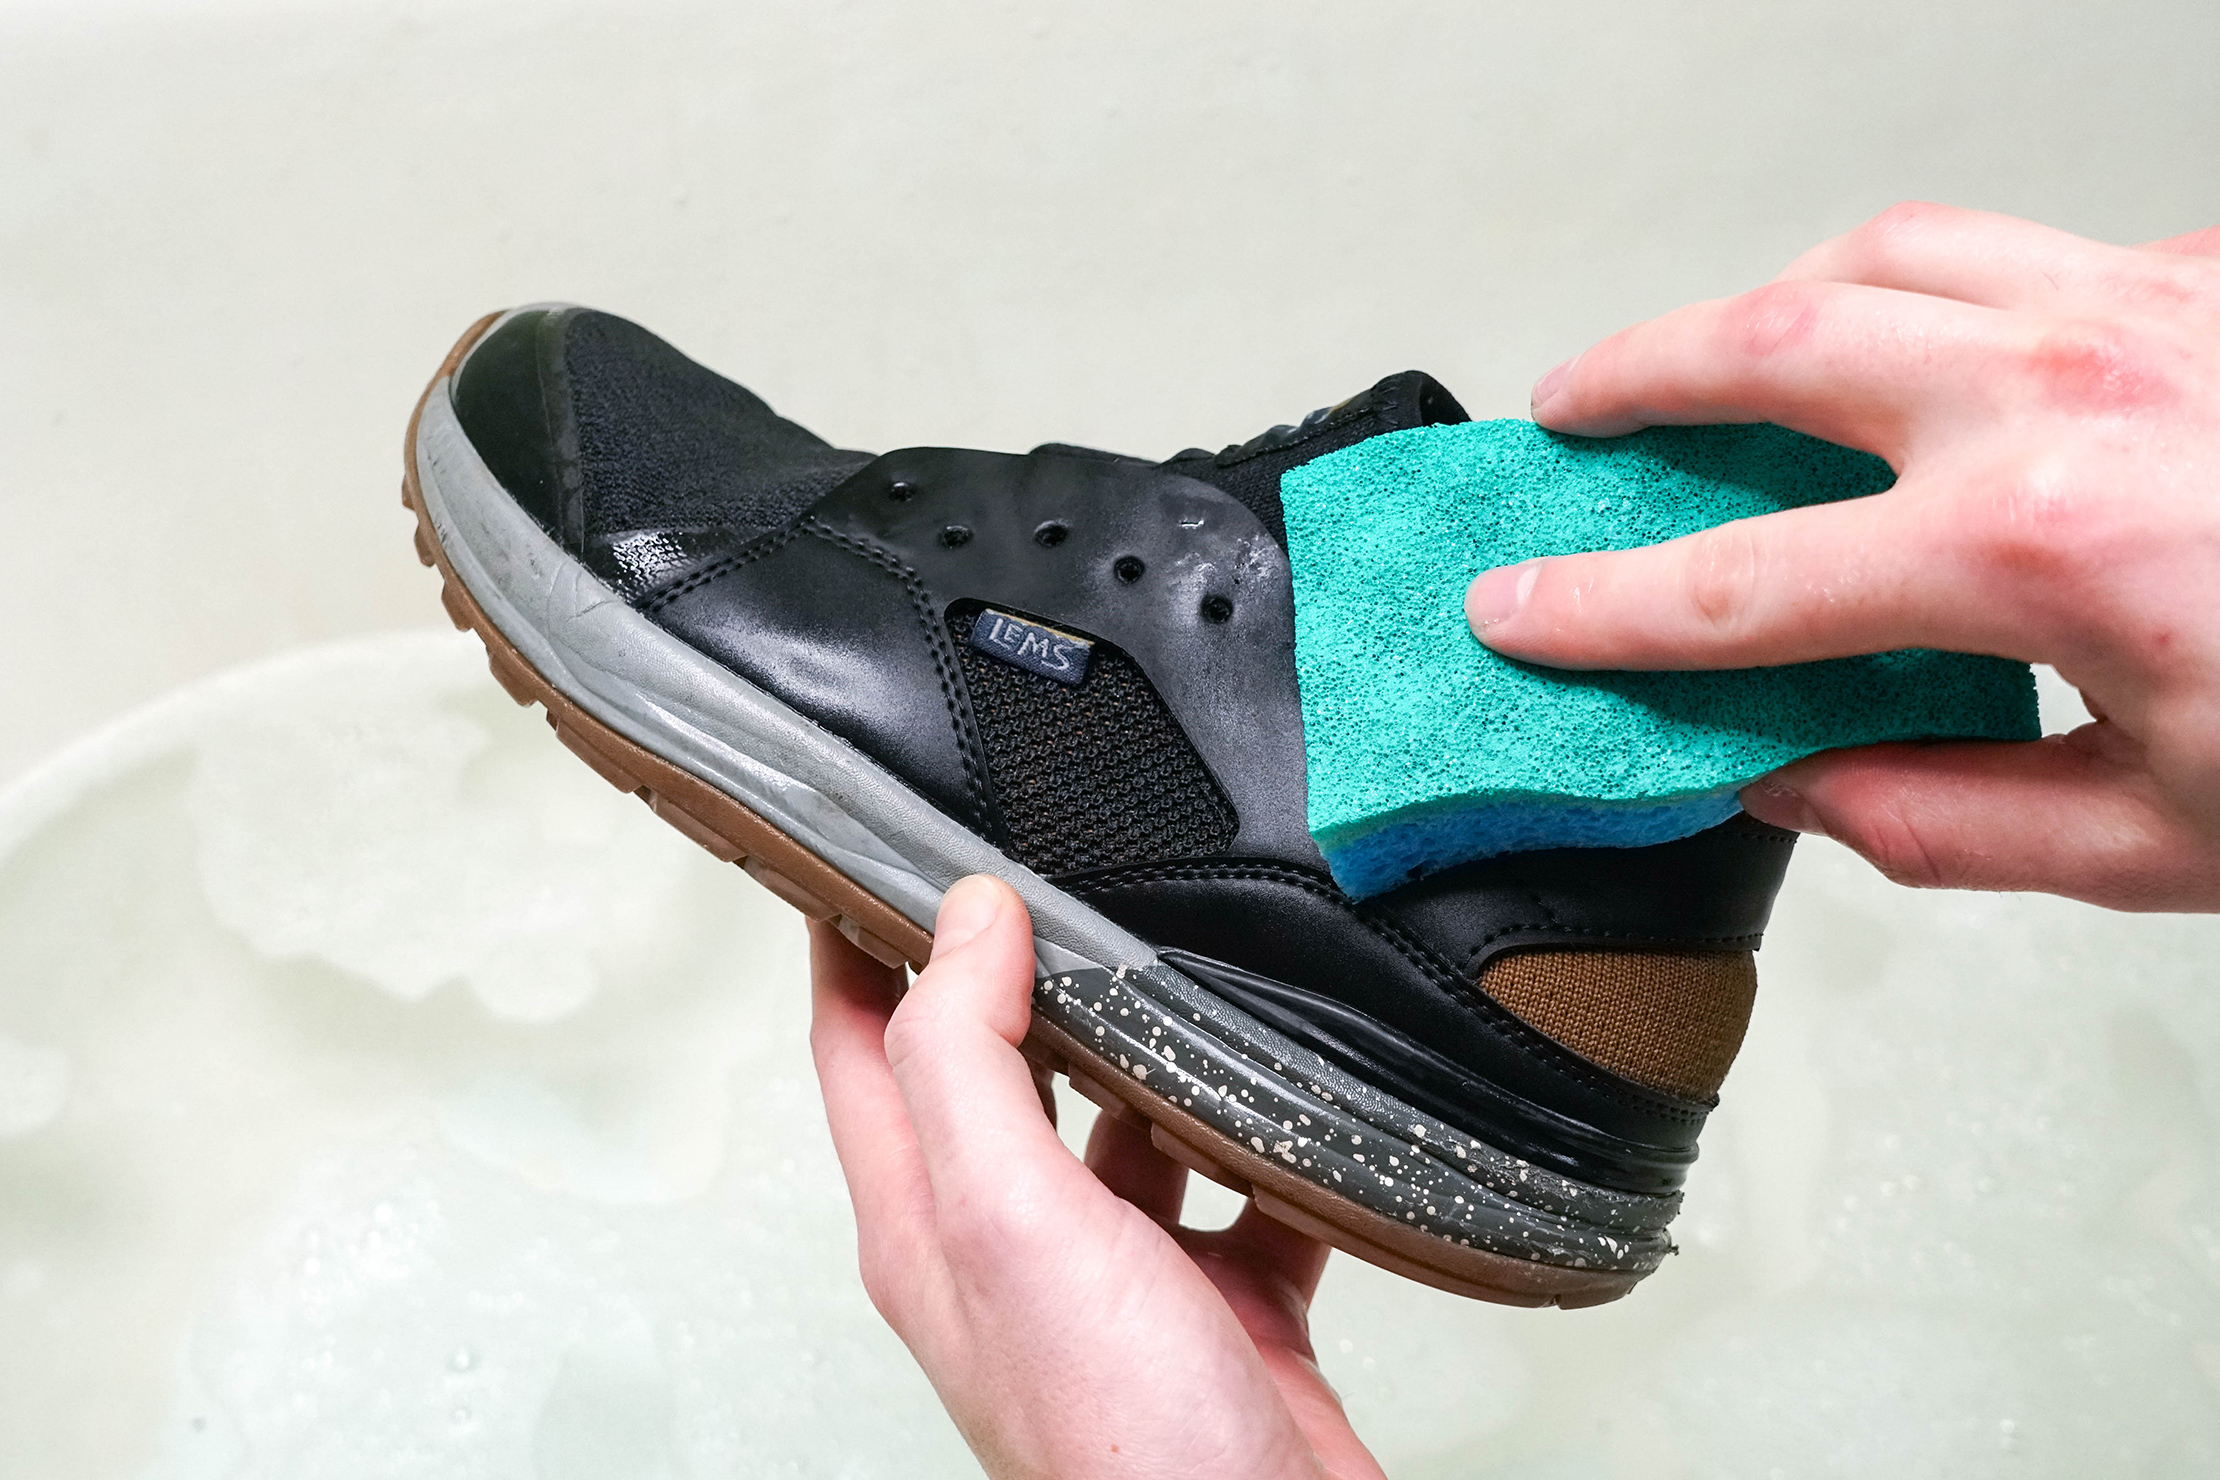
Use a sponge or washcloth to lightly scrub all over the shoes. And don’t forget to gently scrub the laces and insoles while you’re at it. Take a little extra time scrubbing inside the shoes as this is where sweat, and therefore odors, generally build up (and the whole point of cleaning your shoes is to get rid of that sweaty-feet-funk). You can also use a toothbrush to easily get into the ridges on the bottoms of the outsoles to scrub out any built-up dirt.
Once your shoes are thoroughly scrubbed clean, remove them, the insoles, and laces from the soapy water. Rinse all of the pieces in clean water until the soap is washed out. You can give them a slight squeeze to help get out some of the absorbed water, but don’t squeeze them too hard or twist/wring them.
Set out all the pieces separately to air dry. To help them dry, you can pull the tongue of the shoes as far up/out as possible. You can also stuff them full of paper to absorb some of the excess water and help them dry quickly. Avoid using an artificial heat source to speed up the drying process—this can over-dry your shoes and make the materials brittle.
Pro Tip: Stuff your wet shoes with old newspaper that would otherwise be thrown away as an eco-groovy way to help speed up the drying process.
After everything is completely dry, you can reassemble your shoes, lace them up, and head out to get them dirty again.
How To Clean Laptops and Phones
Let’s face it: laptops and phones are gross. They pick up all the unpleasant things from our hands and rarely get a proper cleaning. Washing your hands 50 times a day doesn’t mean a thing if you’re re-contaminating your hands with your gross and grimy phone and laptop right after you do it.
Here’s how to clean your most-touched tech gear. We’ll start with your laptop.
Cleaning Your Laptop
Before you do any serious cleaning, make sure your laptop is unplugged and turned off.
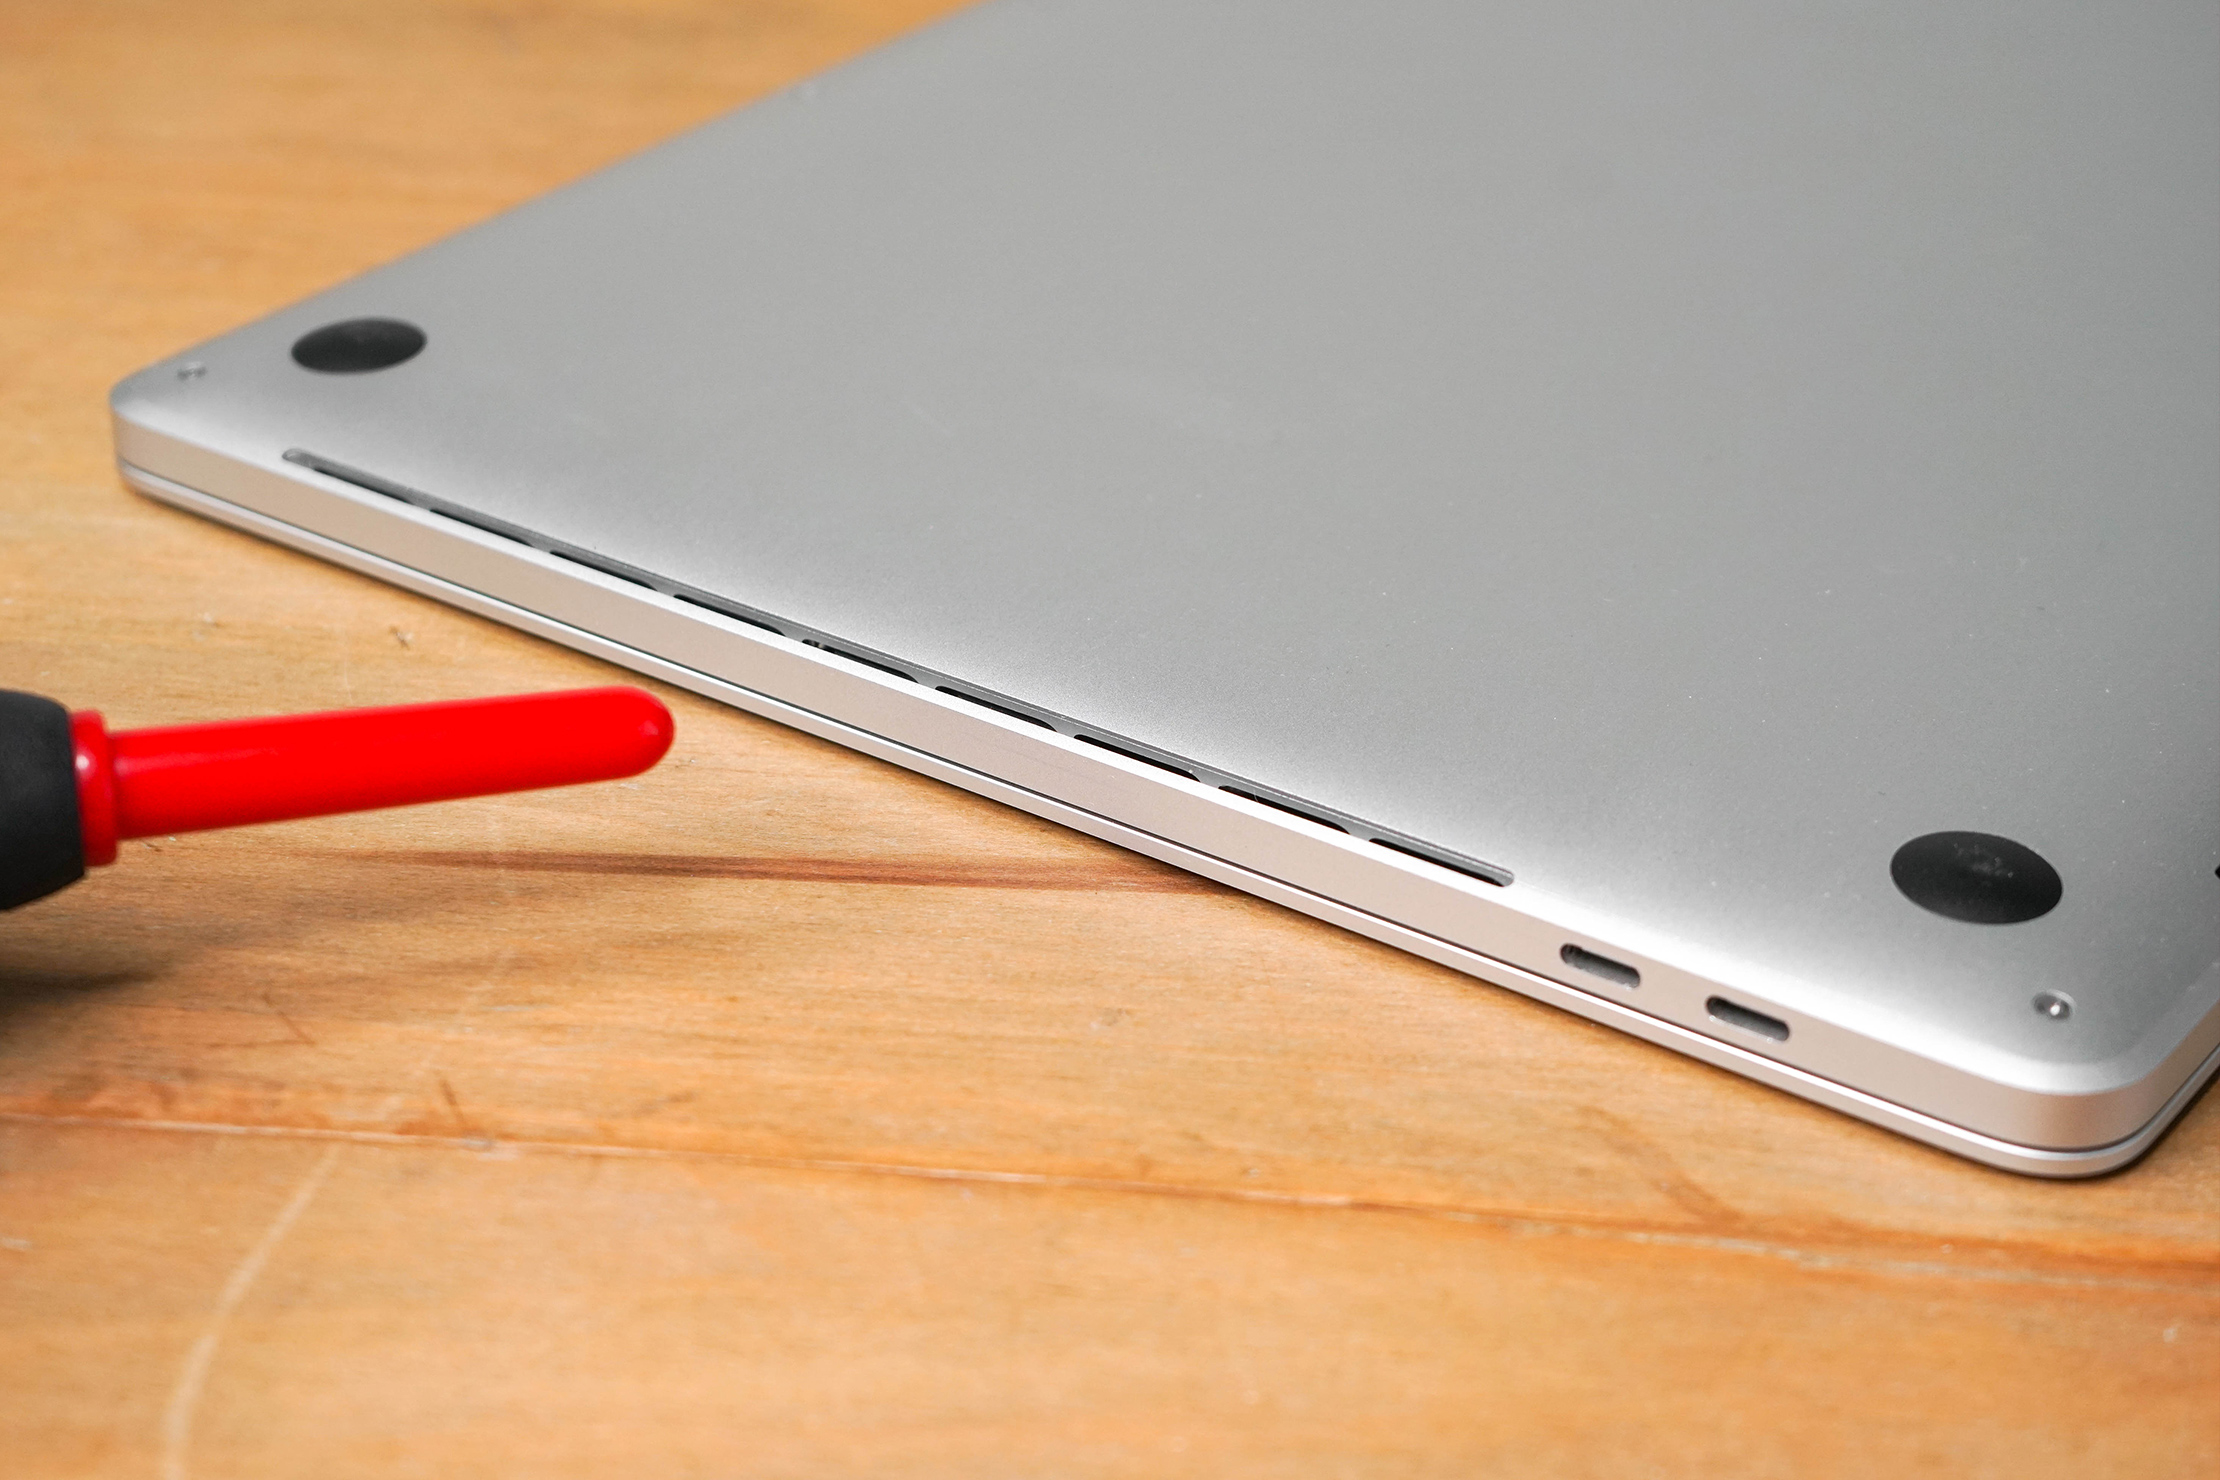
The first thing you can do is use compressed air to blow away crumbs and dust that may be built-up inside your computer. To do this, spray compressed air into any open vents using short bursts and holding your can of compressed air three to five inches away from your laptop.
If it’s in desperate need of deep cleaning, you can unscrew the back panel and carefully spray compressed air inside the laptop. Again, short bursts and a three to five-inch distance are recommended here so you don’t disconnect any components or cause damage. Warning: removing the back panel may void your laptop’s warranty. Check the warranty information before removing and do not do so if it voids the warranty.
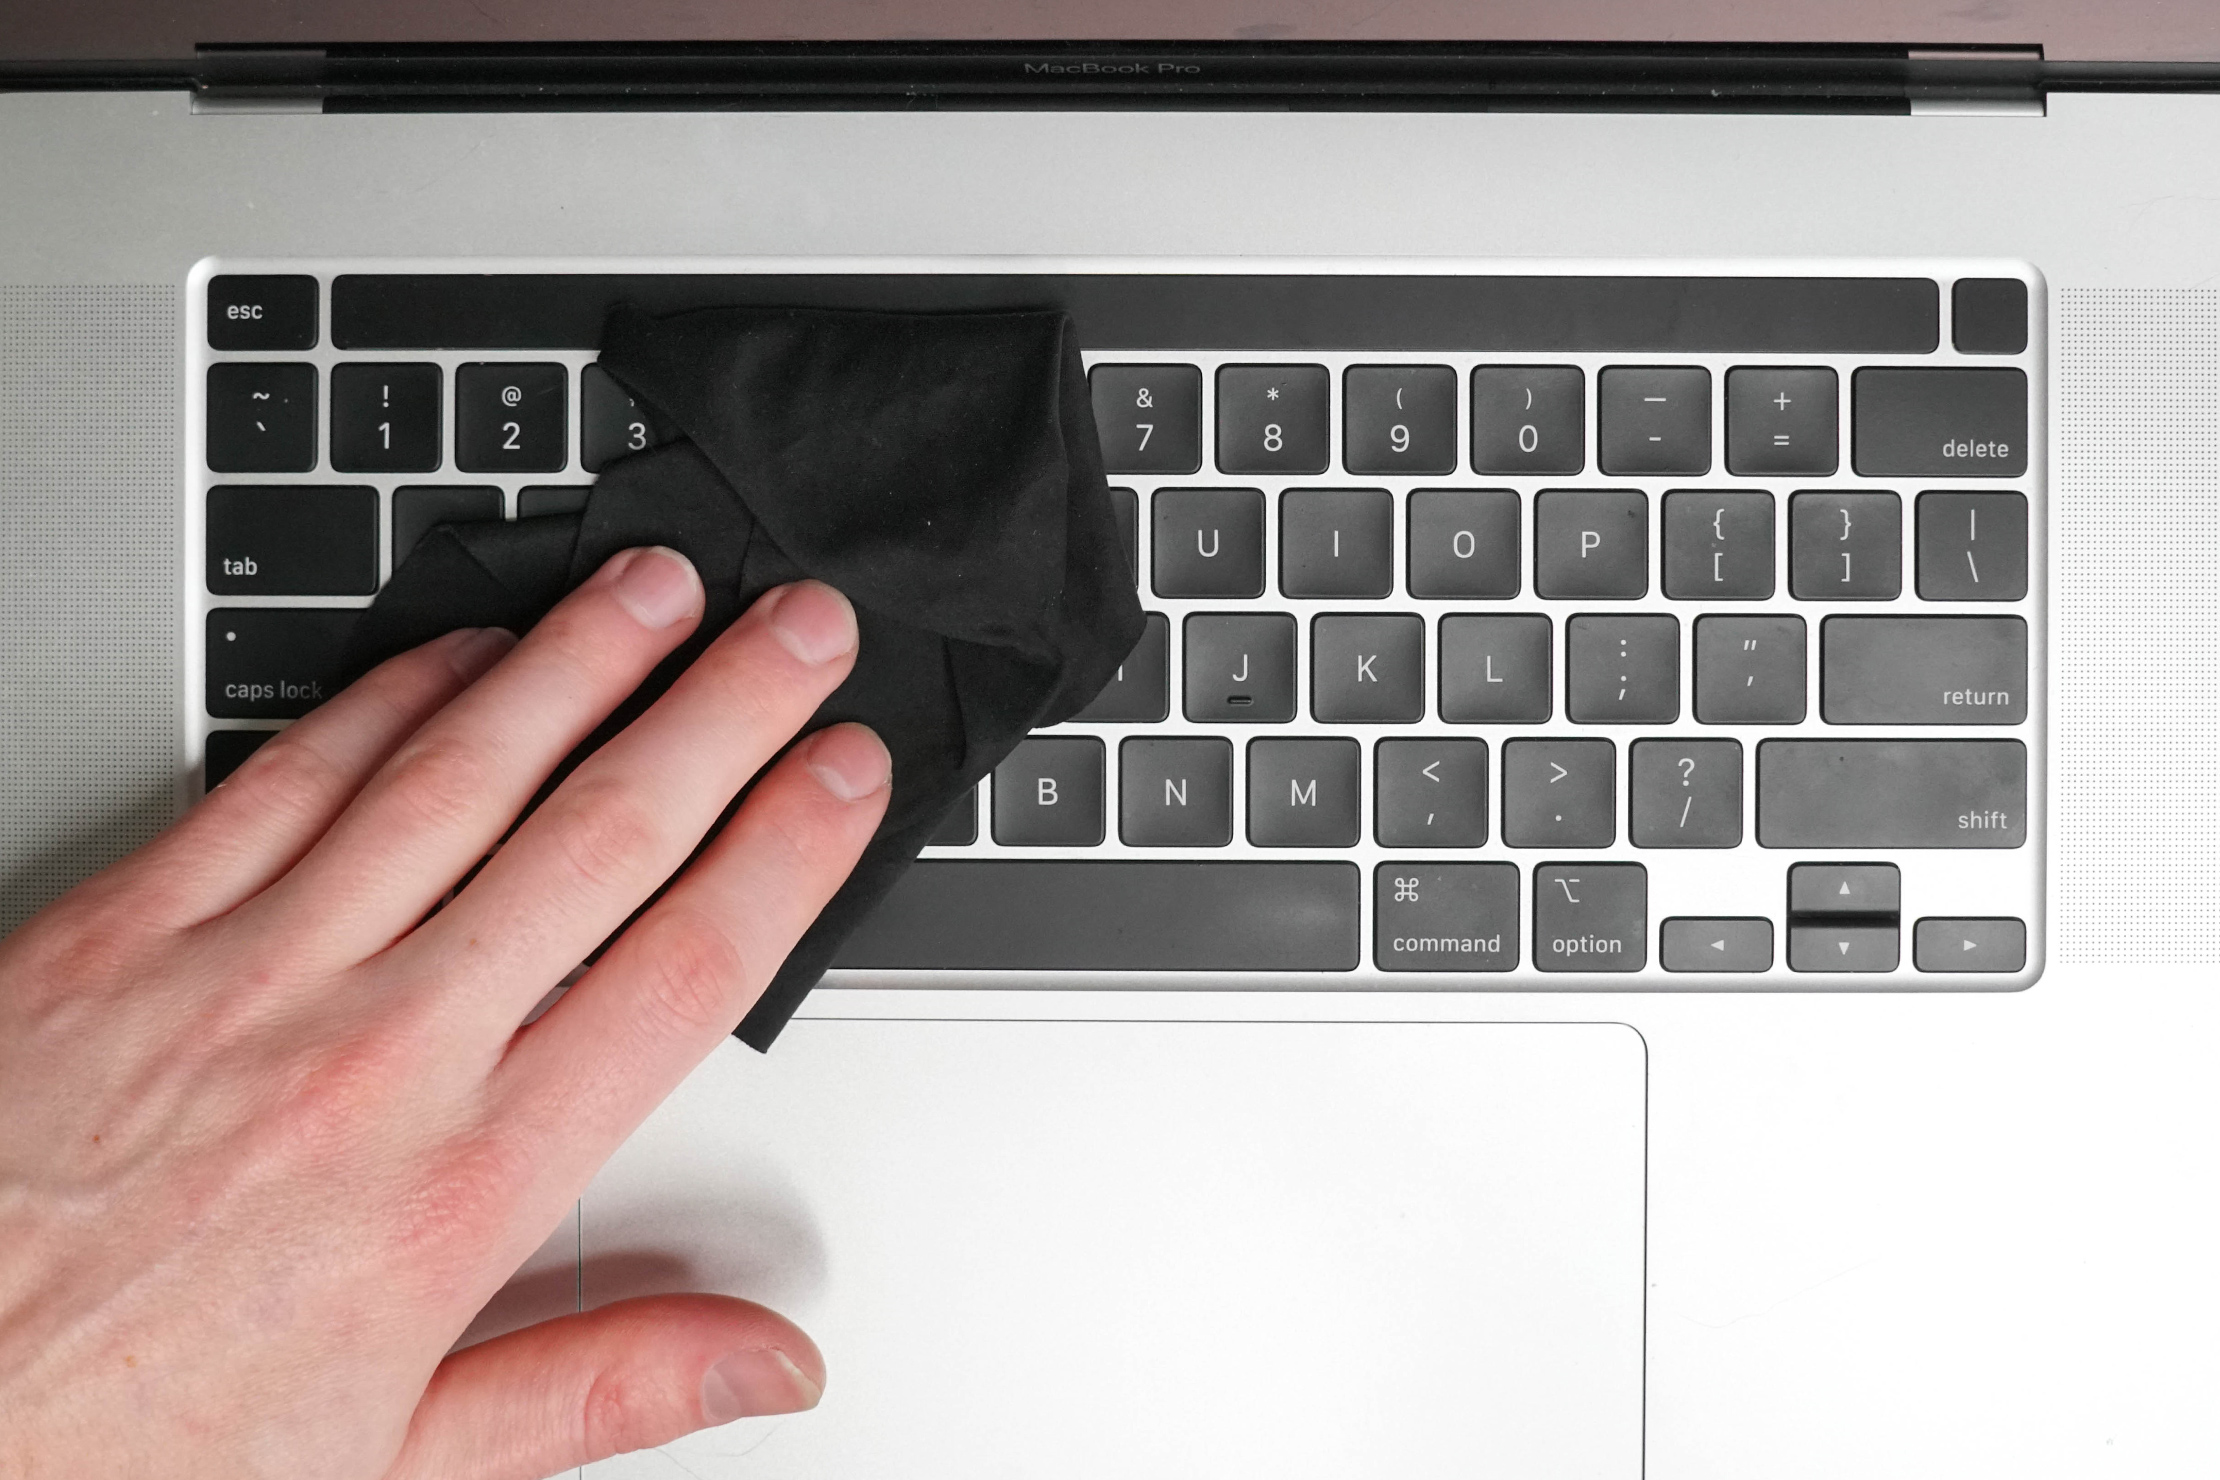
Next up, the keyboard. To clean the keyboard, start by either wiping it down with a dry microfiber cloth or by giving it a few blasts of compressed air (or both). The goal is to get rid of any loose crumbs, dust, hair, etc. On some keyboards, the keys are removable, which is great if you have enough crumbs stuck in there to feed a family of mice. Just pop them off and blow out the crumbs with compressed air. Do your research. Check with the manufacturer to see if the keys are removable before popping them off.
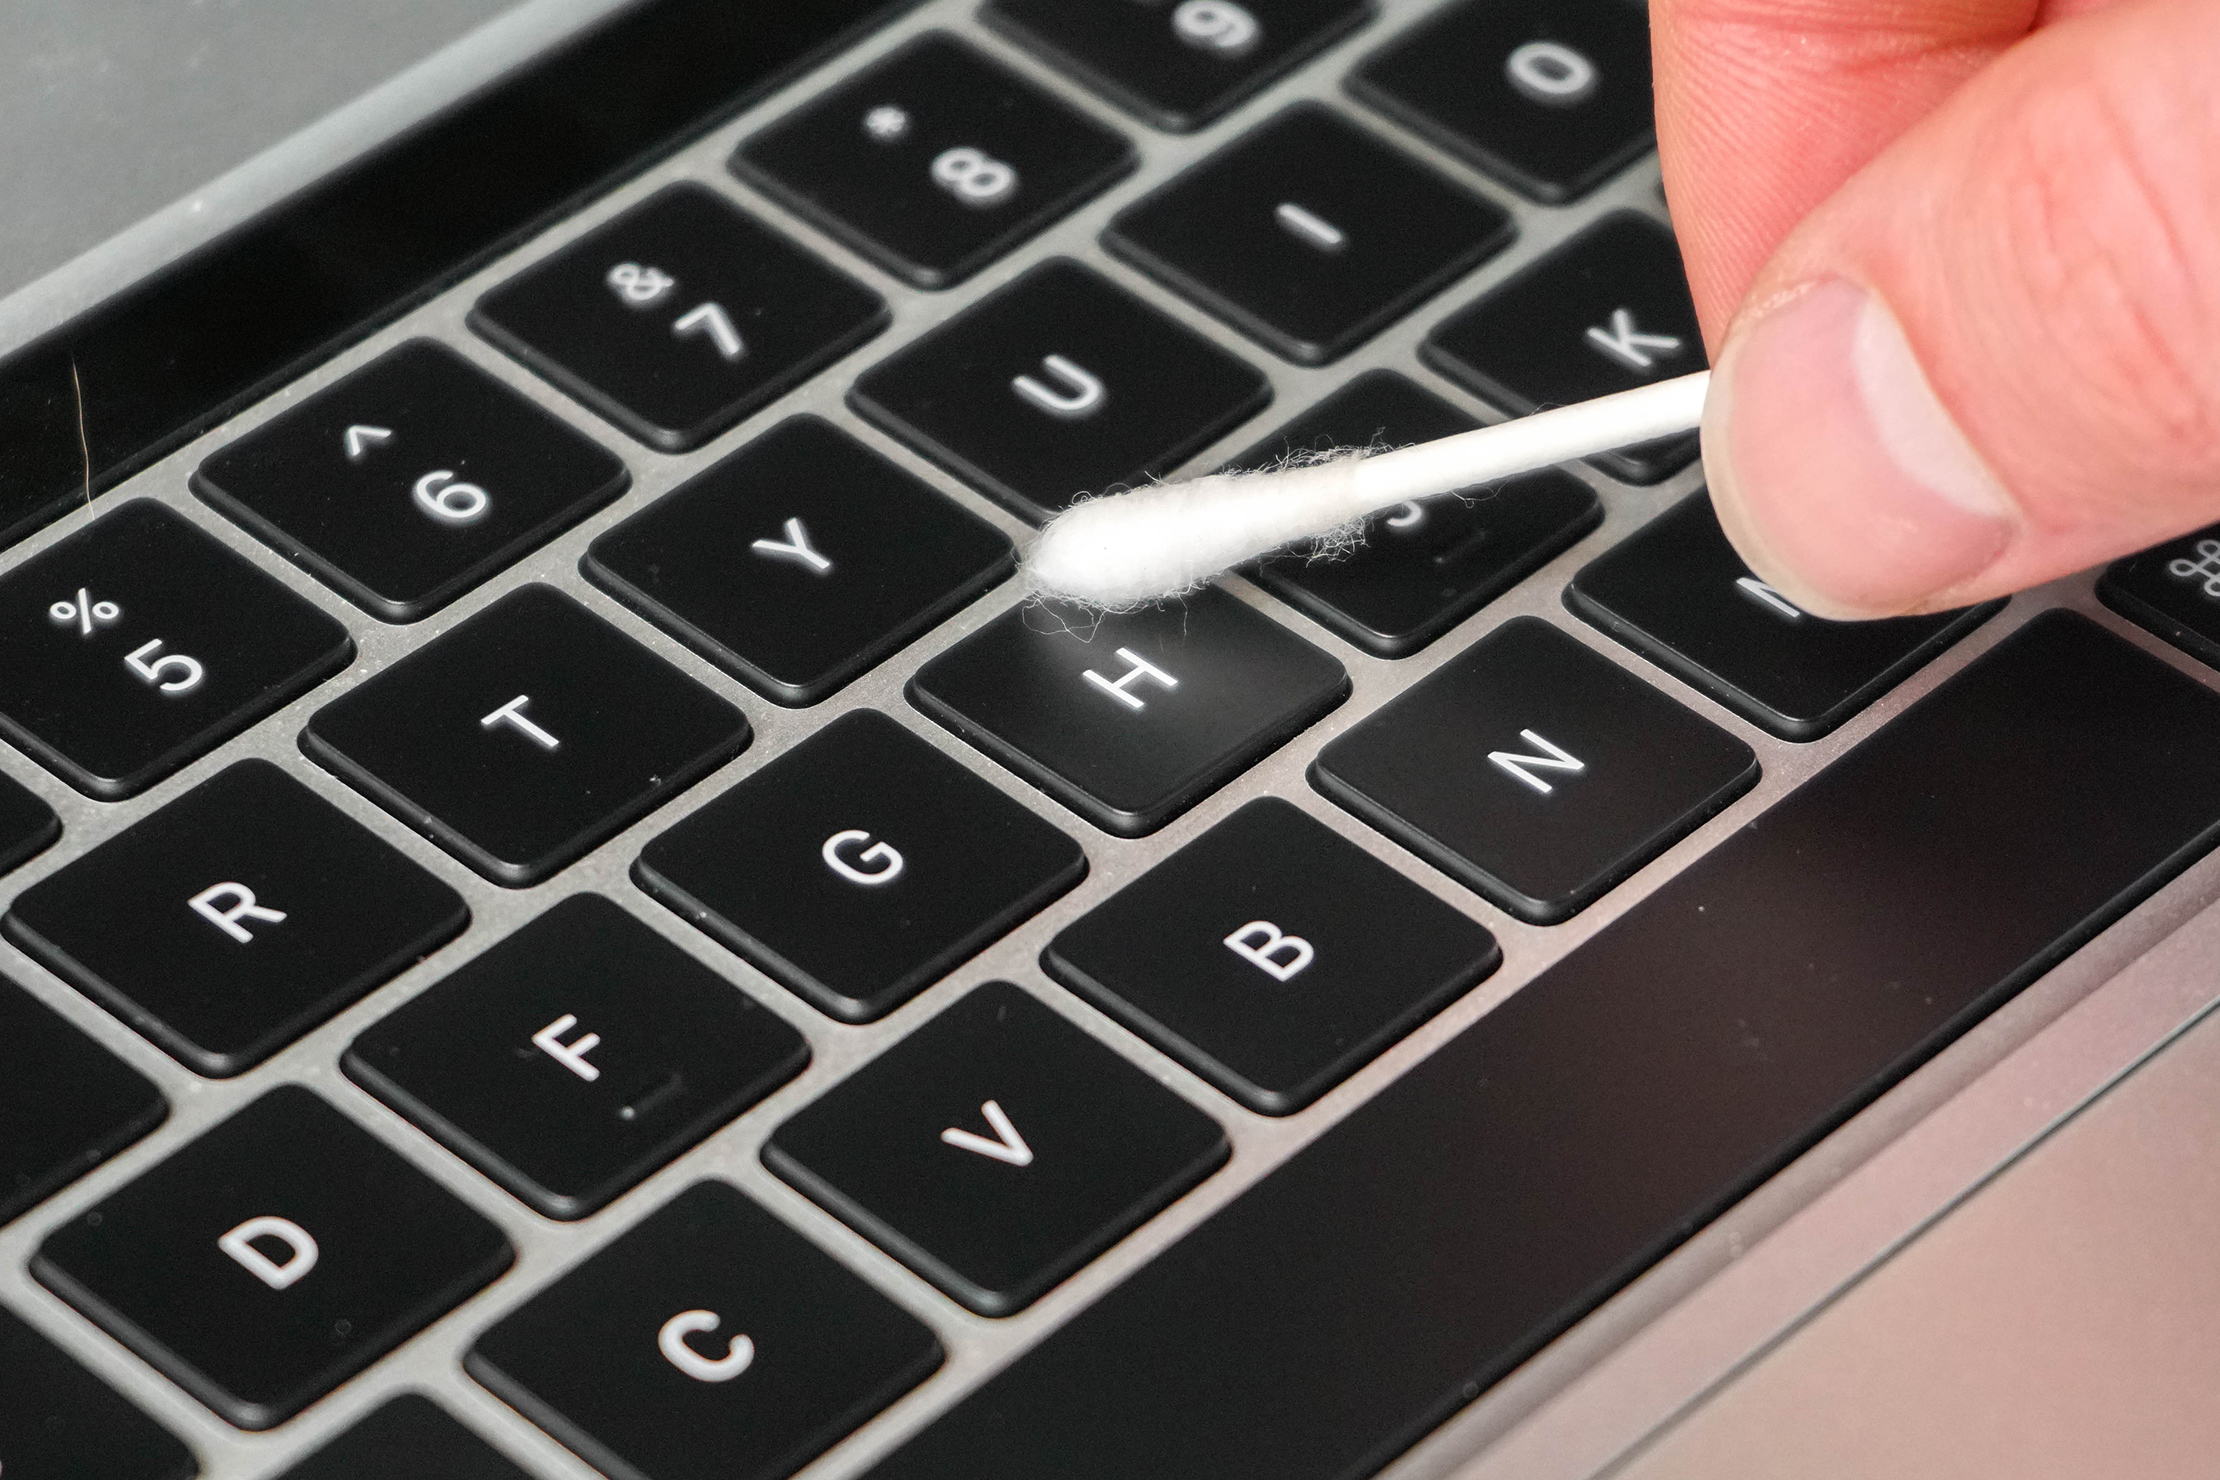
To take it a step further, you can apply a small amount of 70%–100% isopropyl alcohol to a cotton swab or cotton ball and gently wipe around the keys. The isopropyl alcohol will act as a disinfectant and help clean built-up germs off your keyboard. Now, be careful to only use a small amount of isopropyl alcohol—you don’t want a ton to drip under the keys. And (obviously) do not pour it directly onto your keyboard.
With the keyboard clean, let’s move on to the screen. (Yeah, that rhymed.)
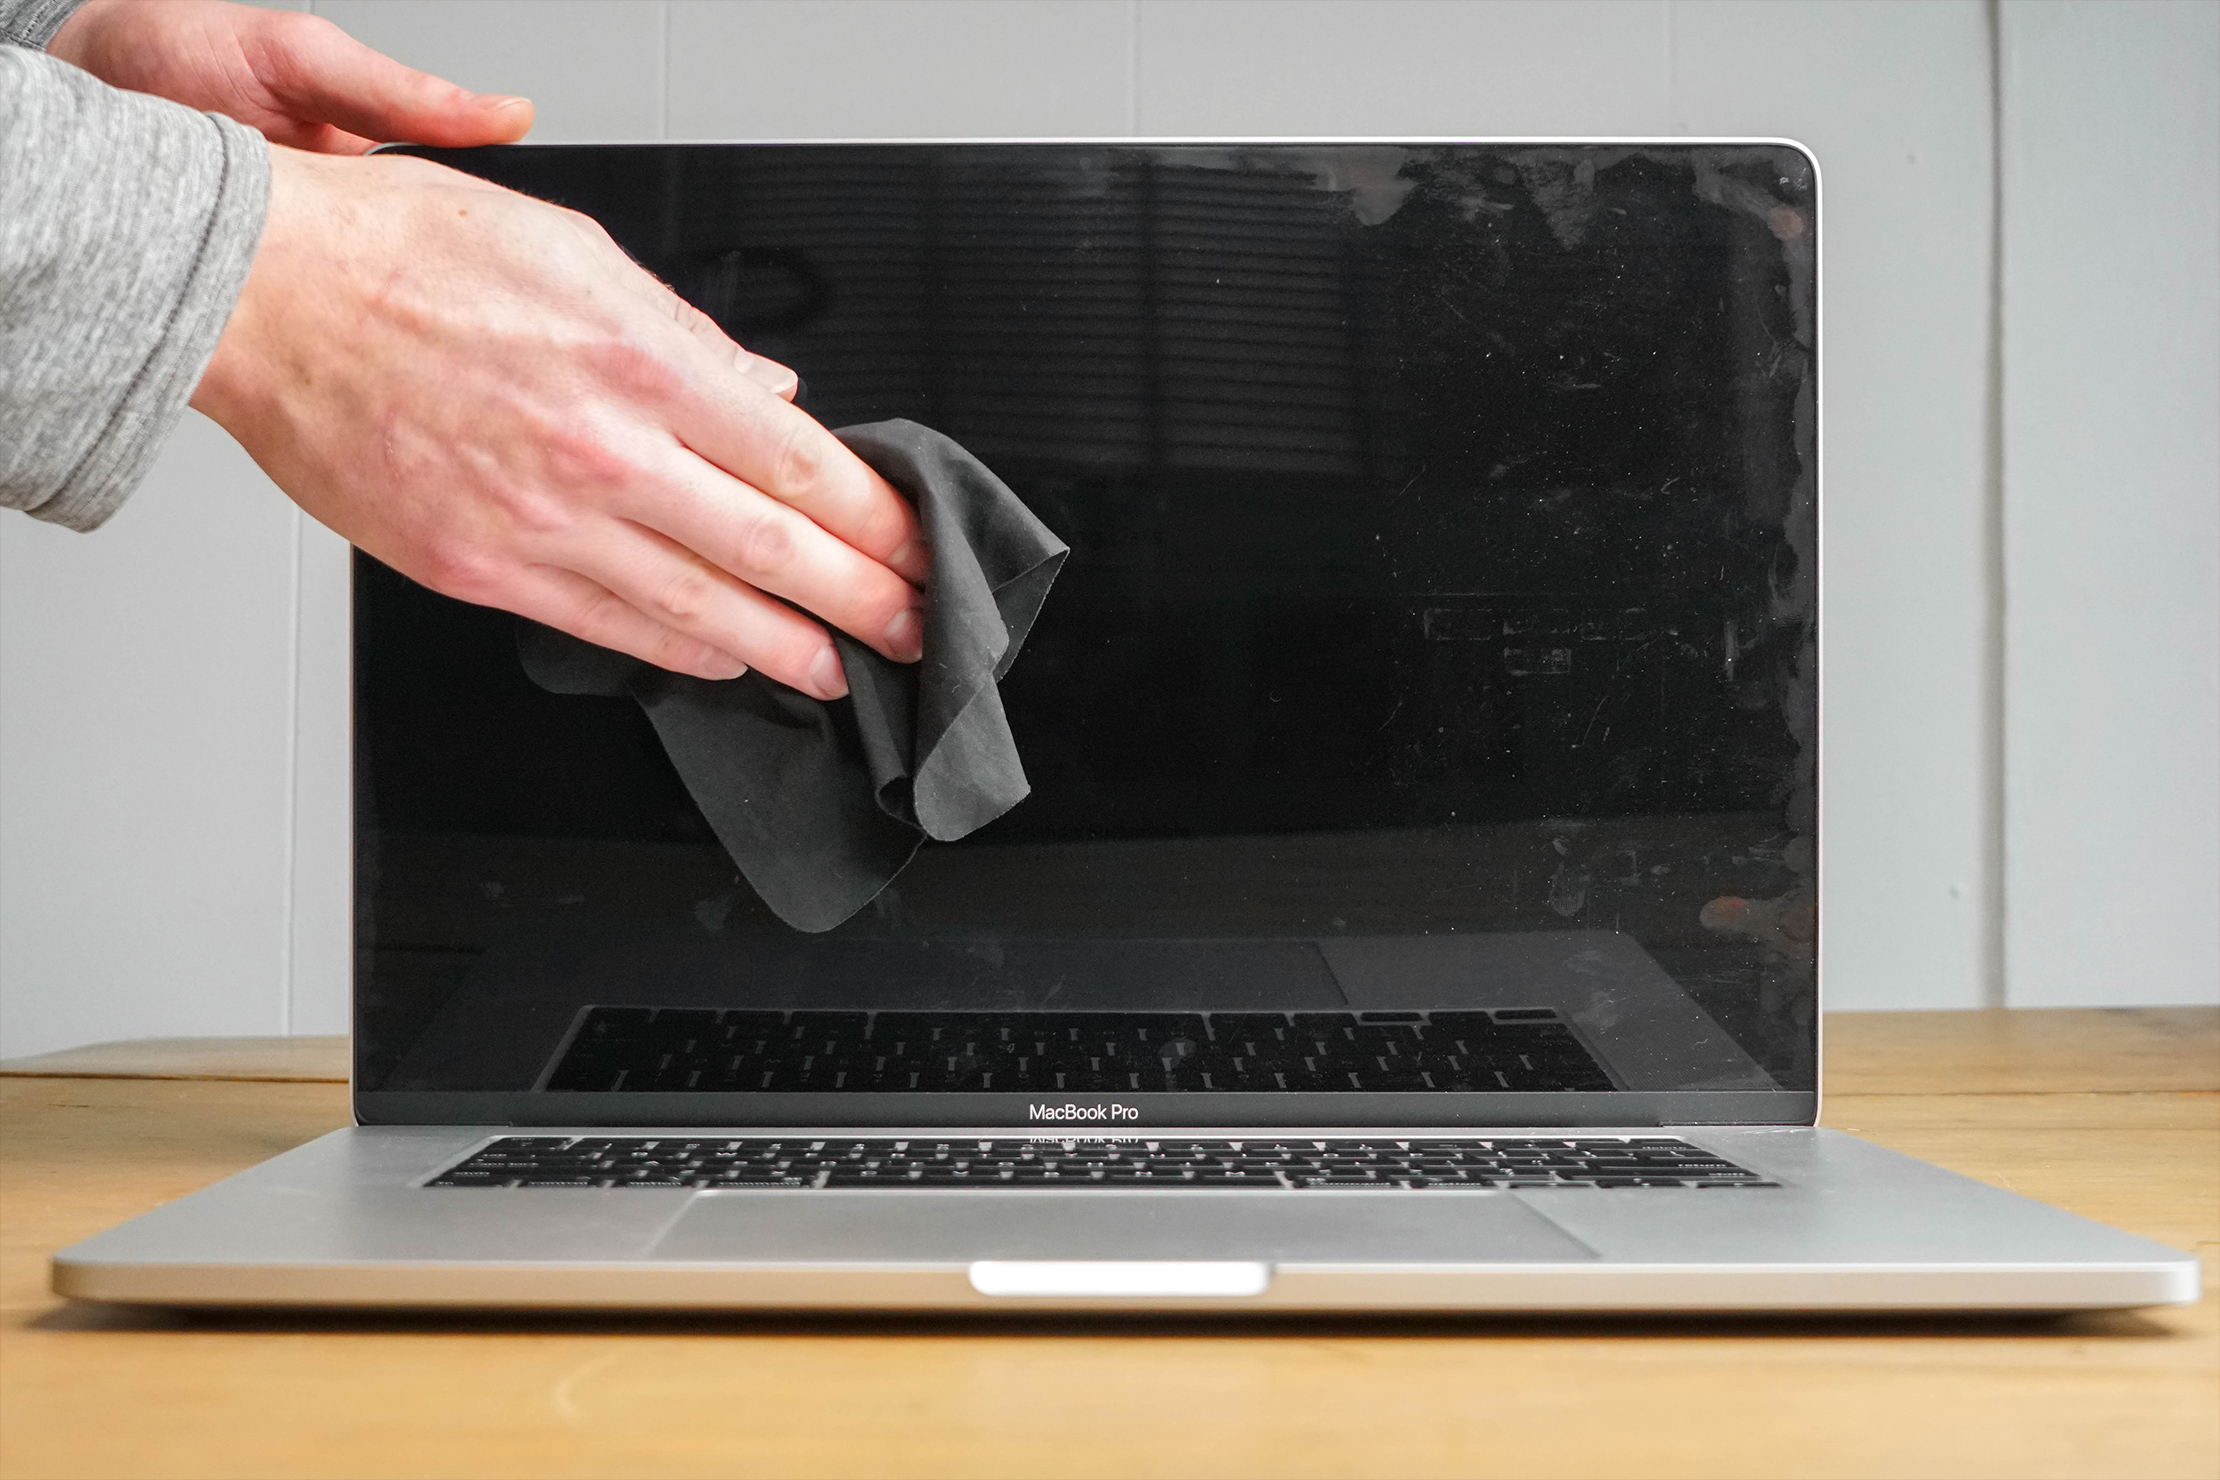
Start with a dry microfiber cloth and gently wipe your screen. In many cases, this will be enough to get rid of fingerprints and smudges. If you need a little more oomph, you can get your microfiber cloth slightly damp with distilled water and wipe the screen again. The cloth should be damp, not wet—you want to avoid water dripping into the cracks of your laptop and keyboard.
If your screen is still dirty (when’s the last time you cleaned this thing?) you can also use screen cleaner designed specifically for computer screens. Just spray the cleaner on your microfiber cloth, not directly on the screen.
Avoid using any cleaners that contain alcohol or harsh chemicals as they can strip away the protective filters on your screen, causing damage. That means no isopropyl alcohol, abrasive wipes, or glass cleaners. Generally, we recommend using just distilled water. As we said above, you can use screen cleaner. But you need to be careful with those too—some “screen cleaners” still contain alcohol, so do your research.
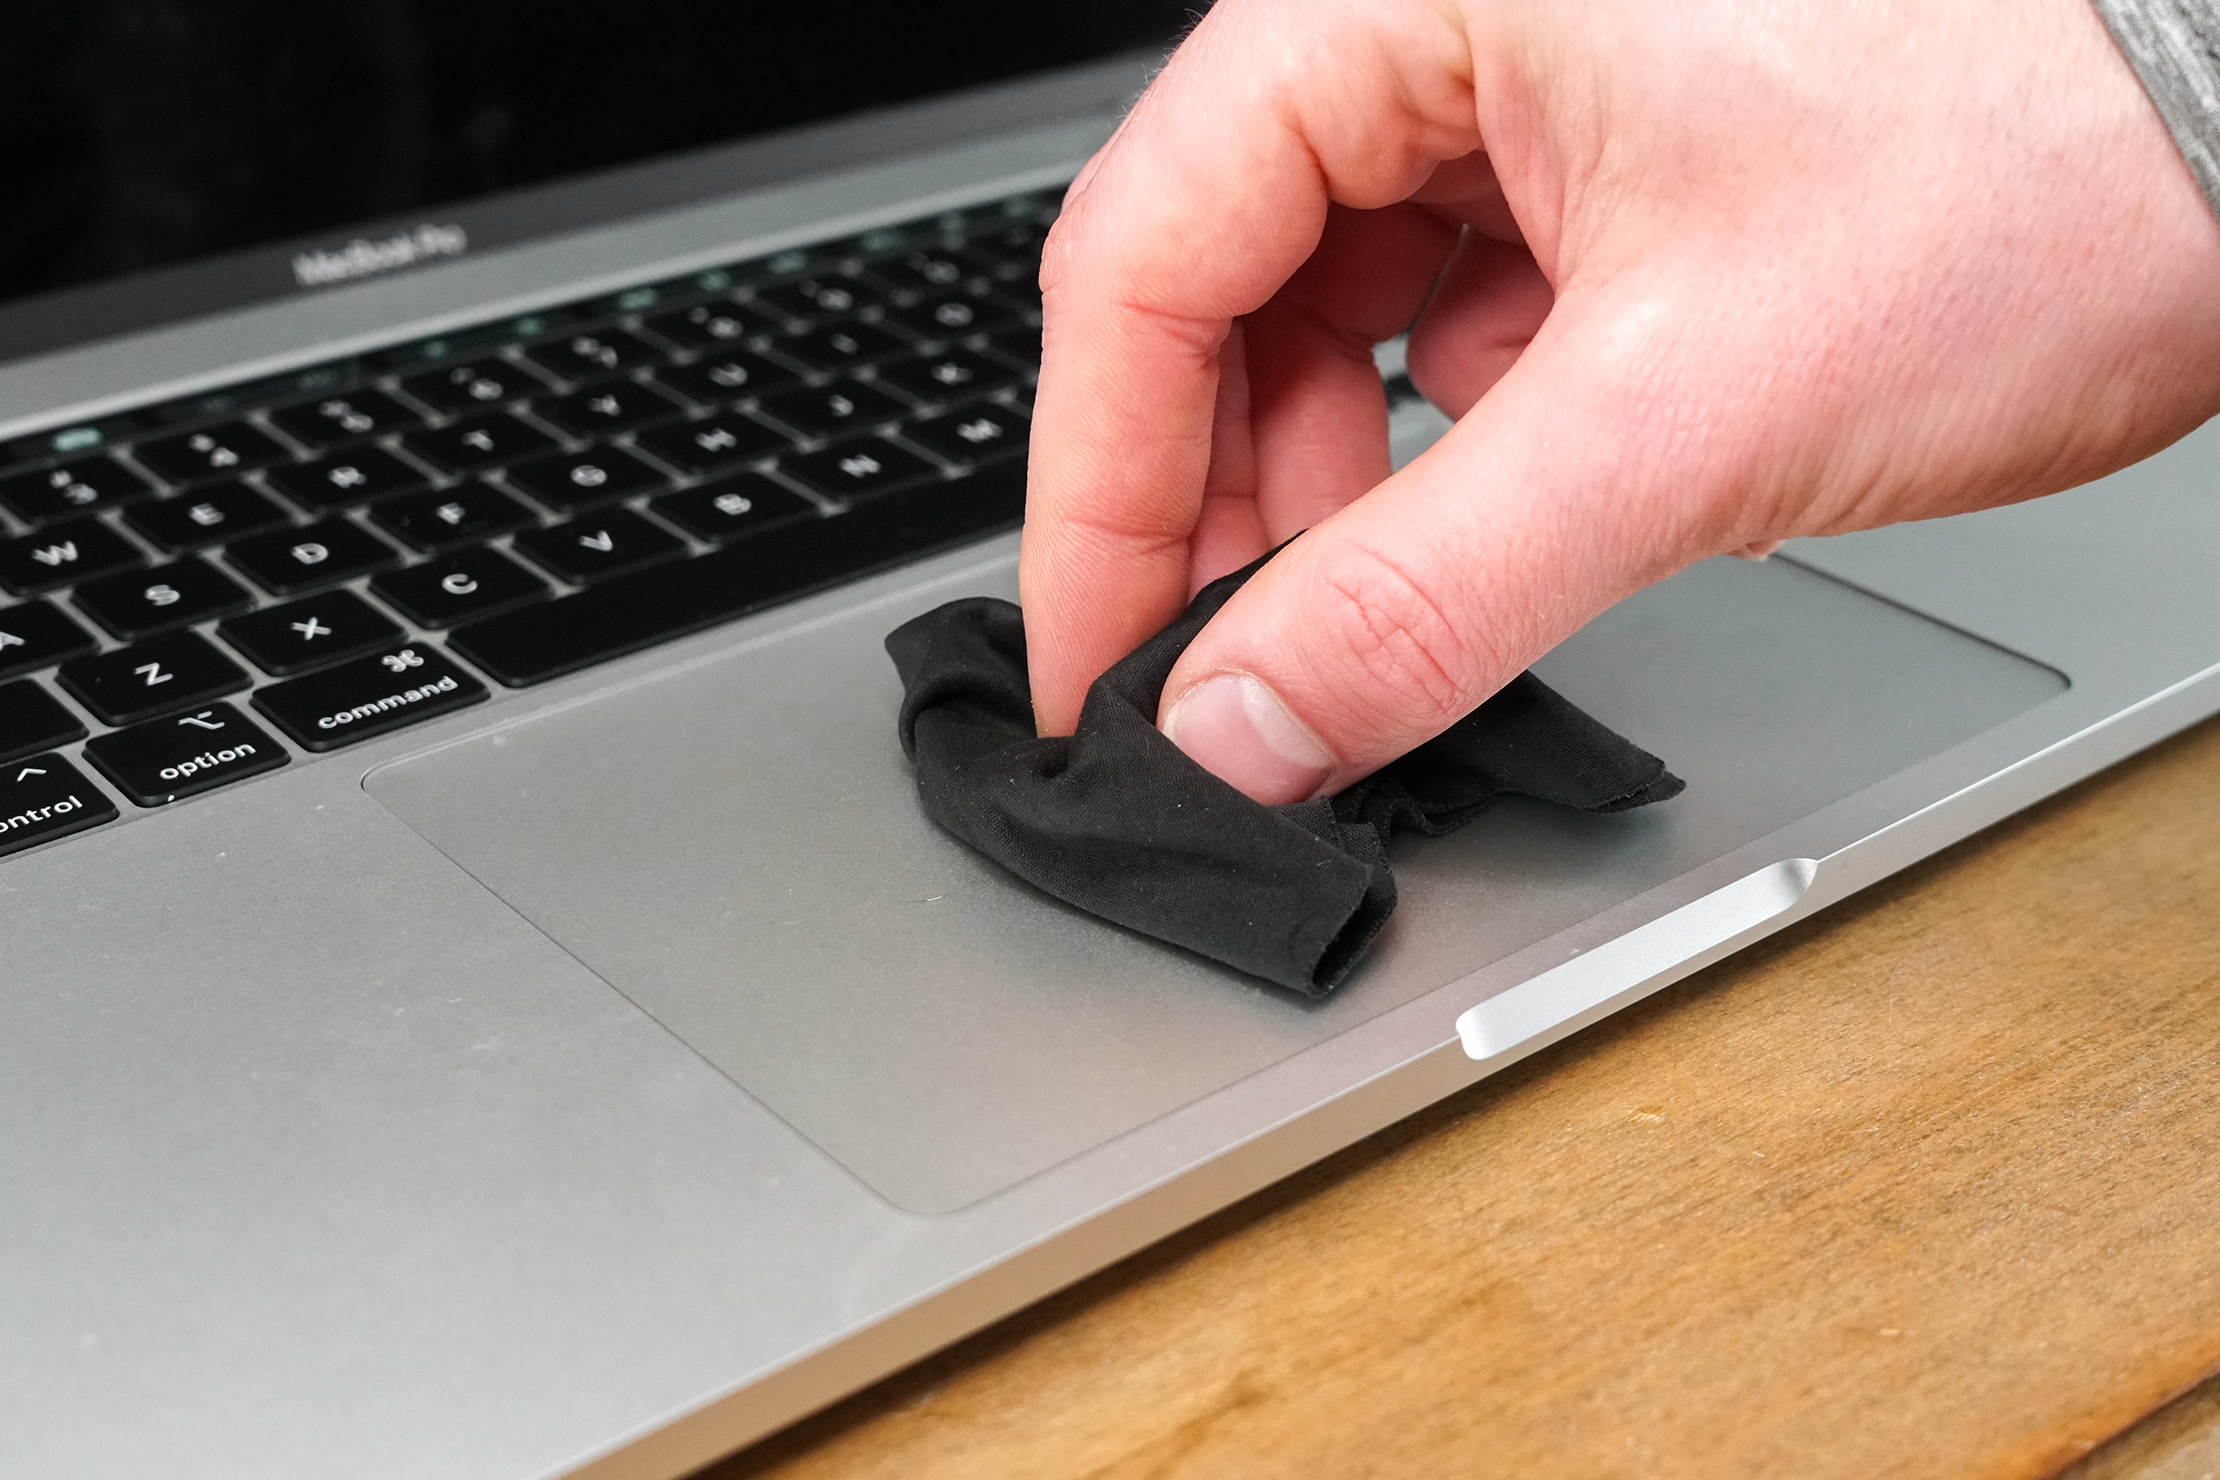
We typically clean our trackpads the same way we clean our screens. Trackpads can be pretty sensitive so we’ve found it best to avoid harsh chemicals and cleaners to lessen and risk of damage.

The shell of your laptop, on the other hand, is less sensitive so it can usually be wiped down with 70-100% isopropyl alcohol on a microfiber cloth. Just be careful to avoid any openings like ports or speakers. And don’t pour the alcohol directly on your laptop—put it on the microfiber cloth.
Cleaning Your Phone
Now that your laptop is clean, let’s focus on your phone, which is arguably the grossest thing you own (another rhyme).
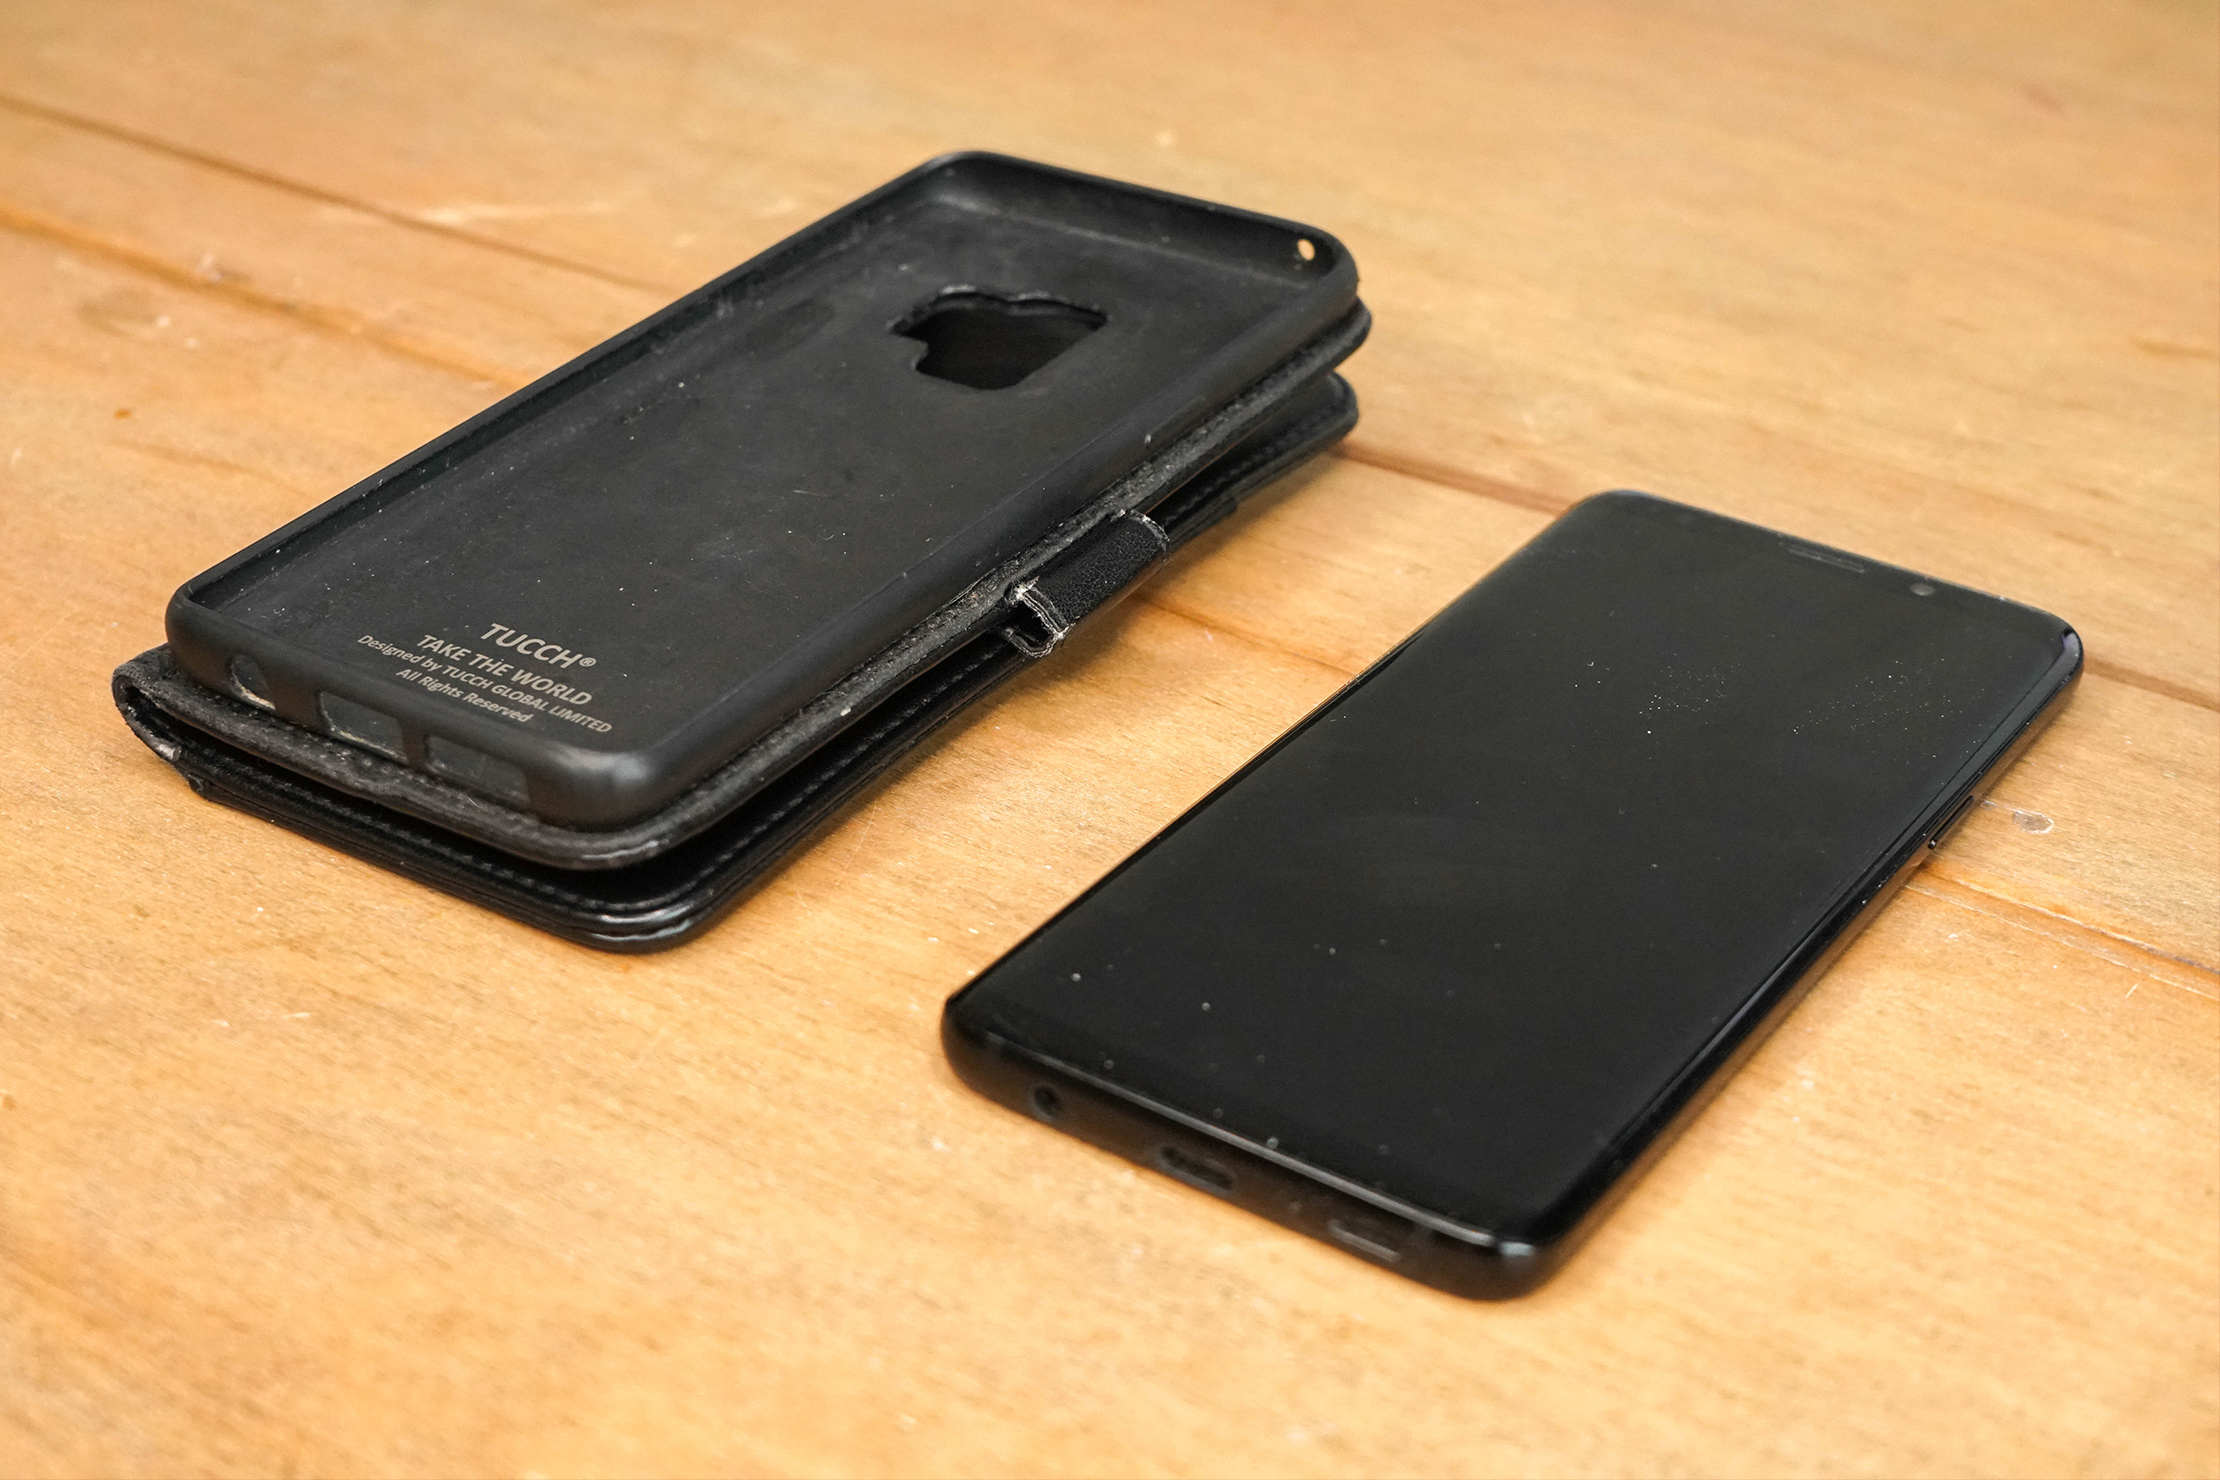
Remove any accessories or cases attached to your phone. You can wipe down most cases with any normal disinfectant wipes or isopropyl alcohol on a cloth, however, over-cleaning may result in discoloration over time.
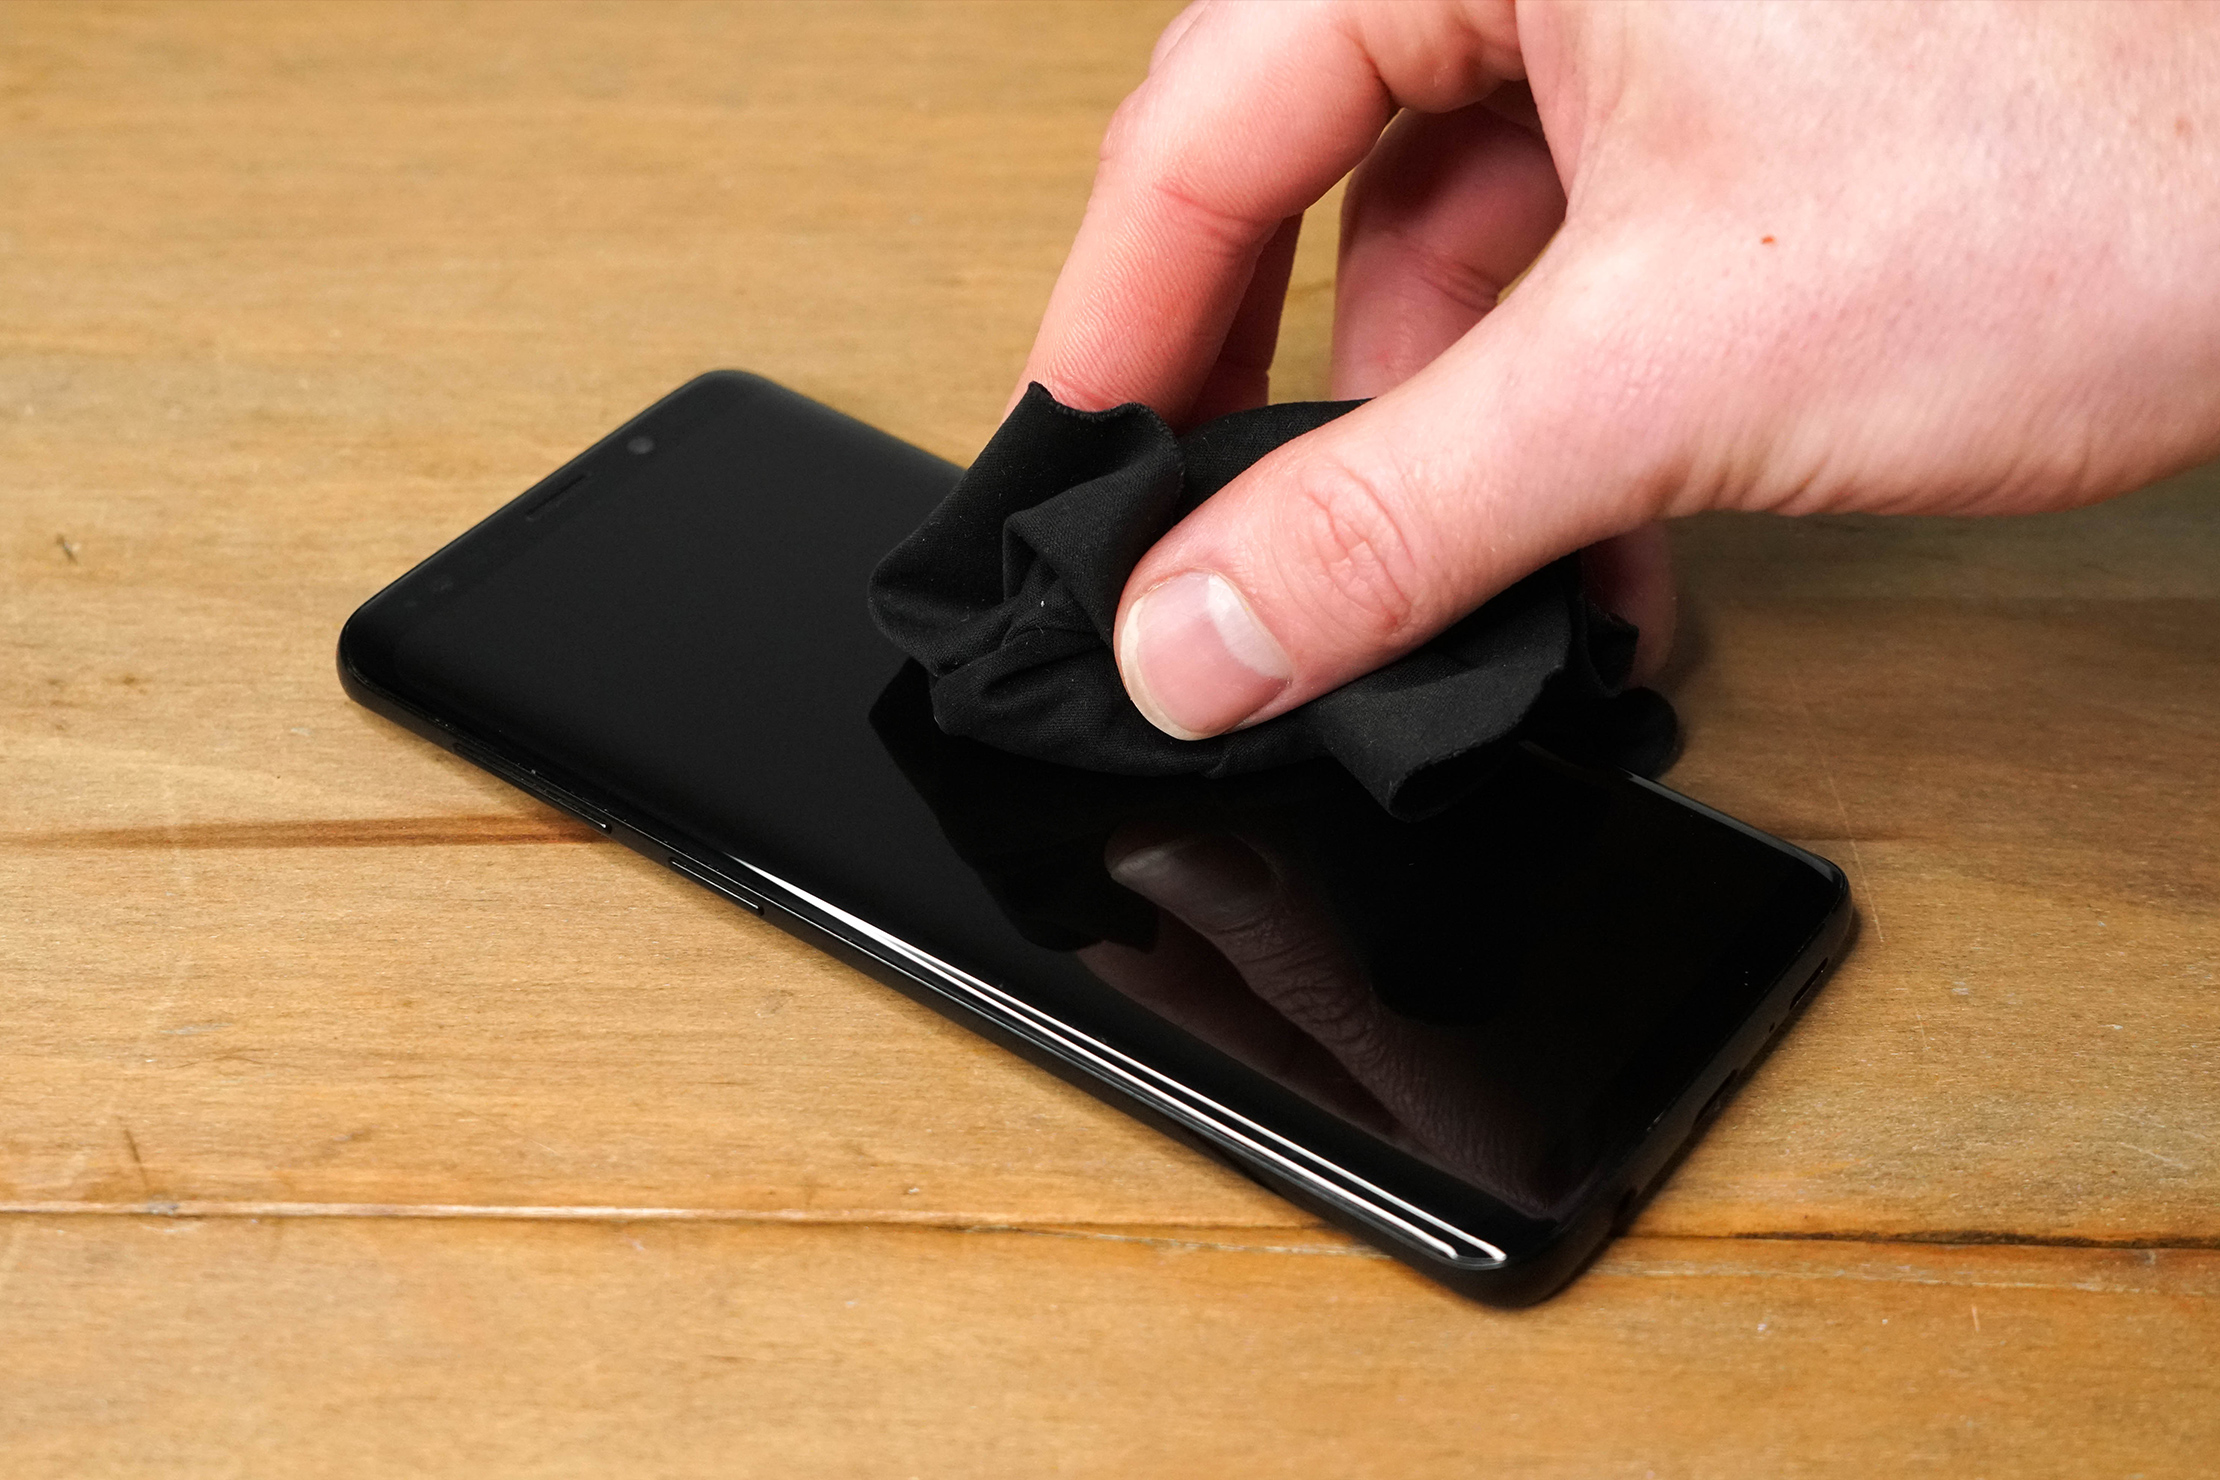
When it comes to cleaning your phone, you can start with a dry microfiber cloth to remove fingerprints and smudges. If you’re looking to kill some germs, you can find screen cleaners that include disinfectant. You can also use good old fashioned hand soap and warm water.
Try to avoid alcohol-based or ammonia-based products and harsher chemicals. The high levels of acidity can strip the oil-repellent coating on your phone leaving it more prone to fingerprint smudges that could become permanent, especially if you’re cleaning your phone frequently.
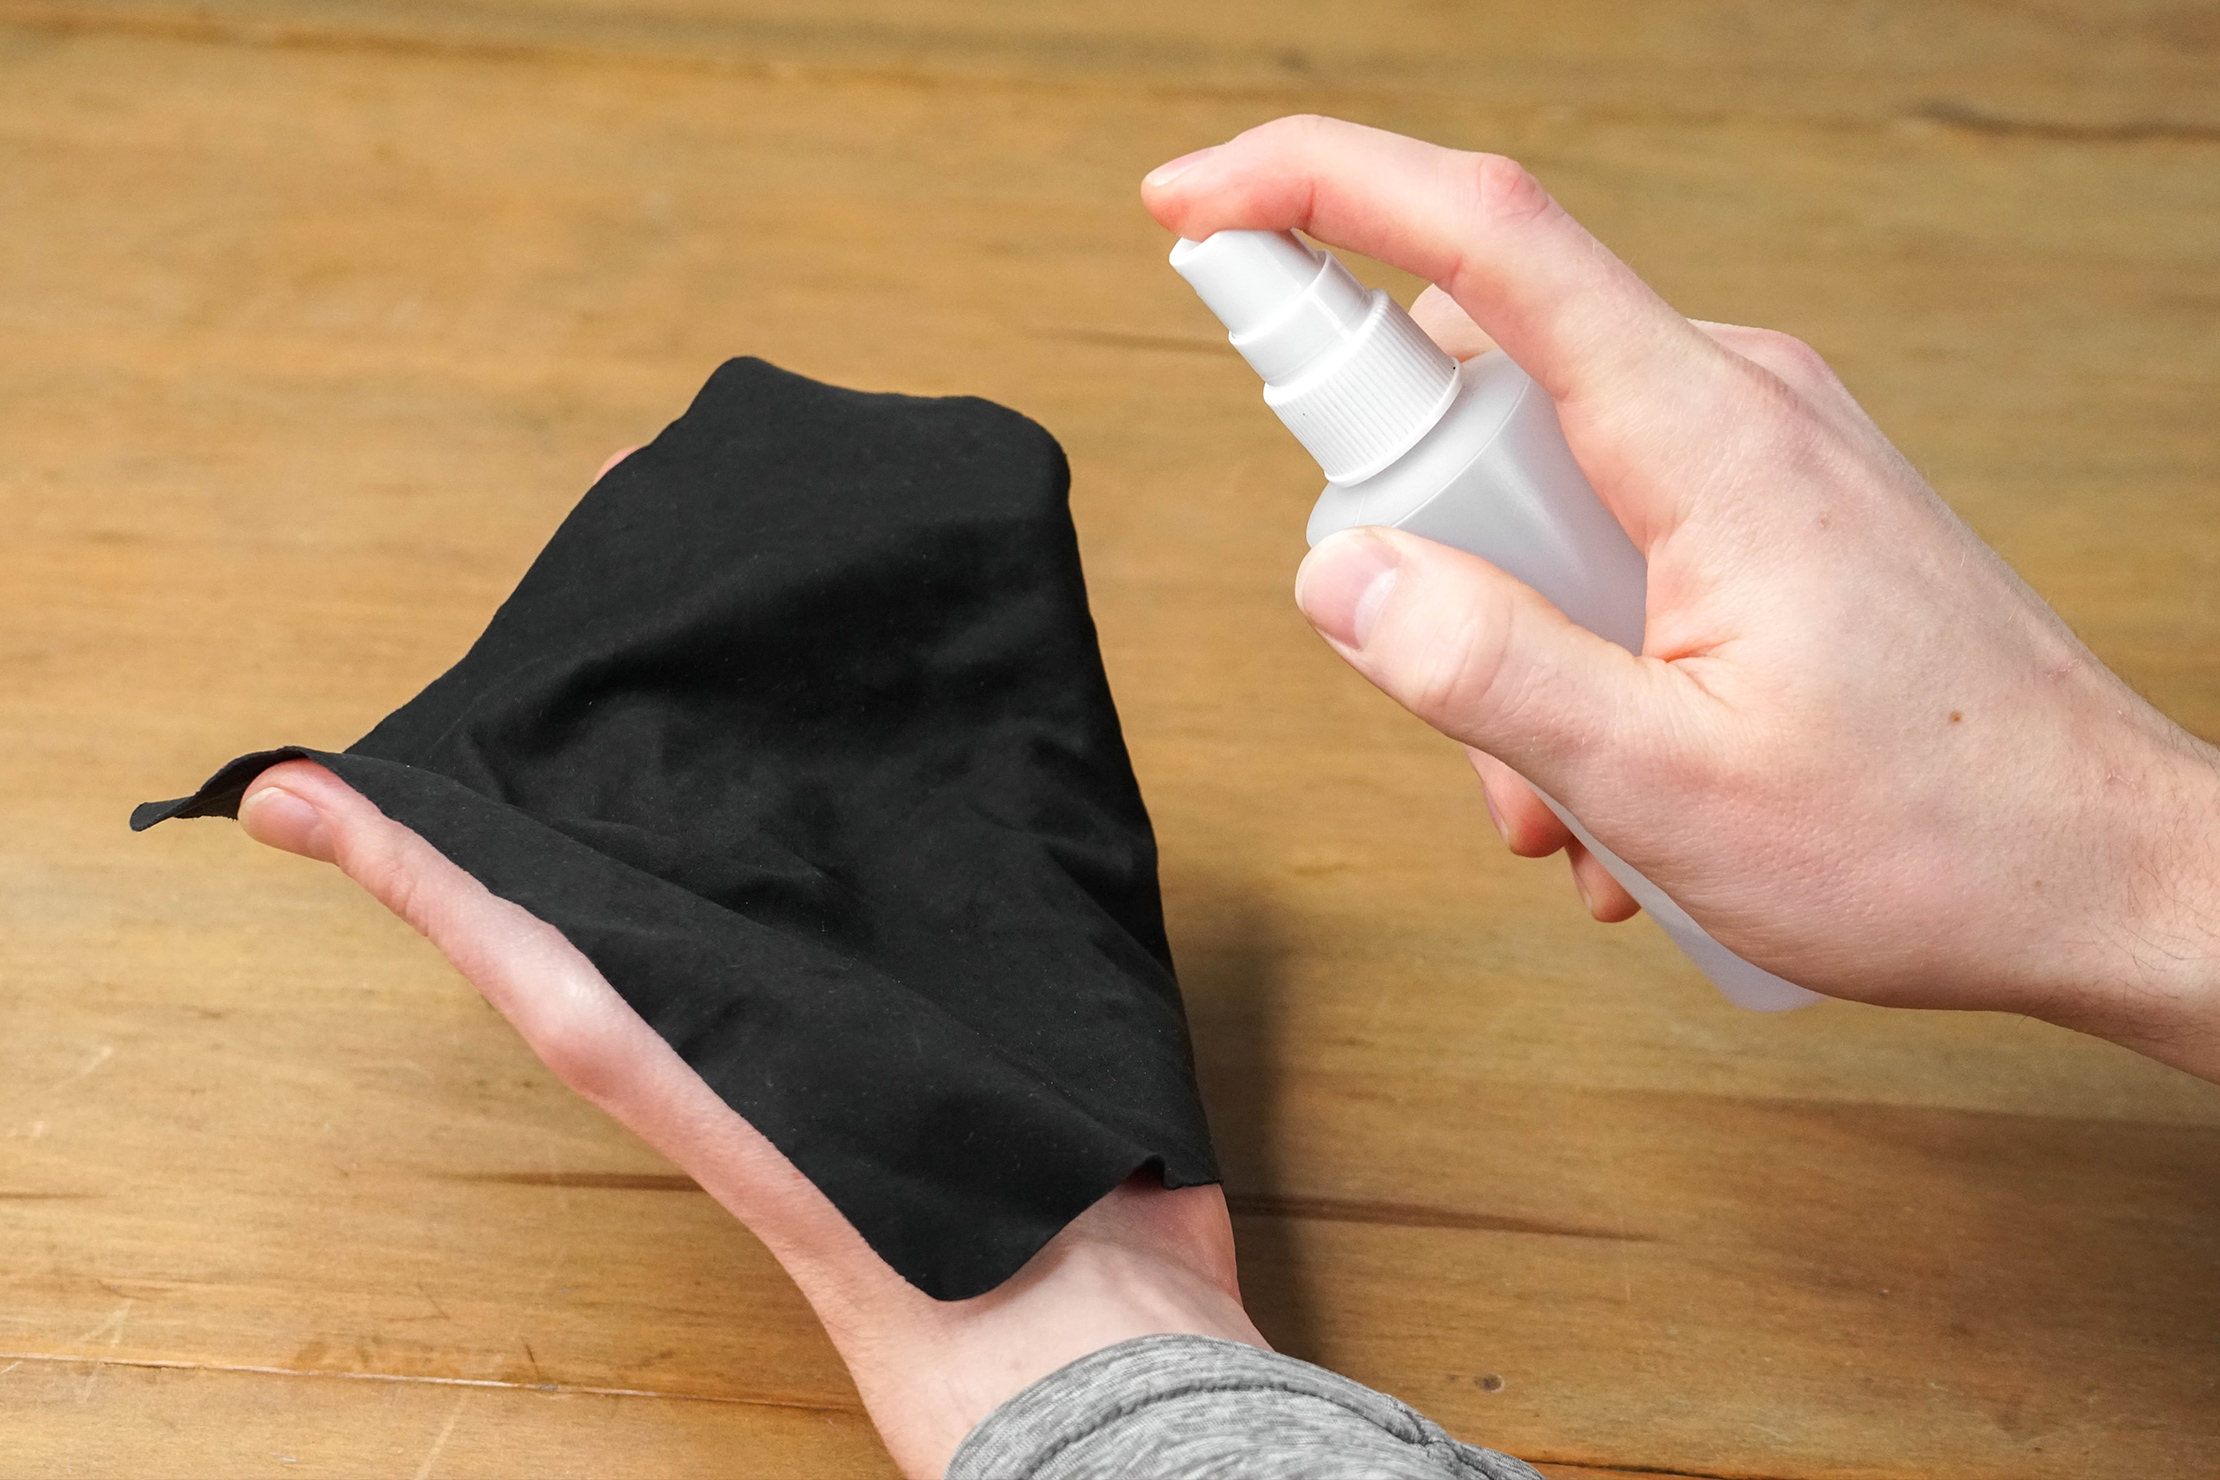
So, if you’re using a screen cleaner, spray the cleaner on a microfiber cloth. Do not spray directly on the phone. Wipe down both sides of your phones, being careful to avoid any openings like the charging port. If you get too much moisture in an opening, it may trigger your phone’s water detection and void your warranty.
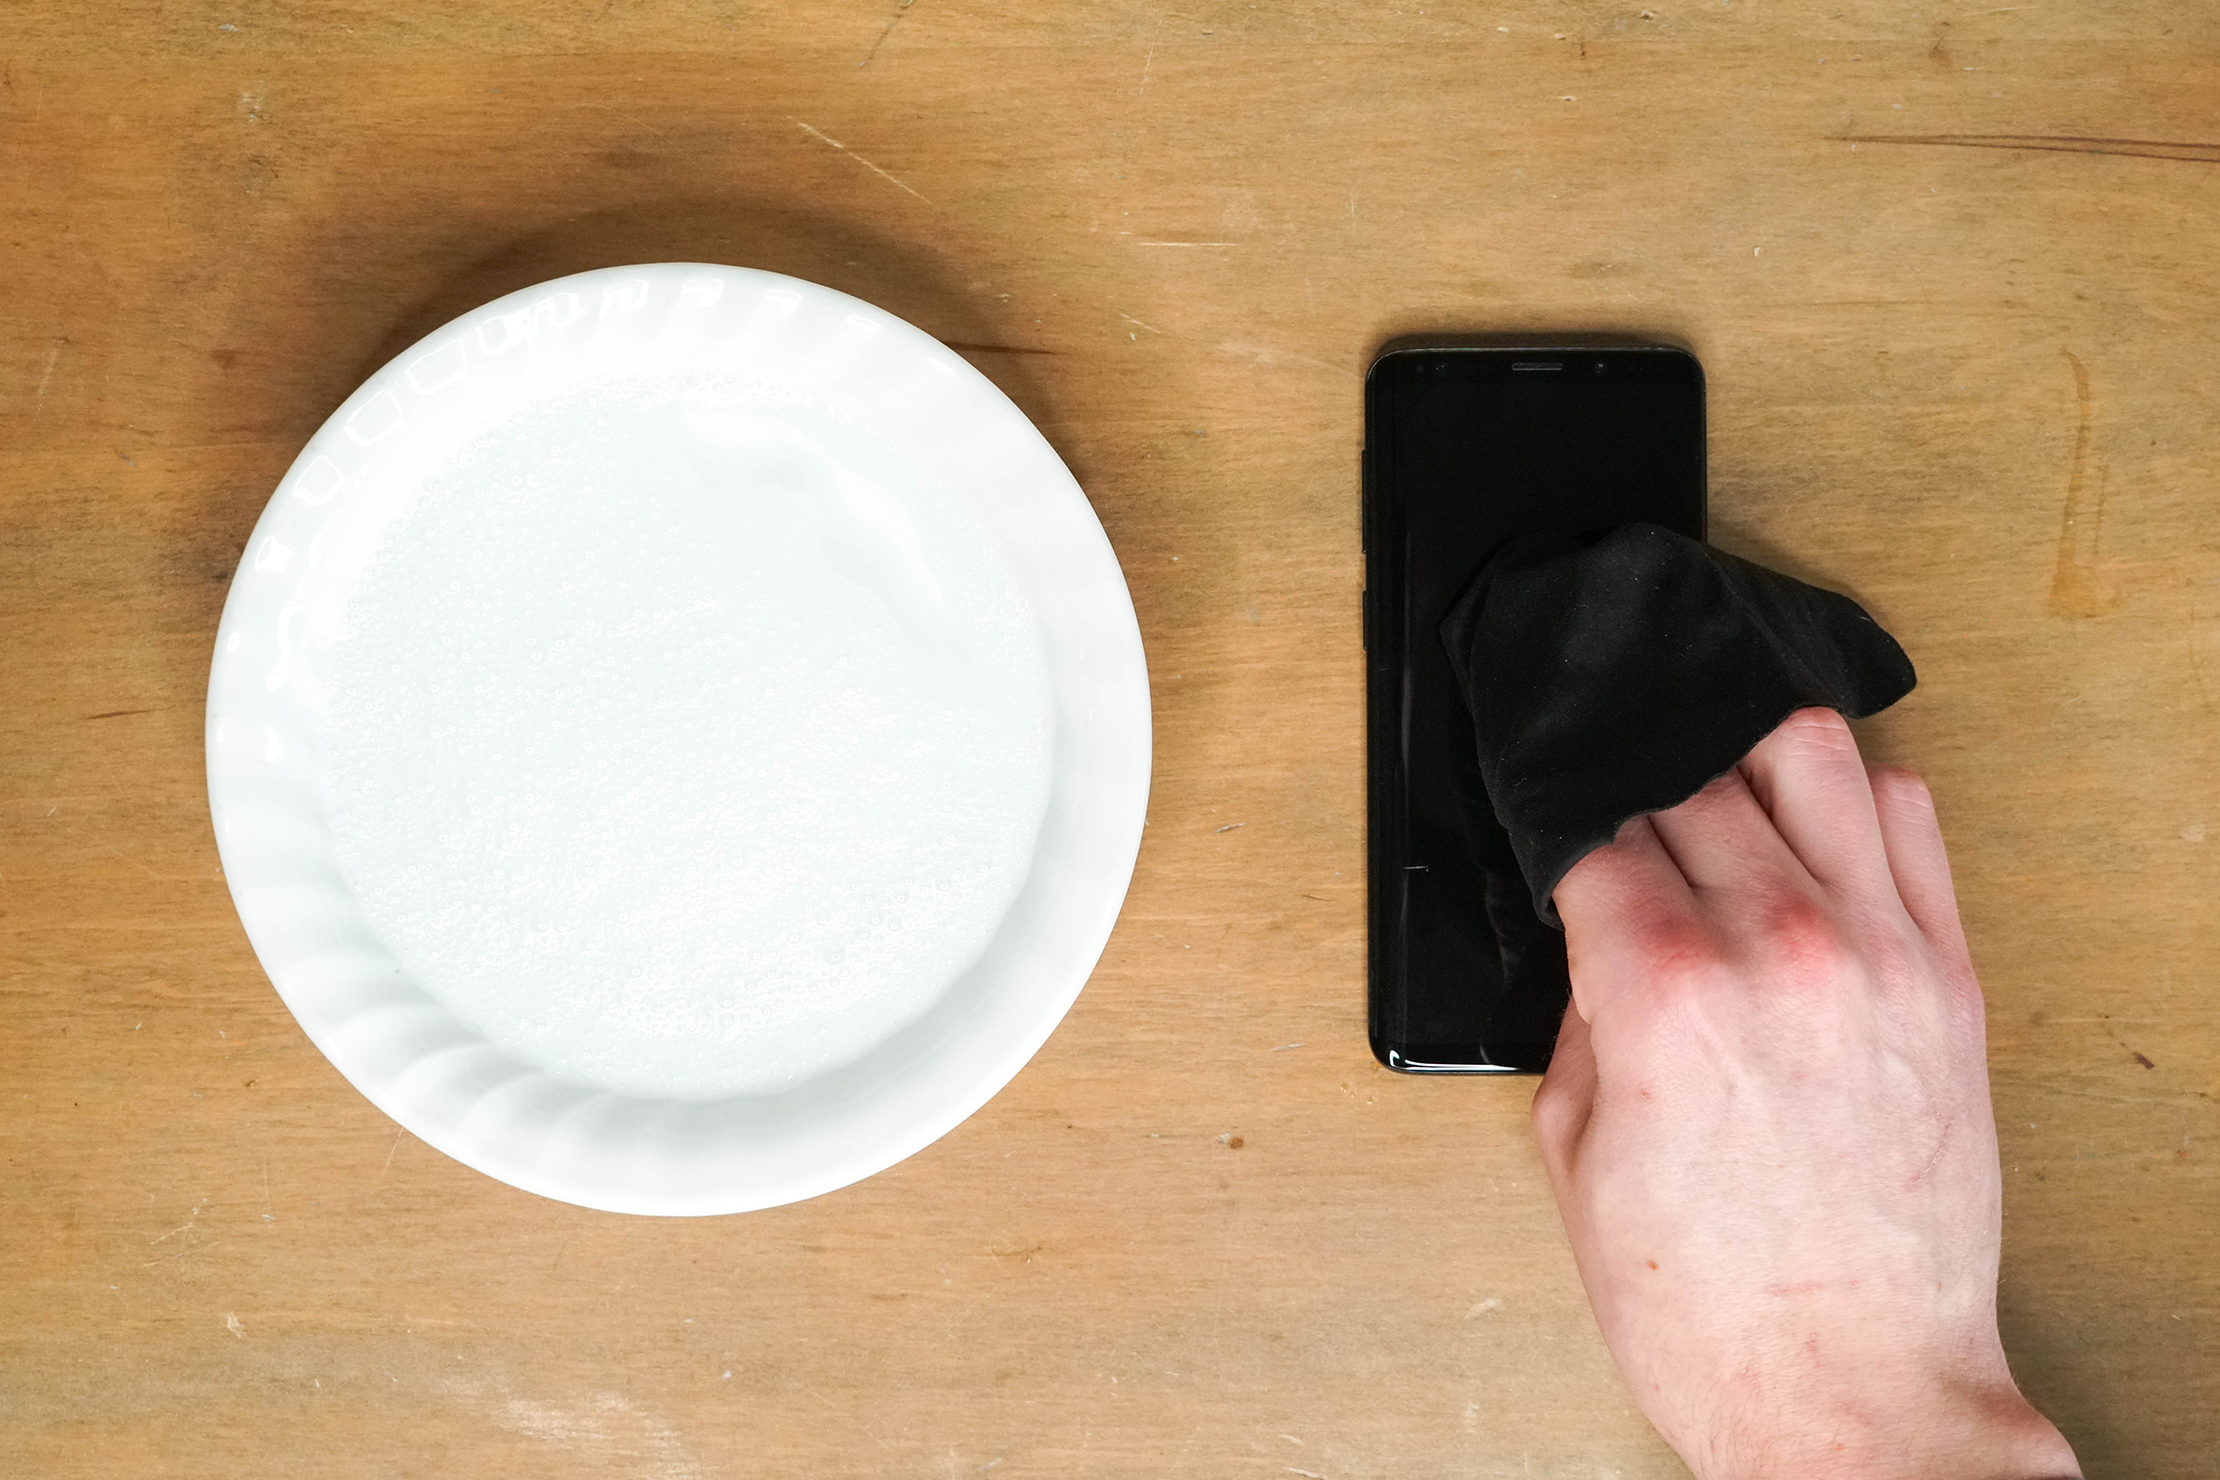
If you’re using soap and water, first get a microfiber cloth damp with water, then add a small dab of soap to the cloth. A little soap goes a long way here. Again, wipe down both sides of your phone and, again, try to avoid ports.
After you’ve soaped it up, use another damp microfiber cloth—this time, with just water—to “rinse” off any remaining soap residue. Then, dry it off with a clean cloth and you’re good to go.
Keep It Clean
So there you have it—how to wash a backpack and some cleaning tips we find useful to maintain our frequently-used gear. Here at Pack Hacker, we typically recommend investing in durable gear when you can, and you can easily extend the lifespan of your kit (or keep it from getting gross) with a simple cleaning. Plus, it’s great to do when you’re at home in between trips. Just don’t over clean as it may cause more harm than good.